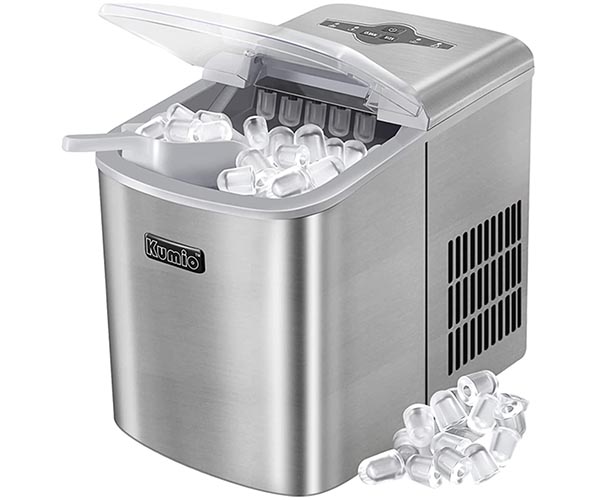
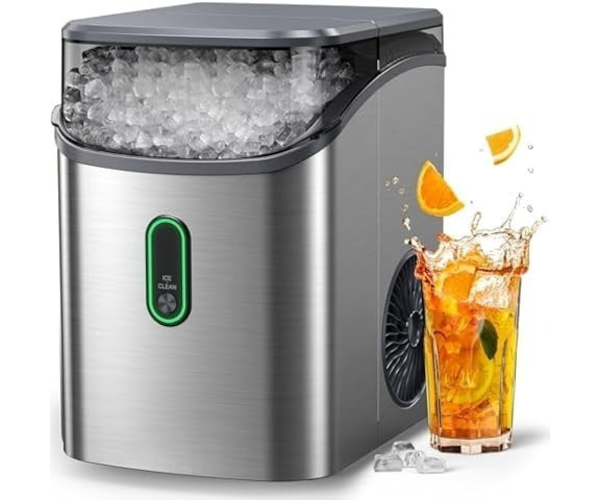
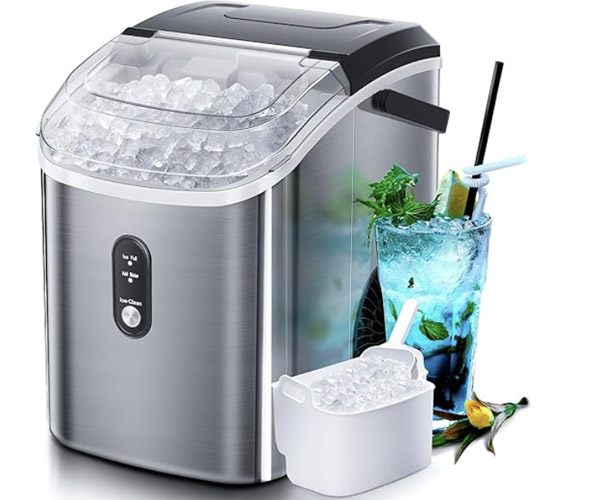
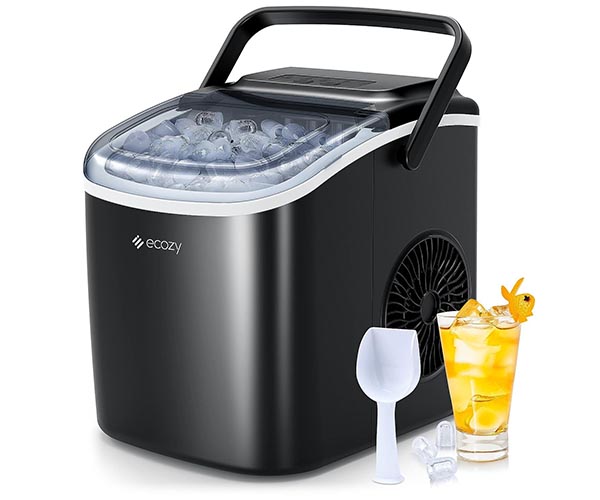
Introduction
A clean countertop ice maker isn’t just about having clear, fresh ice; it’s also crucial for your health and the longevity of your appliance. Imagine enjoying a cool drink on a hot day, knowing that your ice is as clean as possible. In this comprehensive guide, we’ll cover everything you need to know about maintaining and cleaning your countertop ice maker. From understanding its components to a step-by-step cleaning process, we’ve got you covered to ensure your ice maker performs at its best. https://amzn.to/3WoePQf
Understanding Your Ice Maker
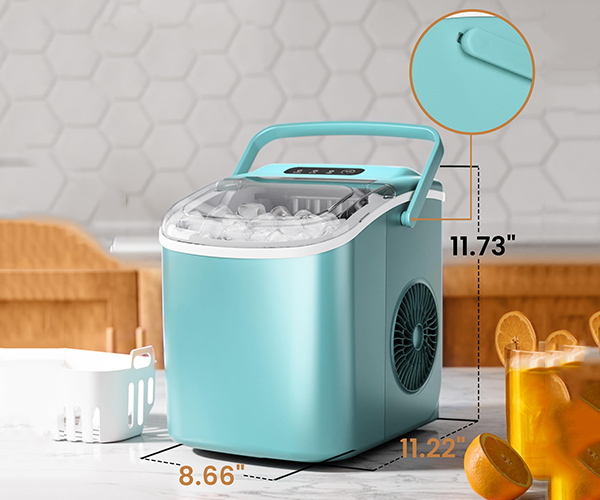
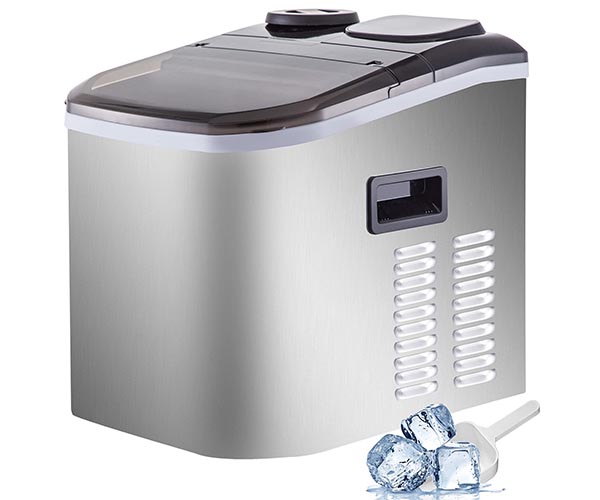
When it comes to choosing a countertop ice maker, understanding the different types and their key components is essential. This knowledge will not only help you in making an informed purchase but also in maintaining and cleaning your appliance effectively.
Types of Countertop Ice Makers
Countertop ice makers come in various designs and functionalities. Here are the most common types:
- Portable Ice Makers: These are small, compact units designed for easy portability and storage. They are perfect for small kitchens, RVs, or outdoor use.
- Self-Cleaning Ice Makers: Equipped with automatic cleaning cycles, these models reduce the manual effort required to maintain the machine. They are ideal for those who want a low-maintenance option.
- Bullet Ice Makers: These produce bullet-shaped ice cubes. They are popular for their quick ice production and ease of use.
- Nugget Ice Makers: Known for producing soft, chewable ice nuggets, these are perfect for making smoothies or refreshing drinks.
- Commercial-Grade Ice Makers: Although larger and more expensive, these models are suitable for heavy-duty use in small businesses or large families.
Each type of ice maker has its own set of advantages, so choosing the right one depends on your specific needs and preferences.
Key Components and How They Work
Understanding the key components of your countertop ice maker will help you better manage its cleaning and maintenance. Here’s a breakdown of the essential parts:
- Water Reservoir: This is where you pour the water that will be converted into ice. Keeping this part clean is crucial to avoid contamination.
- Ice Mold: The mold shapes the ice. Different models have different mold designs, which determine the shape of the ice cubes or nuggets.
- Compressor: The compressor is responsible for cooling the water and forming ice. It needs to be in good working condition to ensure efficient ice production.
- Cooling Fan: This component helps dissipate the heat generated by the compressor. Regular cleaning of the fan ensures optimal performance.
- Ice Bin: Once the ice is formed, it drops into the ice bin, where it is stored until use. The bin should be cleaned regularly to prevent mold and bacteria buildup.
- Control Panel: The control panel allows you to operate the ice maker, set timers, and select different ice-making modes. Keeping it clean ensures it remains functional and responsive.
Cleaning Your Countertop Ice Maker
Regular maintenance of these components is crucial for the optimal performance of your ice maker. Here are some general tips for cleaning each part:
- Water Reservoir: Empty and clean the reservoir regularly. Use a solution of vinegar and water to remove any mineral buildup.
- Ice Mold: Wipe down the mold with a soft cloth and a mild cleaning solution. Avoid using abrasive materials that could damage the mold.
- Compressor and Cooling Fan: These should be cleaned and inspected periodically. Ensure that the fan is free of dust and debris to prevent overheating.
- Ice Bin: Remove the ice bin and wash it with warm soapy water. Make sure it is completely dry before reassembling to prevent mold growth.
- Control Panel: Wipe down the control panel with a damp cloth. Avoid getting water into the electronic components.
By understanding the types and components of your countertop ice maker, you can better appreciate the importance of regular maintenance and cleaning. This will not only extend the lifespan of your appliance but also ensure that the ice you consume is clean and safe.
In the following sections, we will dive deeper into the specific steps and tools needed to thoroughly clean your countertop ice maker. Stay tuned for a detailed, step-by-step guide to keep your appliance in top shape.
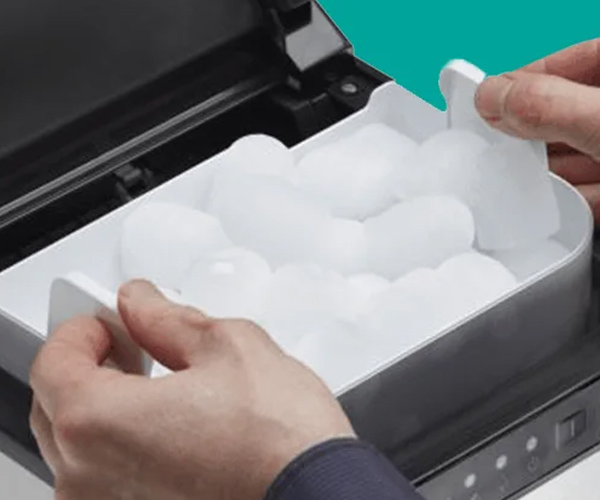
Importance of Regular Cleaning
Regularly cleaning your countertop ice maker comes with numerous benefits that extend beyond just having clean ice. It’s essential for maintaining the quality and efficiency of your appliance, and it plays a significant role in ensuring your health and safety. Here’s why you should prioritize regular cleaning: https://amzn.to/3WoePQf
Benefits of Regular Cleaning
- Improved Taste: A clean ice maker produces better-tasting ice. Over time, residue from water minerals, mold, and bacteria can build up, affecting the flavor of your ice. Regular cleaning ensures that your ice tastes fresh and pure.
- Enhanced Efficiency: When your ice maker is free from buildup and debris, it operates more efficiently. This means it can produce ice more quickly and consistently, saving you time and ensuring you always have ice on hand.
- Extended Lifespan: Just like any other appliance, regular maintenance can extend the life of your ice maker. By preventing the buildup of harmful substances, you reduce the risk of mechanical issues and keep your ice maker running smoothly for years to come.
- Energy Savings: An efficient, clean ice maker uses less energy. When components are clean, they work better and require less power to produce ice, leading to lower energy bills and a more eco-friendly home.
Health Risks of Neglecting Cleaning
- Bacterial Contamination: Ice makers that aren’t regularly cleaned can become breeding grounds for bacteria and mold. These contaminants can make their way into your ice and potentially cause health issues, especially if ingested.
- Bad Odors and Taste: A dirty ice maker can impart unpleasant odors and tastes to your ice. This not only ruins the enjoyment of your drinks but can also be a sign of underlying health hazards.
- Increased Risk of Mechanical Failure: Buildup of scale, mold, and other debris can cause blockages and mechanical failures in your ice maker. These issues can lead to costly repairs or even the need to replace the appliance entirely.
- Health Hazards: Consuming ice from a dirty machine can lead to various health problems, such as gastrointestinal issues. This is particularly concerning for individuals with compromised immune systems.
Regular cleaning of your countertop ice maker is a simple yet crucial task that ensures you always have clean, fresh ice and a smoothly running appliance. It’s an investment in your health, the longevity of your appliance, and the overall enjoyment of your beverages. By following a consistent cleaning schedule and using the right tools and techniques, you can prevent many of the common issues associated with neglecting this essential maintenance task.
Cleaning Schedule
Keeping your countertop ice maker in peak condition requires regular maintenance. Adhering to a cleaning schedule not only ensures the quality of your ice but also extends the lifespan of your appliance. Here’s how often you should deep clean your countertop ice maker and the signs that indicate it’s time for a thorough cleaning.
Recommended Cleaning Frequency
To maintain optimal performance, it’s crucial to establish a consistent cleaning routine:
- Weekly: Light cleaning. Wipe down the exterior and interior surfaces with a damp cloth to remove any superficial dirt or spills.
- Monthly: Deep cleaning. A more comprehensive cleaning process that involves disassembling parts, scrubbing components, and using a cleaning solution to eliminate any buildup of scale, mold, or bacteria.
- After Extended Periods of Inactivity: If your ice maker hasn’t been used for a while, it’s essential to deep clean it before starting it up again to ensure there are no lingering contaminants.
Regular cleaning prevents the buildup of residue that can affect the taste and quality of your ice. It also helps in maintaining the efficiency of your machine, ensuring that it produces ice quickly and effectively.
Signs Your Ice Maker Needs Cleaning
While a regular cleaning schedule is ideal, there are specific indicators that your ice maker requires immediate attention. Here are some signs that it’s time to deep clean your countertop ice maker:
- Unpleasant Odors: If your ice starts to smell bad, it’s a clear sign that bacteria or mold is present inside the machine.
- Cloudy or Oddly Shaped Ice: Clean, fresh ice should be clear and uniformly shaped. Cloudiness or irregular shapes often indicate that there is residue or mineral buildup.
- Slower Ice Production: If your ice maker is taking longer than usual to produce ice, it might be due to clogged filters or buildup inside the machine.
- Strange Tastes: Ice that tastes off or has an unusual flavor can be a sign that the water or ice storage area is contaminated.
- Visible Mold or Slime: Any visible signs of mold or slime inside the machine are a definite indication that a deep cleaning is overdue.
- Error Messages: Some advanced ice makers will display error messages or warning lights when they need cleaning or maintenance.
By paying attention to these signs, you can address potential problems before they affect the performance of your ice maker. Regular cleaning not only improves the quality of your ice but also ensures the appliance runs smoothly, preventing more severe issues down the line.
Establishing a routine and being vigilant about the signs of needed cleaning will keep your countertop ice maker in top condition, ensuring you always have fresh, clean ice at your disposal.
In the next section, we’ll dive into the tools and supplies you’ll need for an effective deep cleaning process.
Tools and Supplies Needed
Cleaning your countertop ice maker thoroughly requires a few essential tools and supplies. Having the right equipment not only makes the process easier but also ensures that your appliance remains in optimal condition. Here’s a list of what you’ll need:
Essential Cleaning Tools and Supplies
These are the must-have items for a basic cleaning of your countertop ice maker:
- Soft Cloths or Microfiber Towels: Perfect for wiping down surfaces without scratching.
- Mild Dish Soap: A gentle cleaner that’s safe for most parts of your ice maker.
- Warm Water: Essential for mixing with the dish soap and rinsing components.
- White Vinegar: An excellent natural cleaner that helps remove mineral deposits and disinfects surfaces.
- Soft-Bristle Brush: Ideal for scrubbing hard-to-reach areas and removing stubborn grime.
- Measuring Cup: For accurately mixing cleaning solutions.
- Sponge: Useful for wiping down larger surfaces.
- Bucket or Large Bowl: To hold parts while they soak.
Optional Tools for Deep Cleaning
For a more thorough, deep clean of your countertop ice maker, consider these additional tools:
- Ice Machine Cleaner Solution: A specialized cleaner designed to tackle buildup specifically in ice makers.
- Toothbrush or Small Detailing Brush: Perfect for cleaning small crevices and intricate parts.
- Sanitizing Wipes: Convenient for a quick disinfecting wipe-down of surfaces.
- Descaling Solution: Helps to remove hard water deposits that can accumulate over time.
- Compressed Air Canister: Useful for blowing out dust and debris from vents and tight spaces.
- Rubber Gloves: Protect your hands from harsh cleaners and hot water.
- Replacement Filters: If your ice maker has a water filter, having spares on hand is helpful for regular maintenance.
Having these tools and supplies on hand will ensure that your ice maker is cleaned efficiently and effectively. Regular cleaning with these items will help maintain the quality and longevity of your appliance, ensuring you always have fresh, clean ice.
Whether you’re performing a routine clean or a deep clean of your countertop ice maker, these tools will make the job easier and more thorough. Investing in the right supplies is crucial for maintaining the hygiene and performance of your ice maker.
By following this guide and using the recommended tools, you’ll be able to keep your ice maker in top shape, ready to provide you with the best possible ice for your drinks. Stay tuned for the detailed step-by-step cleaning process that will guide you through each stage of cleaning your countertop ice maker effectively.
Step-by-Step Cleaning Guide
Preparation
Before diving into the deep clean of your countertop ice maker, it’s crucial to start with some basic preparations to ensure safety and efficiency.
- Unplug the Ice Maker: Always begin by unplugging your ice maker to avoid any electrical hazards. This is a critical step to ensure your safety throughout the cleaning process.
- Empty the Ice Bin: Remove any remaining ice from the bin. You can use this opportunity to inspect the ice for any unusual odors or discoloration, which could indicate the need for cleaning.
Disassembly
Disassembling your ice maker allows you to clean each component thoroughly. Knowing which parts are removable and how to handle them is essential.
- Removing Parts for Cleaning: Carefully remove all detachable parts of the ice maker. This typically includes the ice bin, water reservoir, ice scoop, and any other removable trays or compartments. Refer to your ice maker’s manual for specific instructions on disassembly.
- Identifying Removable Components: Identify all parts that can be safely removed for cleaning. This step ensures you don’t miss any areas that need attention and helps you avoid damaging any non-removable components.
Cleaning the Exterior
Keeping the exterior of your ice maker clean is just as important as the interior. Dust, fingerprints, and spills can accumulate, affecting both the appearance and hygiene of your appliance.
- Wiping Down the Exterior Surfaces: Use a soft, damp cloth to wipe down the exterior surfaces of the ice maker. For stubborn stains, a mild detergent can be used. Ensure you dry the surfaces thoroughly to prevent moisture buildup.
- Cleaning the Control Panel: The control panel can harbor dirt and grime, especially around the buttons and knobs. Use a cotton swab dipped in a mild cleaning solution to gently clean these areas. Avoid using excessive moisture, as it can damage the electronic components.
Cleaning the Interior
The interior of the ice maker is where ice is produced and stored, making it crucial to maintain cleanliness here to ensure your ice is safe to consume.
- Cleaning the Ice Bin and Water Reservoir: Remove the ice bin and water reservoir and clean them with warm, soapy water. Rinse thoroughly to ensure no soap residue remains, which could affect the taste of the ice.
- Using a Vinegar Solution or Commercial Cleaner: For a deep clean, use a solution of vinegar and water (one part vinegar to two parts water) or a commercial cleaner designed for ice makers. Vinegar is effective at removing mineral buildup and disinfecting the surfaces.
- Scrubbing the Interior Surfaces: Use a soft-bristled brush or a sponge to scrub the interior surfaces of the ice maker, including the walls, base, and any other reachable parts. Pay special attention to areas where scale and grime tend to accumulate.
By following these steps, you ensure that your countertop ice maker remains in top condition, providing you with clean, fresh ice. Regular cleaning not only enhances the performance of your ice maker but also extends its lifespan. Stay tuned for more detailed steps on reassembly and maintenance tips to keep your appliance running smoothly.
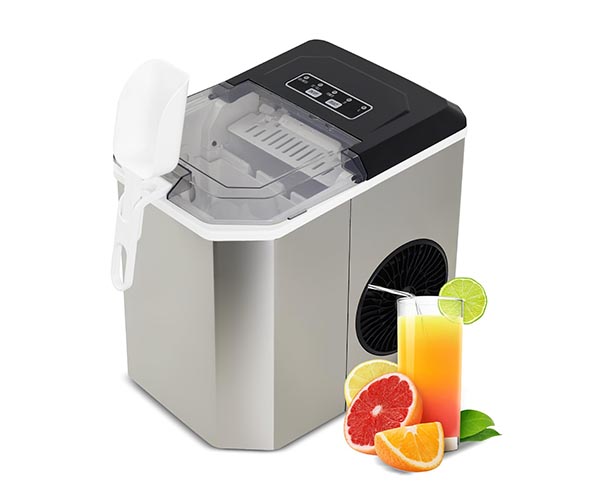
Cleaning the Components
When it comes to maintaining your countertop ice maker, giving special attention to cleaning the removable components is essential. These parts, including the ice scoop and other removable pieces, come into direct contact with ice and water, making them susceptible to dirt and bacteria build-up. Here’s how you can ensure they are kept in pristine condition:
Cleaning the Ice Scoop and Other Removable Parts
Cleaning the ice scoop and other removable parts of your ice maker is a straightforward process, but it’s important to do it thoroughly. Here’s a step-by-step guide to ensure these components are clean and safe to use:
- Remove the Parts: Start by unplugging the ice maker and carefully removing the ice scoop and any other detachable parts. This may include trays, bins, and any other removable components specified in the user manual.
- Rinse with Warm Water: Rinse each part under warm running water to remove any loose debris or ice particles. This initial rinse helps to wash away superficial contaminants.
- Prepare a Cleaning Solution: Use a mixture of warm water and a few drops of mild dish soap. Avoid using harsh chemicals as they can leave residues that may contaminate your ice.
- Scrub Thoroughly: Use a soft brush or sponge to scrub all surfaces of the removable parts. Pay special attention to corners and crevices where dirt can accumulate. Ensure you clean both the inside and outside surfaces of the ice scoop and other components.
- Rinse Again: After scrubbing, rinse each part thoroughly with clean water to remove all soap residues. Soap residue can affect the taste of the ice and may not be safe for consumption.
Soaking and Scrubbing Components
For a deeper clean, especially if the removable parts have not been cleaned in a while, soaking can be highly effective. Here’s how to do it:
- Prepare a Soaking Solution: Create a soaking solution using equal parts of warm water and white vinegar. Vinegar is a natural disinfectant that can help eliminate odors and bacteria.
- Soak the Parts: Place the ice scoop and other removable parts in the solution. Ensure they are fully submerged. Let them soak for at least 30 minutes. This soaking process helps to dissolve any stubborn residues and disinfects the parts.
- Scrub After Soaking: After soaking, use a soft brush to scrub the parts again. This second scrub will help to remove any loosened dirt and ensure the parts are thoroughly cleaned.
- Rinse Thoroughly: Rinse the parts under running water to remove all traces of vinegar. Vinegar can leave a strong smell if not rinsed properly, which can affect the flavor of your ice.
- Dry Completely: Lay the parts out on a clean towel and let them air dry completely before reassembling them into the ice maker. Ensuring the parts are completely dry helps to prevent mold and mildew growth.
By following these steps, you can maintain the cleanliness of your countertop ice maker components, ensuring they are safe for daily use. Regular cleaning not only improves the quality of your ice but also extends the lifespan of your machine, making it a worthwhile investment in both time and effort.
Using this countertop ice maker cleaning solution, you can keep your appliance in top shape and enjoy fresh, clean ice every day. Regular maintenance, combined with thorough cleaning practices, ensures that your ice maker remains efficient and hygienic. Remember, a well-maintained ice maker is crucial for both your health and the longevity of the appliance. So, make cleaning a regular part of your kitchen routine.
Reassembly
After thoroughly cleaning and drying all the components of your countertop ice maker, it’s time to put everything back together. This step is crucial to ensure the appliance functions correctly and safely. Here’s a detailed guide to reassembling your ice maker:
Putting the Ice Maker Back Together
- Inspect Each Part: Before reassembling, inspect each component to ensure it’s completely clean and free from any cleaning solution residue. Pay special attention to small parts that might have been overlooked.
- Reattach the Removable Components: Start by reattaching the removable parts such as the ice scoop, ice bin, and any internal trays or holders. Make sure each piece fits snugly and securely.
- Reconnect Electrical Components: If any electrical parts were disconnected during cleaning, carefully reconnect them. Ensure that all connections are tight and there are no loose wires.
- Align and Secure: Align all parts correctly according to the user manual. Secure any screws or clips that hold the components in place.
Ensuring All Parts are Dry
- Check for Moisture: Before reassembling, ensure all parts are thoroughly dry. Any remaining moisture can lead to mold growth or malfunction.
- Air Dry Components: If necessary, allow the components to air dry for a bit longer. Using a clean, dry cloth can help speed up this process.
- Use a Hair Dryer: For parts that are difficult to dry, consider using a hair dryer on a cool setting. This can help remove moisture from crevices and hard-to-reach areas.
Proper reassembly is essential to maintain the efficiency and longevity of your countertop ice maker. Ensuring all parts are dry and securely in place prevents issues like mold growth and mechanical failures. By following these steps, you can enjoy fresh, clean ice every time.
Final Steps: Ensuring a Thorough Clean
Running a Cleaning Cycle
After you’ve meticulously scrubbed every part of your countertop ice maker, it’s time to run a cleaning cycle. This step ensures that any remaining debris or cleaning solution is flushed out, leaving your ice maker pristine.
- Reassemble Your Ice Maker: Once all components are dry, carefully put your ice maker back together. Ensure each part is securely in place to avoid any malfunctions during the cleaning cycle.
- Prepare the Cleaning Solution: Fill the water reservoir with a countertop ice maker cleaning solution or a mixture of vinegar and water (one part vinegar to ten parts water). This solution will help dissolve any mineral deposits or residues that may have been missed during manual cleaning.
- Run the Cycle: Plug in your ice maker and run it through a standard cycle. This process circulates the cleaning solution through the machine, ensuring internal components are thoroughly cleaned.
- Rinse: After the cleaning cycle is complete, drain the cleaning solution and refill the reservoir with fresh water. Run another cycle with just water to rinse out any remaining cleaning solution.
Discarding the First Batch of Ice
The first batch of ice produced after cleaning may still contain traces of the cleaning solution or debris. It’s essential to discard this batch to ensure the ice you use is fresh and free from contaminants.
- Check for Residual Cleaning Solution: After the rinse cycle, inspect the ice maker for any lingering cleaning solution. If necessary, repeat the rinse cycle until all traces are gone.
- Monitor Ice Quality: The first batch of ice should be clear and free of any off-tastes or odors. If you notice any issues, run additional rinse cycles.
Summary
Completing these final steps guarantees that your countertop ice maker is not only clean but also safe to use. Regular maintenance, including running a cleaning cycle and discarding the first batch of ice, helps ensure your ice maker remains efficient and your ice stays pure. By following these detailed steps, you can enjoy the best performance from your countertop ice maker and prolong its lifespan.
Regularly using a countertop ice maker cleaning solution and adhering to these maintenance practices will keep your appliance in top condition, providing you with clean, refreshing ice for all your needs.
Troubleshooting Common Issues
Maintaining your countertop ice maker involves more than just regular cleaning. Sometimes, you might encounter issues like bad-tasting ice, slow ice production, or mold. These problems can be frustrating, but with the right knowledge and countertop ice maker cleaning solutions, they are manageable. Here’s how to address these common problems effectively. https://amzn.to/3WoePQf
Bad Taste in Ice
One of the most common complaints is that the ice tastes bad. This issue can be caused by several factors:
- Dirty Water Reservoir: If the water reservoir isn’t cleaned regularly, it can lead to a build-up of minerals and contaminants that affect the taste of your ice.
- Stale Water: Water that has been sitting in the reservoir for too long can develop an off taste.
- Dirty Components: Parts like the ice bin and the scoop can also affect the ice’s taste if they aren’t cleaned properly.
Solutions and Preventive Measures:
- Regular Cleaning: Ensure you clean the water reservoir, ice bin, and other removable parts regularly using a vinegar solution or a commercial ice maker cleaner.
- Use Fresh Water: Always use fresh, filtered water in your ice maker. Avoid leaving water in the reservoir for extended periods.
- Rinse Thoroughly: After cleaning, rinse all components thoroughly to remove any cleaning solution residue.
Slow Ice Production
Another common issue is slow ice production, which can be particularly annoying when you need ice quickly.
- Clogged Water Line: A clogged water line can restrict the flow of water into the ice maker, slowing down production.
- Low Temperature: If the ambient temperature around the ice maker is too high, it can slow down the freezing process.
- Dirty Coils or Filters: Dust and debris on the coils or filters can reduce the efficiency of the ice maker.
Solutions and Preventive Measures:
- Clean the Water Line: Check and clean the water line to ensure there are no blockages. Regularly flushing the line can prevent clogs.
- Optimal Placement: Place your ice maker in a cool, well-ventilated area. Avoid placing it near heat sources or in direct sunlight.
- Clean Coils and Filters: Regularly clean the coils and filters to ensure they are free from dust and debris. This can significantly improve the efficiency of your ice maker.
Mold and Mildew
Mold and mildew can develop in your ice maker, particularly if it is not cleaned regularly. This not only affects the taste of your ice but can also pose health risks.
- Damp Environment: Ice makers provide a moist environment, which is ideal for mold and mildew growth.
- Lack of Cleaning: Infrequent cleaning can lead to mold and mildew build-up in hard-to-reach areas.
Solutions and Preventive Measures:
- Regular Deep Cleaning: Perform a deep cleaning of your ice maker at least once a month. Use a mixture of vinegar and water or a specialized ice maker cleaner to kill mold and mildew.
- Dry Components: After cleaning, ensure all parts are thoroughly dried before reassembling. This helps to prevent mold growth.
- Air Circulation: Ensure there is good air circulation around your ice maker to reduce moisture build-up.
Summary
Addressing these common issues with your countertop ice maker cleaning solutions involves regular maintenance and using the right cleaning techniques. By following these tips, you can ensure that your ice maker operates efficiently and produces clean, great-tasting ice. Remember, the key to a well-maintained ice maker is regular cleaning and proper care of all its components.
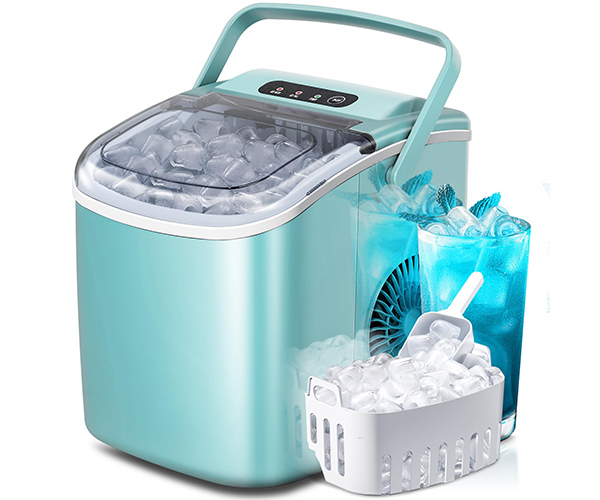
Maintenance Tips
Regular maintenance is essential to keep your countertop ice maker running smoothly and to extend its lifespan. Here are some best practices and tips for ensuring your ice maker remains in top condition.
Regular Maintenance Practices
- Daily Cleaning Routine:
- Wipe down the exterior: Use a damp cloth to remove any dust or spills.
- Check the water levels: Ensure there is enough water in the reservoir to prevent the machine from running dry.
- Weekly Maintenance:
- Deep clean the interior: Use a mild countertop ice maker cleaning solution or a mixture of vinegar and water to clean the ice bin and water reservoir. This helps remove any buildup that could affect the taste and quality of the ice.
- Inspect for mold or mildew: Check for any signs of mold in the ice bin or water reservoir. If found, clean immediately with a disinfectant.
- Monthly Maintenance:
- Run a cleaning cycle: Many ice makers have a self-cleaning cycle. Use this feature with a recommended cleaning solution to ensure the machine is thoroughly cleaned internally.
- Descale the machine: If you have hard water, descaling is crucial. Use a descaling solution to remove mineral deposits that can hinder the machine’s performance.
- Seasonal Checks:
- Full disassembly and clean: Every few months, fully disassemble the machine to clean each component. This includes the ice scoop, water filter, and any removable trays.
- Check for wear and tear: Inspect all parts for any signs of damage or wear. Replace parts as necessary to maintain optimal performance.
Tips for Extending the Lifespan of Your Ice Maker
- Use Filtered Water: Always use filtered or distilled water in your ice maker. This reduces the likelihood of mineral buildup and improves the taste of the ice.
- Avoid Overloading: Do not overfill the ice bin or water reservoir. Overloading can strain the machine and reduce its efficiency.
- Keep It in a Cool Place: Ensure your ice maker is placed in a cool, well-ventilated area. Avoid placing it near heat sources or in direct sunlight.
- Regularly Replace Filters: If your ice maker uses a water filter, replace it according to the manufacturer’s recommendations. This ensures clean water is used for ice production.
- Clean After Long Periods of Non-Use: If you haven’t used your ice maker in a while, clean it thoroughly before starting it up again. This helps remove any stale water or buildup that may have occurred during inactivity.
- Check for Leaks: Regularly inspect the machine for any signs of leaks. Addressing leaks promptly can prevent water damage and prolong the machine’s life.
- Follow Manufacturer’s Instructions: Always adhere to the maintenance guidelines provided in the user manual. The manufacturer’s instructions are tailored to your specific model and will help you avoid common issues.
By following these regular maintenance practices and tips, you can ensure your countertop ice maker cleaning solution is effective, and your ice maker remains in excellent condition for years to come. Regular care not only improves the quality of your ice but also helps avoid costly repairs and replacements.
In conclusion, a little effort goes a long way in maintaining your countertop ice maker. Keep it clean, inspect it regularly, and follow these tips to enjoy perfectly chilled drinks with fresh, clean ice.
Conclusion
Recapping the essential points:
- Regular countertop ice maker cleaning solution usage ensures your appliance runs efficiently and produces high-quality ice.
- Understanding the components and cleaning each part thoroughly prevents buildup and potential damage.
- Following a consistent cleaning schedule, ideally once a month, helps maintain optimal performance and longevity.
- Using the right tools and supplies, including a mixture of vinegar and water or a specialized cleaner, ensures thorough cleaning.
- Troubleshooting common issues like bad taste, slow ice production, and mold growth can prevent larger problems.
- Routine maintenance, such as descaling and regular checks, keeps your ice maker in top shape.
Maintaining your countertop ice maker cleaning solution is not just a one-time effort but an ongoing practice that pays off in the long run. By integrating these steps into your regular cleaning routine, you ensure that your ice maker remains reliable, efficient, and safe to use. Remember, a little effort now can save you from more significant issues down the road, allowing you to enjoy fresh, clean ice anytime you need it. Keep your ice maker in excellent condition with these simple yet effective cleaning and maintenance tips.
FAQs
1. How often should I clean my countertop ice maker?
Answer: It’s recommended to clean your countertop ice maker every month. Regular cleaning helps maintain the quality of the ice, ensures efficient operation, and extends the appliance’s lifespan. If you use your ice maker frequently, consider cleaning it more often to prevent buildup of minerals and other residues.
2. What supplies do I need to clean my countertop ice maker?
Answer: To clean your countertop ice maker, you’ll need:
- Warm water
- White vinegar or a specialized ice maker cleaning solution
- A soft cloth or sponge
- A toothbrush or small brush for scrubbing hard-to-reach areas
- A drying towel These supplies help ensure that all parts of the ice maker are thoroughly cleaned and sanitized.
3. Can I use bleach to clean my ice maker?
Answer: While bleach can be used for deep cleaning, it must be diluted properly (1 tablespoon of bleach per gallon of water) and thoroughly rinsed out afterward. However, white vinegar or a commercial countertop ice maker cleaning solution is generally safer and effective for regular cleaning, as it is less harsh and easier to rinse out completely.
4. How do I clean the ice bin and water reservoir?
Answer: Empty the ice bin and discard any remaining ice. Remove the bin and wash it with warm, soapy water. Rinse thoroughly and dry it before placing it back. For the water reservoir, mix equal parts of white vinegar and water, pour it into the reservoir, and let it sit for about 10-15 minutes. Scrub gently with a soft brush, rinse thoroughly, and dry with a clean towel.
5. What should I do if my ice maker has a moldy smell?
Answer: A moldy smell indicates the presence of mold or mildew. Clean the ice maker using a solution of vinegar and water, focusing on the interior surfaces and the ice bin. For persistent odors, consider using a commercial countertop ice maker cleaning solution. Ensure the ice maker is completely dry after cleaning to prevent mold growth.
6. How can I prevent mineral buildup in my ice maker?
Answer: To prevent mineral buildup, use filtered or distilled water in your ice maker. Regularly clean the water reservoir and other components with a vinegar solution to dissolve any minerals. Descaling the machine every few months can also help remove any buildup and maintain the ice maker’s efficiency.
7. How do I clean the exterior of my countertop ice maker?
Answer: Wipe down the exterior surfaces with a soft cloth dampened with warm, soapy water. Avoid using abrasive cleaners or scrubbers that could damage the finish. For stainless steel surfaces, you can use a stainless steel cleaner to maintain the shine and prevent smudges.
8. What should I do if my ice maker stops producing ice?
Answer: If your ice maker stops producing ice, check for common issues such as a clogged water line, a dirty water filter, or ice blockages. Clean the machine thoroughly, including the water reservoir and ice bin. Ensure the appliance is plugged in and properly connected to a water source. If problems persist, consult the manufacturer’s troubleshooting guide or contact customer support for further assistance.
