Introduction
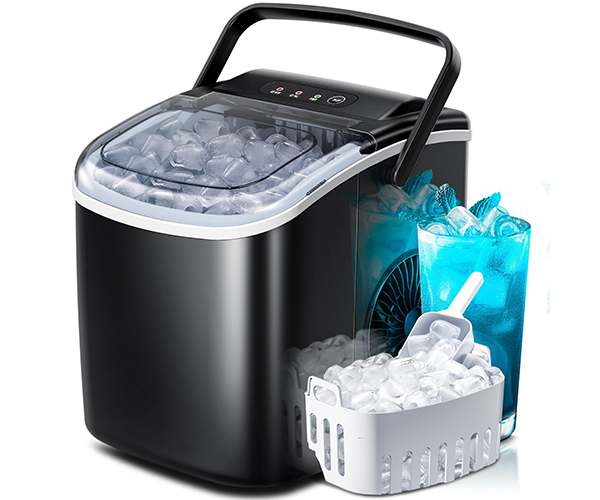
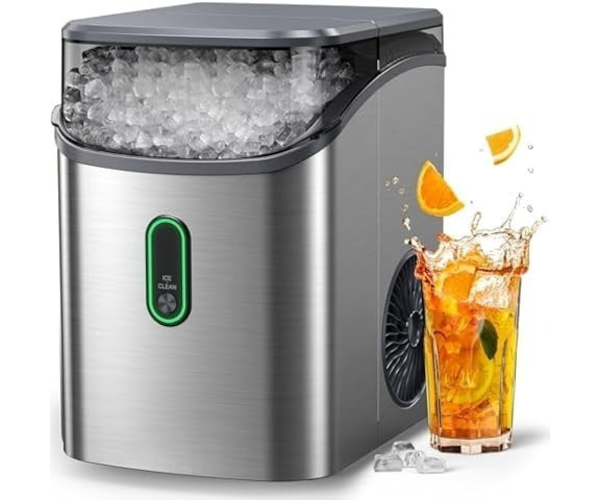
Picture yourself on a sweltering summer’s day, wanting something cool to drink. When you go to use your reliable countertop ice maker, you discover that the unit is slow and the ice tastes strange. Yes, it is frustrating. This frequent problem is frequently caused by not giving the ice maker regular cleaning. A well-maintained ice maker not only yields better-tasting ice but also guarantees longer and more efficient operation. We’ll go over all you need to know in this tutorial, from knowing the various models to solving typical issues, about cleaning your countertop ice maker. You’ll have acquired all the necessary skills and information by the end to maintain your ice machine.https://amzn.to/3WoePQf
Understanding Your Countertop Ice Maker
Types of Countertop Ice Makers
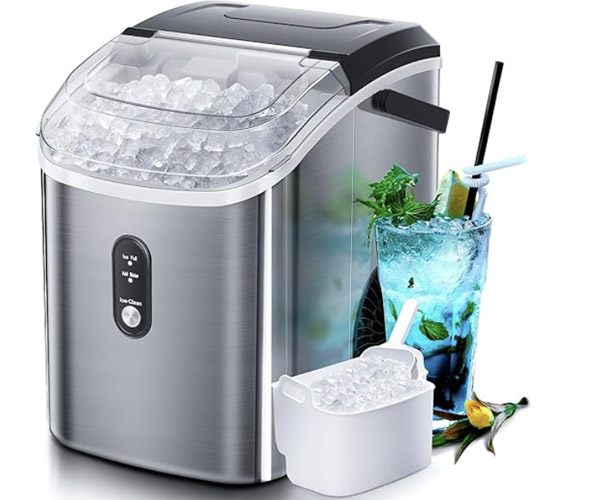
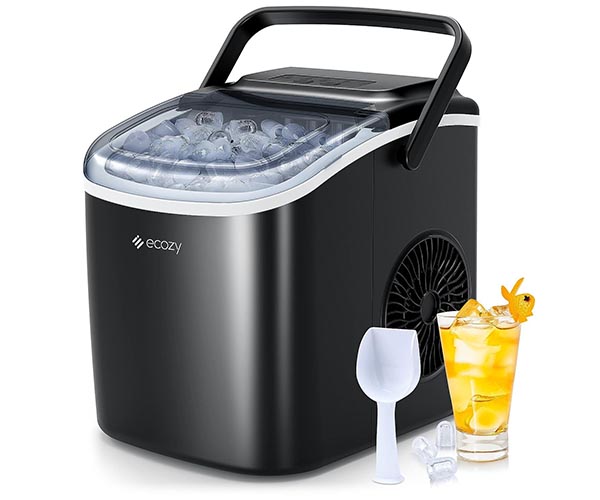
Countertop ice makers come in various models, each designed to meet specific needs. Here are some common types and their unique features:
- Compact Models: Ideal for small kitchens or office spaces, these portable ice makers are lightweight and easy to store when not in use. They typically produce ice quickly and are user-friendly.
- High-Capacity Models: Suitable for larger households or frequent entertainers, these models can produce more ice and often have larger storage bins. They may also come with advanced features like self-cleaning functions and digital displays.
- Bullet Ice Makers: These machines produce cylindrical ice with a hollow center, known for their rapid production and efficiency. They are perfect for beverages and quick cooling needs.
- Nugget Ice Makers: Popular for their soft, chewable ice, these machines are often found in restaurants but are becoming more common in home use due to their unique ice texture. They tend to be more expensive and require more maintenance.
- Clear Ice Makers: These models produce crystal-clear ice by reducing air bubbles and impurities. They are preferred for their aesthetic appeal in drinks and are typically found in higher-end models.
Each type of ice maker has its advantages, and understanding these can help you choose the right one for your needs.
Common Problems Due to Lack of Cleaning
Regular cleaning of your countertop ice maker is crucial to ensure optimal performance and ice quality. Here are some common issues that arise from neglecting to clean your ice maker:
- Bad Taste: Over time, mineral deposits and mold can build up inside the machine, leading to off-tasting ice. Using a cleaning solution like vinegar or lemon juice regularly can prevent this.
- Slow Ice Production: If the ice maker’s components are dirty or clogged, it can slow down the ice-making process. Regular maintenance, including cleaning the filters and vents, can help maintain efficient ice production.
- Mechanical Problems: Dirt and debris can cause mechanical failures, such as the ice maker not ejecting ice properly or the machine making unusual noises. Keeping the machine clean can prevent these issues and prolong the life of the appliance.
- Mold and Mildew: The damp environment inside an ice maker can lead to mold and mildew growth if not cleaned regularly. This not only affects ice quality but can also pose health risks.
- Clogged Water Lines: Minerals and impurities in the water can clog the machine’s water lines, leading to reduced ice production or even complete blockage. Regularly running a cleaning cycle with a descaling solution can prevent this.
By addressing these common problems with regular cleaning, you can ensure that your countertop ice maker continues to produce high-quality ice and operates efficiently. Cleaning your countertop ice maker not only enhances the taste and clarity of the ice but also extends the machine’s lifespan, making it a worthwhile investment in maintaining your kitchen appliances.
Remember to follow a consistent cleaning schedule and use the appropriate tools and solutions to keep your ice maker in top condition. This proactive approach will save you time and money in the long run, while also ensuring that you always have fresh, clean ice at your disposal. https://amzn.to/3WoePQf
Essential Tools and Supplies for Cleaning Your Countertop Ice Maker
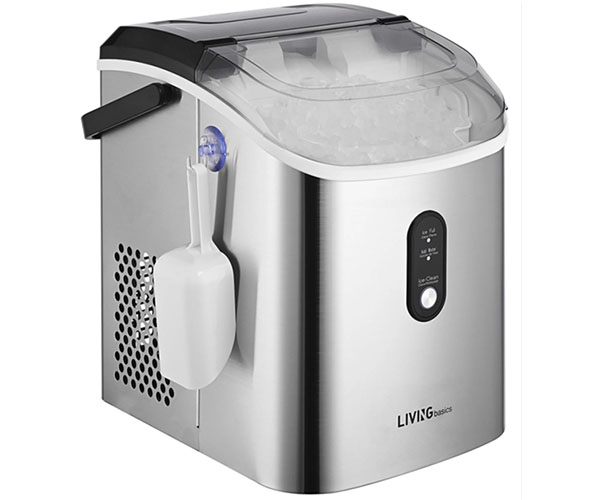
When it comes to cleaning your countertop ice maker, having the right tools and supplies is crucial for a thorough and efficient job. Here’s a detailed list of what you’ll need and why each item is important.
Cleaning Tools
To ensure your ice maker is spotless, gather the following tools:
- Soft Cloths: Use soft cloths for wiping down surfaces without scratching them. Microfiber cloths are particularly effective at trapping dirt and grime.
- Brushes: A variety of brushes will be useful, especially those with soft bristles. A small toothbrush can help reach tight corners and crevices inside the ice maker.
- Toothpicks: These are perfect for dislodging small bits of debris from hard-to-reach places, such as vents and corners.
- Small Vacuum: A handheld vacuum can be handy for cleaning out vents and other areas where dust accumulates.
- Bucket or Basin: For soaking removable parts, a bucket or basin filled with cleaning solution will be necessary.
- Gloves: Protect your hands from harsh cleaning solutions and any sharp edges inside the machine.
Cleaning Solutions
Choosing the right cleaning solution is essential for cleaning your countertop ice maker effectively while avoiding damage to the machine. Here are some recommended solutions:
- Vinegar: Vinegar is a natural disinfectant and deodorizer. It’s effective at breaking down mineral deposits and eliminating bacteria. Mix a solution of equal parts water and white vinegar for a powerful yet safe cleaner.
- Lemon Juice: Like vinegar, lemon juice is acidic and can break down build-up. It also leaves a fresh scent. Use lemon juice in a similar mix as vinegar—equal parts water and lemon juice.
- Commercial Cleaning Solutions: There are specially formulated ice maker cleaning solutions available on the market. These are designed to be safe for use in ice makers and often come with detailed instructions. Ensure any commercial solution is compatible with your specific ice maker model.
Detailed Cleaning Procedure
Once you have gathered all the necessary tools and cleaning solutions, you can begin the cleaning process. Here’s a step-by-step guide to ensure every part of your ice maker is thoroughly cleaned.
- Preparation
- Turn Off and Unplug: Always start by turning off and unplugging your ice maker to avoid any electrical hazards.
- Empty the Ice Maker: Remove any ice and water from the machine to ensure nothing interferes with the cleaning process.
- Disassemble Removable Parts
- Remove Parts: Carefully take out any removable parts, such as the ice tray, water reservoir, and filters.
- Soak Parts: Place these parts in a bucket or basin filled with your chosen cleaning solution. Allow them to soak while you clean the rest of the machine.
- Cleaning the Exterior
- Wipe Down: Use a soft cloth dampened with your cleaning solution to wipe down the exterior surfaces of the ice maker. Pay special attention to any buttons or knobs.
- Scrub Stubborn Spots: Use a brush to gently scrub away any stubborn spots or stains.
- Cleaning the Interior
- Scrub Inside: Use a brush to clean the interior of the ice maker, focusing on the water reservoir and ice tray areas. Toothpicks can help dislodge debris from tight spots.
- Rinse: After scrubbing, use a clean cloth dampened with water to wipe away any residue.
- Cleaning the Filters and Vents
- Vacuum Dust: Use a small vacuum to clean out dust from vents and filters.
- Clean Filters: Wash or replace filters according to the manufacturer’s instructions to ensure optimal performance.
- Reassemble and Run a Cleaning Cycle
- Reassemble Parts: Once all parts are clean and dry, reassemble the ice maker.
- Run Cleaning Cycle: Run a cleaning cycle using fresh water to rinse out any remaining cleaning solution. This step is crucial to ensure no cleaning residues affect the ice quality.
By following these steps and using the right tools and solutions, you can maintain a clean and efficient countertop ice maker. Regular cleaning not only improves the taste of your ice but also extends the life of your machine, ensuring you always have fresh, clean ice on hand.
Step-by-Step Cleaning Guide
Preparation
To ensure safety before cleaning your countertop ice maker, follow these steps:
- Turn Off: Switch off the ice maker using the power button or switch.
- Unplug: Carefully unplug the machine from the electrical outlet to prevent any risk of electric shock.
Empty the Ice Maker
Removing existing ice and water from your ice maker is crucial for a thorough deep clean.
- Remove Ice: Take out all the ice cubes and dispose of them. If the ice maker has a storage bin, empty it completely.
- Drain Water: If your machine has a water reservoir, drain any remaining water. Use a small container to catch the water if necessary.
Disassemble Removable Parts
To properly clean your ice maker, you need to disassemble its removable parts.
- Refer to Manual: Check the user manual for instructions on which parts can be removed safely.
- Remove Parts: Take out the ice tray, water reservoir, and any other detachable components.
- Set Aside: Place these parts on a clean towel or surface, ready for individual cleaning.
Cleaning the Exterior
Wiping down the outer surfaces helps maintain the machine’s appearance and hygiene.
- Soft Cloth: Use a soft, damp cloth to wipe the exterior of the ice maker.
- Mild Detergent: For stubborn stains, use a mild detergent diluted in water.
- Drying: After cleaning, dry the surfaces with a clean, dry cloth to prevent water spots.
Cleaning the Interior
For a comprehensive deep clean of your countertop ice maker, focus on the interior.
- Prepare Solution: Mix a cleaning solution of one part vinegar to one part water. Alternatively, use a commercial ice maker cleaner.
- Wipe Interior: Dip a soft cloth in the solution and wipe down the interior surfaces, including the walls and floor of the ice chamber.
- Scrub Tough Spots: Use a small brush or toothbrush to scrub any tough spots or build-up, especially in the corners.
- Rinse: After cleaning, wipe the interior with a cloth dampened with clean water to remove any cleaning solution residue.
- Dry: Let the interior air dry or use a dry cloth to speed up the process.
Cleaning the Filters and Vents
Keeping filters and vents clean is essential for the efficient operation of your ice maker.
- Check Manual: Refer to the user manual to locate the filters and vents.
- Remove Filters: If the filters are removable, take them out carefully.
- Clean Filters: Rinse the filters under running water and let them air dry. If they are clogged, replace them as needed.
- Dust Vents: Use a small vacuum or a brush to remove dust and debris from the vents. Ensure they are completely clear to allow proper airflow.
Reassemble and Run a Cleaning Cycle
Putting the machine back together correctly ensures it functions properly after cleaning.
- Reassemble Parts: Carefully reattach all the removable parts, ensuring they are securely in place.
- Fill with Water: Fill the water reservoir with clean water. If recommended by the manufacturer, add a small amount of cleaning solution.
- Run Cleaning Cycle: Turn on the machine and run a cleaning cycle to flush out any remaining residues. If your machine doesn’t have a cleaning cycle, let it make a batch of ice and discard the ice.
- Final Rinse: For an extra measure, run a cycle with clean water only to ensure all cleaning solutions are removed.
By following these steps, you can maintain a clean and efficient countertop ice maker, ensuring the best quality ice for your drinks. Regular cleaning not only improves ice quality but also extends the lifespan of your machine, making it a worthwhile investment in your kitchen’s functionality.
Maintenance Tips to Keep Your Ice Maker Clean
Keeping your countertop ice maker in pristine condition not only ensures you have great-tasting ice but also extends the life of your machine. Here are some detailed tips on maintaining your ice maker:
Regular Cleaning Schedule
- Monthly Deep Clean: At least once a month, perform a deep clean of your countertop ice maker. This involves disassembling removable parts, scrubbing the interior, and running a cleaning cycle with a commercial cleaner or vinegar solution. Regular deep cleaning prevents the build-up of mold, mildew, and mineral deposits, ensuring your ice maker functions efficiently and produces clean ice.
- Bi-Weekly Check: Every two weeks, check for any signs of build-up or residue. A quick inspection can help you catch issues before they become major problems.
Quick Clean After Each Use
- Daily Wipe Down: After each use, take a few moments to wipe down the exterior and interior surfaces of your ice maker with a damp cloth. This prevents dust and grime from accumulating, which can affect the taste and quality of your ice.
- Empty and Dry: Ensure any remaining ice and water are emptied out at the end of the day. Leaving water in the machine can lead to scale build-up and provide a breeding ground for bacteria.
- Regular Filter Check: If your ice maker has a filter, make sure to check and clean it regularly. A clogged filter can impede the machine’s performance and the quality of the ice.
Storing the Ice Maker
- Thorough Cleaning Before Storage: If you plan to store your ice maker for an extended period, perform a thorough cleaning first. Disassemble removable parts and clean each one individually. Ensure all parts are completely dry before reassembling.
- Dry Environment: Store the ice maker in a dry, cool place to prevent mold and mildew growth. Moist environments can cause components to rust and degrade.
- Protect from Dust: Cover the ice maker to keep dust and debris from settling into the machine. This will make it easier to start using again when you take it out of storage.
- Regular Checks During Storage: Periodically check on the stored ice maker to ensure no moisture or dust has infiltrated. This helps in maintaining the machine in ready-to-use condition.
By following these maintenance tips, you can ensure your countertop ice maker remains in excellent condition, providing you with high-quality ice whenever you need it. Regular maintenance not only improves the efficiency of your machine but also extends its lifespan, saving you money in the long run.
Remember, the key to a long-lasting, efficient ice maker is regular care and attention. Implement these tips and enjoy the benefits of clean, refreshing ice for years to come.
Troubleshooting Common Issues
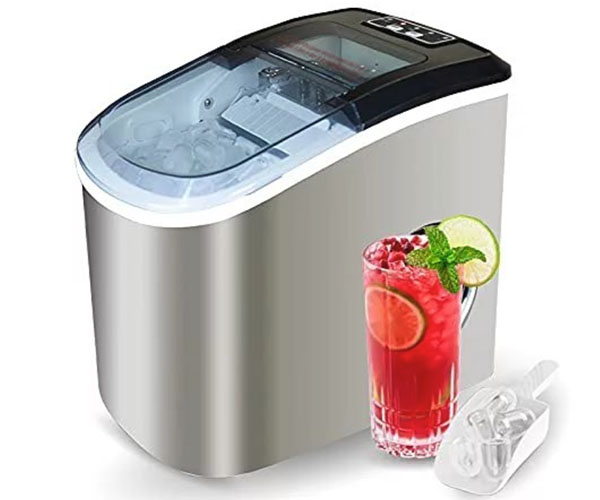
When it comes to maintaining your countertop ice maker, addressing common issues promptly can save you time and prevent larger problems down the line. Here are some detailed troubleshooting tips for the most common issues:
Ice Tastes Bad
If your ice tastes bad, there could be several reasons for this issue. Here are the possible causes and their solutions:
- Residue Build-Up: Over time, mineral deposits and other residues can accumulate inside your ice maker, affecting the taste of the ice.
- Solution: Regularly clean your ice maker using a countertop ice maker cleaning solution such as vinegar or a commercial cleaner specifically designed for ice makers. Ensure all parts are thoroughly rinsed after cleaning to remove any cleaning solution residues.
- Impurities in the Water: The quality of the water used can significantly impact the taste of the ice.
- Solution: Use filtered or bottled water to make ice. Consider installing a water filter if your ice maker supports one. Regularly replace the water in the reservoir to avoid stale water.
- Mold and Mildew: Mold or mildew can grow inside the ice maker if it is not cleaned regularly, leading to a bad taste.
- Solution: Clean the ice maker thoroughly with a solution of water and vinegar. Ensure all parts are completely dry before reassembling the machine.
Ice Maker is Slow or Not Making Ice
If your ice maker is producing ice slowly or not making ice at all, it could be due to several common issues:
- Clogged Filters or Vents: Dust and debris can clog the filters and vents, reducing airflow and cooling efficiency.
- Solution: Regularly check and clean the filters and vents. Use a small vacuum or a brush to remove any accumulated dust.
- Low Water Levels: The ice maker requires a sufficient amount of water to function correctly.
- Solution: Ensure the water reservoir is filled to the appropriate level. Avoid using distilled water, as some ice makers are designed to work with mineralized water.
- Incorrect Temperature: The ambient temperature around the ice maker can affect its efficiency. If it’s too hot, the ice maker will struggle to produce ice.
- Solution: Place the ice maker in a cool, well-ventilated area away from direct sunlight or heat sources.
- Mechanical Issues: Components like the water pump or motor may fail, hindering ice production.
- Solution: If cleaning and adjusting the placement don’t resolve the issue, consult the manufacturer’s troubleshooting guide or contact customer support for assistance.
Mechanical Issues
Some problems may require professional repair, especially when dealing with mechanical components:
- Malfunctioning Motor: If the motor fails, the ice maker will not be able to produce ice.
- Solution: Listen for unusual noises or vibrations. If you suspect a motor issue, contact a professional technician for diagnosis and repair.
- Faulty Thermostat: The thermostat controls the temperature within the ice maker. If it’s faulty, the ice maker may not reach the necessary temperature to produce ice.
- Solution: Check the manufacturer’s guidelines for thermostat settings. If the ice maker remains too warm, a professional repair might be necessary.
- Broken Water Pump: The water pump circulates water within the ice maker. If it breaks, the machine will be unable to produce ice.
- Solution: Observe if the machine is struggling to pump water. If so, professional replacement of the water pump may be required.
- Electrical Issues: Problems with the electrical components can prevent the ice maker from functioning correctly.
- Solution: Ensure that the ice maker is properly plugged in and that the outlet is functioning. If electrical problems persist, a professional repair service is recommended.
By addressing these common issues with appropriate solutions, you can ensure that your countertop ice maker remains in optimal condition. Regular use of a countertop ice maker cleaning solution and adherence to maintenance tips will keep your machine running smoothly and producing clean, great-tasting ice.
Frequently Asked Questions
Can I Use Bleach to Clean My Ice Maker?
Using bleach to clean your ice maker is possible, but it requires caution. Bleach is a powerful disinfectant that can effectively kill bacteria and mold, but it must be used in the correct dilution and rinsed thoroughly to avoid leaving harmful residues. Here’s a safe way to use bleach:
- Dilute Properly: Use a solution of 1 tablespoon of bleach per gallon of water.
- Apply Carefully: Clean all removable parts and surfaces with the bleach solution.
- Rinse Thoroughly: Ensure all parts are rinsed multiple times with clean water to remove any bleach residue.
- Run a Cleaning Cycle: After reassembling, run a full cleaning cycle with water to ensure any remaining bleach is flushed out. While bleach is effective, many prefer natural cleaning solutions like vinegar or commercial ice maker cleaning solutions for ease and safety.
How Often Should I Clean My Ice Maker?
Regular maintenance is crucial for the longevity and performance of your ice maker. The frequency of cleaning can depend on usage, but a general guideline is:
- Every Few Weeks: For regular use, clean your ice maker every 2 to 4 weeks to prevent build-up and ensure optimal performance.
- After Each Use: Wipe down the machine and remove any leftover ice to prevent bacteria growth.
- Deep Clean: Perform a thorough cleaning every 3 months, especially if the ice maker is in frequent use or in a humid environment.
- Signs of Trouble: If you notice your ice has an off taste, reduced output, or the machine is noisier than usual, it’s time for a cleaning regardless of the last cleaning date.
What is the Best Cleaning Solution for Ice Makers?
Choosing the right cleaning solution is key to maintaining your ice maker’s efficiency and ensuring the ice quality. Here are some popular options:
- Vinegar Solution: A natural and effective cleaning solution. Mix equal parts of water and white vinegar. Vinegar is excellent for dissolving mineral deposits and killing bacteria.
- Commercial Ice Maker Cleaners: These products are specifically designed for ice makers and are highly effective. Follow the manufacturer’s instructions for the best results.
- Lemon Juice: Another natural cleaner, lemon juice not only cleans but also leaves a pleasant smell. Mix lemon juice with water in equal parts for an effective cleaning solution.
- Baking Soda: For tougher stains, a baking soda paste (baking soda mixed with a little water) can be very effective. Apply the paste to the affected areas, scrub gently, and rinse thoroughly.
Additional Tips for Cleaning Your Countertop Ice Maker
Here are a few more tips to ensure your countertop ice maker stays in great shape:
- Use Filtered Water: Using filtered water can reduce mineral build-up and improve the taste of your ice.
- Dry Thoroughly: After cleaning, ensure all parts are completely dry before reassembling to prevent mold and mildew.
- Store Properly: If you’re not using the ice maker for a while, clean it thoroughly, dry it, and store it in a dry place to prevent dust and bacteria from accumulating.
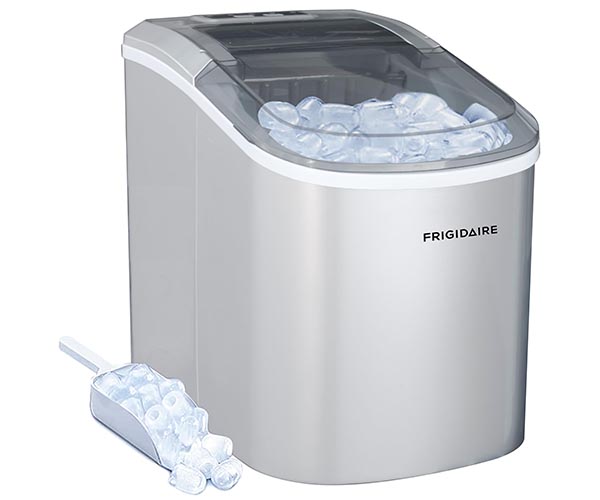
By following these guidelines and maintaining a regular cleaning schedule, you can ensure that your countertop ice maker remains a reliable and efficient appliance in your kitchen. Remember, a clean ice maker not only performs better but also provides you with cleaner, better-tasting ice.
Conclusion
- Summary: Regular cleaning of your countertop ice maker is crucial to ensure it produces clean, great-tasting ice and operates efficiently. The cleaning process involves a few simple steps: gather your cleaning tools and solutions, prepare the machine by turning it off and emptying it, disassemble and clean all removable parts, wipe down the exterior and interior, clean the filters and vents, and finally, reassemble the machine and run a cleaning cycle.
- Encouragement: Implementing these cleaning practices regularly will significantly enhance the performance and longevity of your countertop ice maker. By dedicating a little time to maintenance, you’ll avoid common issues like bad-tasting ice, slow production, and mechanical failures. Imagine the satisfaction of having consistently fresh ice and a smoothly running machine, just by following these straightforward steps!
- Call to Action: Now that you’re equipped with all the information needed to keep your countertop ice maker in top condition, we’d love to hear from you! Share your own tips or experiences in the comments below. Have a favorite countertop ice maker cleaning solution or a unique trick that works wonders? Let’s create a community of well-informed ice maker owners who can help each other out. Your insights might just be the cleaning solution someone else has been searching for!
By following this guide, you’ll not only ensure your ice is clean and delicious but also extend the life of your countertop ice maker. Regular maintenance is a small investment of time that pays off with a consistently well-performing machine. So why wait? Start your cleaning routine today and enjoy the benefits of a well-maintained ice maker.

