Introduction
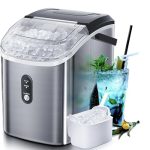
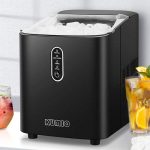
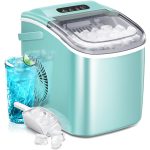
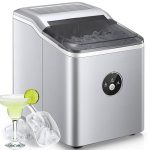
Countertop ice makers have become a staple in modern kitchens, providing a convenient and efficient solution for producing ice on demand. These compact devices are especially beneficial for households and businesses that require a steady supply of ice. Among the various types of ice makers available, those with water line connections offer significant advantages, including continuous ice production and improved convenience. This comprehensive guide will walk you through the process of connecting your countertop ice maker to a water line, ensuring you can enjoy all the benefits of this efficient appliance.
Section 1: Understanding the Basics
1.1 What is a Countertop Ice Maker with Water Line?
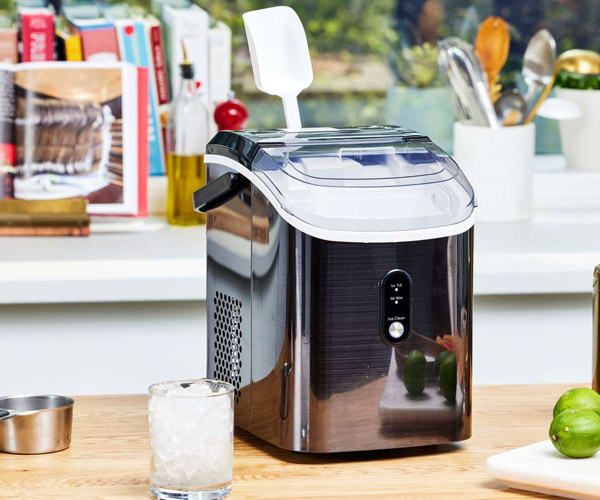
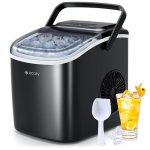
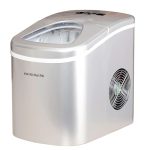
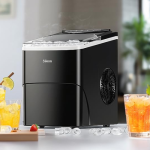
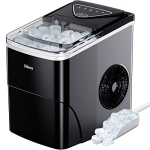
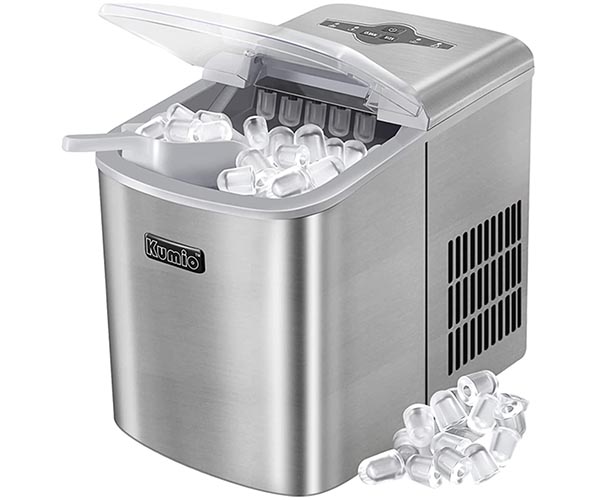
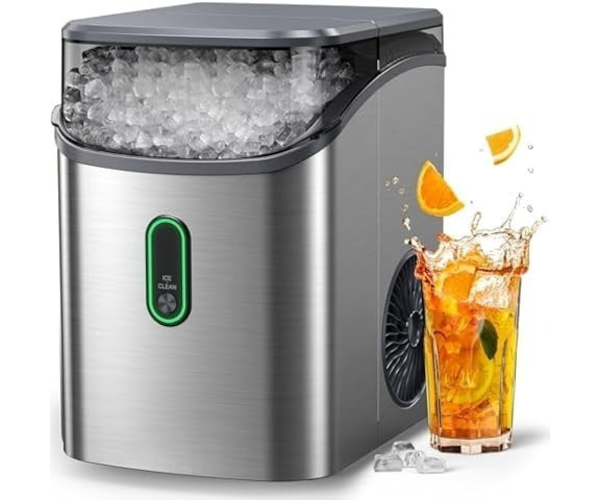
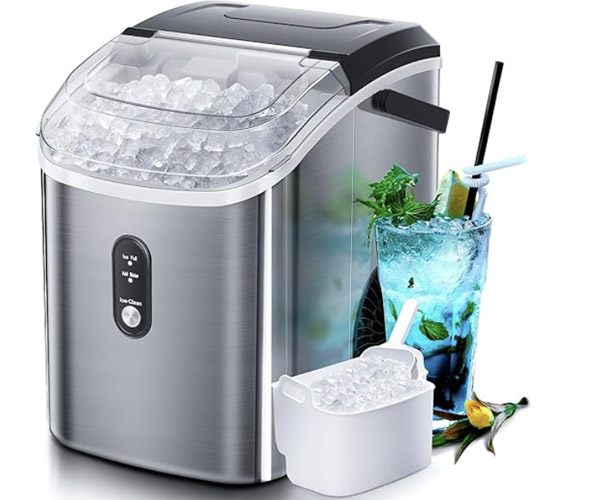
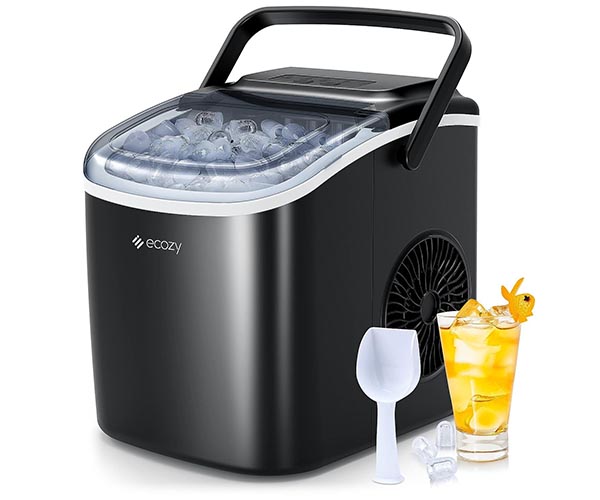
A countertop ice maker with a water line is a compact, portable appliance designed to produce ice continuously by connecting directly to your home’s water supply. Unlike manual fill models, which require users to refill a water reservoir, water line models draw water automatically from a connected plumbing system. This setup ensures a constant supply of water, allowing the ice maker to produce ice uninterrupted. https://amzn.to/3Yy9VSt
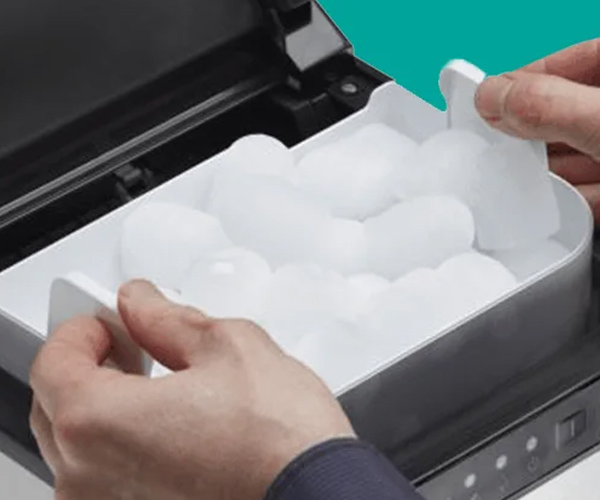
These ice makers typically include key components such as a water inlet valve, compressor, evaporator, condenser, thermostat, ice bin, and filters. The water inlet valve regulates the flow of water into the machine, while the compressor compresses the refrigerant that cools the water in the evaporator, forming ice. The thermostat ensures the water reaches the appropriate freezing temperature, and the ice is stored in the ice bin until needed. Filters remove impurities from the water, ensuring that the ice produced is clean and safe to consume.
1.2 Benefits of Connecting to a Water Line
Continuous Supply of Ice
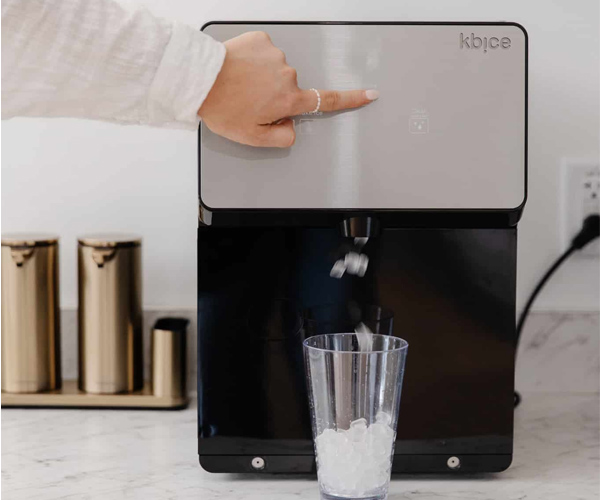
One of the primary benefits of a countertop ice maker with a water line is the continuous supply of ice it provides. This feature is particularly advantageous in busy households and commercial settings where the demand for ice is high. With a water line connection, the ice maker can produce ice continuously without the need for manual refilling, ensuring there is always an adequate supply on hand.
Convenience and Time-Saving
The convenience of a continuous water supply cannot be overstated. By eliminating the need for manual refilling, water line ice makers save valuable time and effort, allowing users to focus on other tasks. This efficiency is particularly beneficial during peak usage times when the demand for ice is highest.
Improved Efficiency and Ice Quality
Water line ice makers are designed to produce ice consistently and efficiently. The continuous water supply allows the machine to operate at optimal capacity, reducing the risk of running out of ice. Additionally, many models come equipped with advanced filtration systems that improve the quality of the water used, resulting in clearer, better-tasting ice. The increased production capacity of these ice makers makes them ideal for settings with high ice demand, such as restaurants, bars, and large households.
1.3 Safety Precautions
Importance of Following Safety Guidelines
When installing a countertop ice maker with a water line, it is crucial to follow safety guidelines to prevent accidents and ensure the proper functioning of the appliance. Neglecting safety measures can lead to water damage, electrical hazards, and malfunctioning of the ice maker.
Necessary Safety Gear and Tools
Before starting the installation, gather all necessary safety gear and tools. Safety gear may include gloves, safety goggles, and a dust mask. Essential tools typically include a drill, adjustable wrench, tubing cutter, Teflon tape, and the water line kit provided with the ice maker. Having these items ready will ensure a smooth and safe installation process.
Section 2: Preparation
2.1 Assessing Your Space
Choosing the Right Location for Installation
Selecting the appropriate location for your countertop ice maker is the first step in the installation process. The location should be near a water supply and power outlet to facilitate easy connection and operation. Additionally, ensure there is enough space for the ice maker to operate efficiently without obstructing other appliances or causing inconvenience.
Ensuring Proper Ventilation and Accessibility
Proper ventilation is crucial for the efficient operation of the ice maker. Ensure there is adequate space around the ice maker for air circulation, which helps prevent overheating and ensures optimal performance. Accessibility is also important, as you will need to access the ice maker for regular cleaning and maintenance.
2.2 Gathering Necessary Tools and Materials
List of Tools
- Drill: Used for making holes to secure the water line.
- Adjustable Wrench: For tightening connections.
- Tubing Cutter: To cut the water tubing to the appropriate length.
- Teflon Tape: To seal connections and prevent leaks.
List of Materials
- Water Line Kit: Typically includes tubing, saddle valve, and connectors.
- Teflon Tape: Used to ensure leak-proof connections.
- User Manual: Provided by the manufacturer, containing specific instructions for your model.
2.3 Understanding Your Ice Maker and Water Line Kit
Components of the Ice Maker
Familiarize yourself with the components of your countertop ice maker. These typically include the water inlet valve, compressor, evaporator, condenser, thermostat, ice bin, and filters. Understanding these components will help you during the installation process.
Components of the Water Line Kit
The water line kit usually includes tubing, a saddle valve, and various connectors. The tubing connects the water supply to the ice maker, while the saddle valve is used to tap into the existing water line. The connectors ensure secure connections between the tubing and the water supply.
Reading the Manufacturer’s Manual
Before beginning the installation, thoroughly read the manufacturer’s manual provided with your ice maker. The manual will contain specific instructions and safety precautions for your model, ensuring a smooth and successful installation process.
Section 3: Step-by-Step Installation Guide
3.1 Turning Off the Water Supply
Locating the Main Water Supply Valve
Before starting the installation, locate the main water supply valve. This valve is typically found near the water meter or where the main water line enters your home. Knowing the location of the valve is crucial for controlling the water flow during the installation process.
Steps to Turn Off the Water Supply Safely
To turn off the water supply, follow these steps:
- Locate the main water supply valve.
- Turn the valve clockwise to close it.
- Open a faucet to release any remaining water in the pipes, reducing pressure and preventing leaks during the installation.
3.2 Connecting the Water Line
Attaching the Saddle Valve to the Nearest Cold Water Pipe
The saddle valve is used to tap into the existing cold water supply. To attach the saddle valve:
- Choose a location on the cold water pipe that is easily accessible.
- Clean the area around the chosen location.
- Place the saddle valve on the pipe and tighten it using the provided screws or clamps.
- Ensure the valve is securely attached and does not move.
Securing the Connection with Teflon Tape
To prevent leaks, use Teflon tape on all threaded connections. Wrap the tape around the threads of the valve and the connectors, ensuring a tight and secure fit. This step is crucial for maintaining a leak-free connection. https://amzn.to/3Yy9VSt
3.3 Running the Tubing
Measuring and Cutting the Tubing to the Appropriate Length
Measure the distance from the saddle valve to the ice maker’s water inlet valve. Cut the tubing to the appropriate length using a tubing cutter. Ensure the cut is clean and straight to prevent leaks.
Securing the Tubing with Clamps
Secure the tubing along its path using clamps. This will prevent the tubing from moving or kinking, ensuring a steady and reliable flow of water. Make sure the tubing is not stretched or bent too sharply, as this can cause blockages or leaks.
3.4 Attaching the Tubing to the Ice Maker
Connecting the Tubing to the Water Inlet Valve
Connect the end of the tubing to the water inlet valve on the ice maker. Use an adjustable wrench to tighten the connection, ensuring it is secure and leak-free. Apply Teflon tape to the threads for additional security.
3.5 Turning On the Water Supply
Steps to Turn the Water Supply Back On
Once the tubing is securely connected, turn the main water supply valve counterclockwise to open it. Slowly open the valve to prevent sudden pressure changes that could cause leaks.
Checking for Leaks and Ensuring a Secure Fit
After turning on the water supply, inspect all connections for leaks. If any leaks are detected, tighten the connections and apply additional Teflon tape as needed. Ensure all connections are secure and the tubing is properly supported.
3.6 Testing the Ice Maker
Plugging in the Ice Maker and Turning It On
Plug the ice maker into a power outlet and turn it on. Follow the manufacturer’s instructions for initial setup and calibration. Ensure the ice maker is receiving water and starting the ice production process.
Running a Test Cycle to Ensure Proper Functionality
Run a test cycle to ensure the ice maker is functioning correctly. Check for proper ice production and inspect the ice for quality and clarity. If any issues are detected, refer to the troubleshooting section of the manufacturer’s manual.
Section 4: Common Installation Challenges and Solutions
4.1 Leaks and How to Fix Them
Identifying Common Causes of Leaks
Leaks can occur due to loose connections, damaged tubing, or improper installation of the saddle valve. Identifying the source of the leak is the first step in fixing it.
Steps to Address and Fix Leaks
To fix leaks, follow these steps:
- Tighten all connections using an adjustable wrench.
- Apply Teflon tape to threaded connections to ensure a secure fit.
- Inspect the tubing for any cuts or damage and replace if necessary.
- Ensure the saddle valve is properly attached and tightened.
4.2 Water Pressure Issues
Ensuring the Water Pressure is Within the Recommended Range
Ice makers require a certain water pressure range to function correctly. Check the manufacturer’s manual for the recommended pressure range and use a pressure gauge to measure your water supply’s pressure.
Solutions for High or Low Water Pressure
If the water pressure is too high, consider installing a pressure regulator to reduce it to the recommended level. If the pressure is too low, check for any blockages in the water line or consult a plumber to address the issue.
4.3 Clogs and Blockages
Identifying Signs of Clogs
Clogs can restrict water flow and affect the ice maker’s performance. Signs of clogs include reduced water flow, slow ice production, and poor ice quality.
Cleaning and Maintaining the Water Line
To prevent and address clogs, regularly clean and maintain the water line. Flush the line with a mixture of water and vinegar or a commercial cleaner to remove any mineral deposits or debris.
Section 5: Post-Installation Tips
5.1 Regular Maintenance
Cleaning the Ice Maker and Water Line Regularly
Regular cleaning is essential to maintain the performance and longevity of your ice maker. Clean the ice maker and water line every six months or more frequently if you notice a decline in performance.
Replacing Water Filters
Replace the water filter according to the manufacturer’s recommendations, typically every six months. A clean filter ensures the ice produced is free from impurities and maintains the quality of the ice. https://amzn.to/3Yy9VSt
5.2 Monitoring Performance
Keeping an Eye on Ice Production and Quality
Monitor the ice maker’s performance regularly. Check the quantity and quality of the ice produced, and address any issues promptly to prevent further problems.
Addressing Any Issues Promptly
If you notice any decline in performance or quality, address the issue immediately. Refer to the troubleshooting section of the manufacturer’s manual or consult a professional if necessary.
5.3 When to Call a Professional
Recognizing Problems That Require Professional Help
Some issues may require professional assistance, such as persistent leaks, electrical problems, or major malfunctions. Recognizing when to call a professional can prevent further damage and ensure the ice maker functions correctly.
Finding Reliable Technicians
When seeking professional help, look for reliable technicians with experience in installing and repairing ice makers. Check reviews and ask for recommendations to find a trustworthy service provider.
Section 6: Frequently Asked Questions (FAQs)
FAQ 1: Can I install the water line myself, or do I need a professional?
While many people can successfully install a water line themselves by following the manufacturer’s instructions and this guide, some may prefer to hire a professional, especially if they are uncomfortable with plumbing tasks. A professional can ensure the installation is done correctly and safely.
FAQ 2: How often should I replace the water filter in my ice maker?
The water filter should be replaced every six months or according to the manufacturer’s recommendations. Regular filter replacement ensures the ice produced is clean and free from impurities.
FAQ 3: What should I do if my ice maker stops producing ice?
If your ice maker stops producing ice, check the water supply, ensure the water line is not clogged, and inspect the water inlet valve. Refer to the troubleshooting section of the manufacturer’s manual for further guidance.
FAQ 4: How do I ensure the water line is properly secured and leak-free?
To ensure the water line is properly secured and leak-free, tighten all connections, use Teflon tape on threaded connections, and regularly inspect the tubing for damage. Address any leaks immediately to prevent further issues.
FAQ 5: What are the signs that my water line is clogged and needs cleaning?
Signs of a clogged water line include reduced water flow, slow ice production, and poor ice quality. If you notice these signs, flush the water line with a mixture of water and vinegar or a commercial cleaner to remove any blockages.
Conclusion
Connecting your countertop ice maker to a water line is a smart choice that offers numerous benefits, including a continuous supply of ice, improved efficiency, and convenience. By following this comprehensive installation guide, you can ensure a successful and hassle-free setup. Regular maintenance and prompt attention to any issues will keep your ice maker running smoothly for years to come. Enjoy the convenience and efficiency of a countertop ice maker with a water line and enhance your kitchen experience.
Additional Resources
Recommended Products for Ice Maker Maintenance
- Water Filters
- Commercial Ice Maker Cleaners
- Tubing and Connectors
Contact Information for Professional Installation Services
- Local Plumbers
- Appliance Technicians
- Installation Service Providers
By using this guide, you can confidently install and maintain your countertop ice maker with a water line, ensuring optimal performance and a continuous supply of high-quality ice. https://amzn.to/3Yy9VSt
References
- GE Profile Opal Nugget Ice Maker Product Page
- NewAir Countertop Ice Maker Product Page
- Igloo ICEB26HNBK Portable Electric Countertop Ice Maker Product Page
- Scotsman SCN60PA-1SS
- EUHOMY Nugget Ice Maker Countertop
- Silonn Ice Maker Countertop
Additional Resources
[Which countertop ice maker with freezer is best?]
[How often should you clean your countertop ice maker?]
[What happens if you don’t clean your countertop ice maker regularly?]
[How does a countertop ice maker work?]
[How to install a countertop ice maker?]
[How often to descale a countertop ice maker?]
[Buying Guide: Countertop Ice Makers with Water Line Connection]
[Kitchen Upgrade Ideas: Countertop Ice Makers with Water Line]

