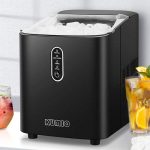
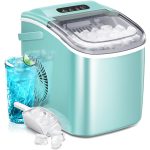
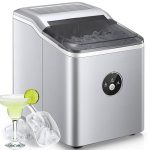
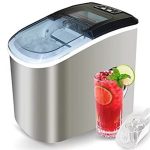
Introduction
Regular cleaning of your countertop ice maker with freezer storage is essential for maintaining optimal performance, ice quality, and hygiene. A clean ice maker not only produces better-tasting ice but also operates more efficiently and lasts longer. Over time, ice makers can accumulate dirt, mold, and mineral deposits that can affect their performance and the quality of the ice produced. In this comprehensive guide, we will provide a detailed, step-by-step process for cleaning your countertop ice maker with freezer storage, ensuring it remains in excellent condition. This article will cover everything from understanding the components of your ice maker to troubleshooting common issues, making it a valuable resource for both new and experienced users.
1. Understanding Your Countertop Ice Maker with Freezer Storage
1.1 Basic Components of an Ice Maker with Freezer
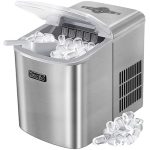
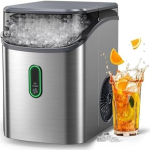
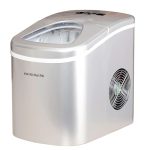
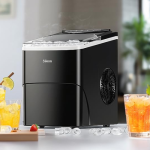
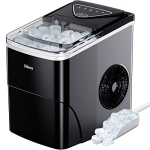
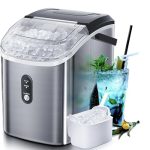
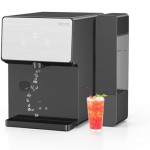
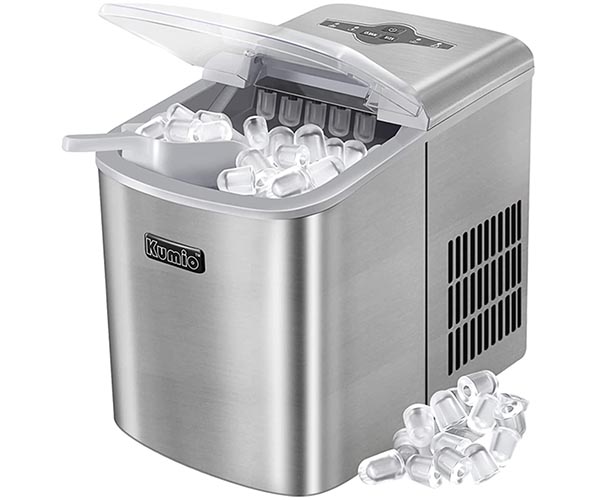
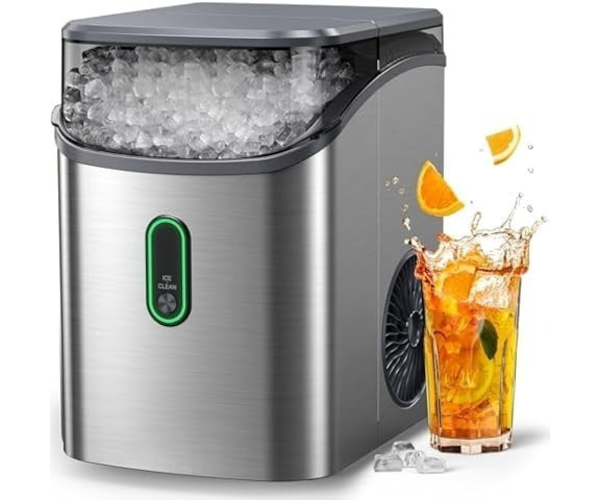
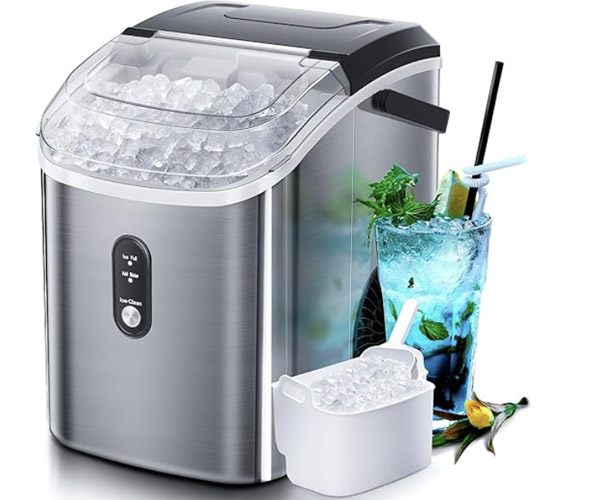
To effectively clean your countertop ice maker with freezer storage, it’s important to understand its basic components. These include:
- Ice-Making Unit: This is where the ice is produced. It typically consists of molds where water is frozen to form ice.
- Freezer Compartment: This section stores the ice and keeps it frozen. It is equipped with a cooling system to maintain a low temperature.
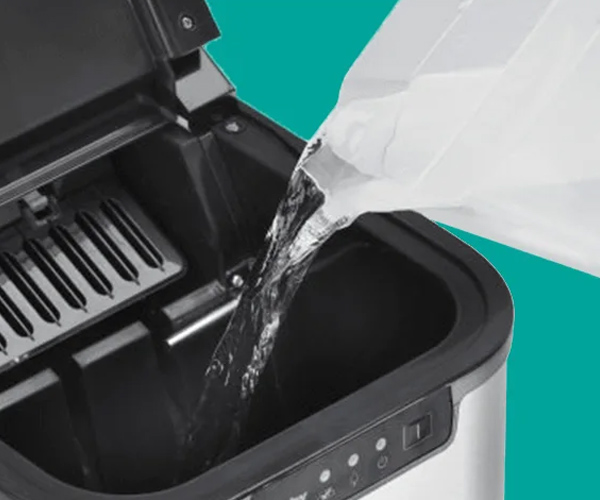
- Water Reservoir: This tank holds the water that will be turned into ice. It needs to be filled regularly unless the unit is plumbed directly to a water source.
- Ice Bin/Storage Compartment: Once the ice is made, it is transferred to the ice bin, where it is stored until used.
- Control Panel and Indicators: These controls allow you to set the ice-making parameters, such as ice size and production speed. Indicators notify you of the machine’s status, such as when it needs more water or when the ice bin is full.
Understanding these components will help you identify which parts need to be cleaned and how to access them. https://amzn.to/3WF7jQa
1.2 How Often Should You Clean Your Ice Maker?
The frequency of cleaning your countertop ice maker with freezer storage depends on how often you use it and the water quality. Generally, it is recommended to clean the ice maker every few weeks. However, there are specific signs that indicate your ice maker needs cleaning:
- Decreased Ice Production: If the ice maker is producing less ice than usual, it could be due to mineral build-up or mold.
- Unpleasant Taste or Odor: Ice that tastes or smells bad is a clear sign that your ice maker needs cleaning.
- Visible Dirt or Mold: Any visible dirt, mold, or slime inside the ice maker or freezer compartment requires immediate cleaning.
- Ice Quality: Cloudy or misshapen ice can indicate that the ice maker needs to be cleaned and descaled.
By keeping an eye out for these signs and establishing a regular cleaning schedule, you can ensure your ice maker remains efficient and produces high-quality ice.
2. Preparing for Cleaning
2.1 Gathering Necessary Supplies
Before you begin cleaning your countertop ice maker with freezer storage, gather all the necessary supplies. Having everything on hand will make the process smoother and more efficient. Here’s what you’ll need:
- Mild Detergent or Ice Maker Cleaner: A gentle cleaner that won’t damage the ice maker’s components. Specialized ice maker cleaners are available and recommended for thorough cleaning.
- White Vinegar or Lemon Juice: These natural acids are effective for descaling and removing mineral deposits.
- Soft Cloths or Sponges: Use these to wipe down the surfaces without scratching them.
- Soft Brush: A toothbrush or bottle brush can help clean hard-to-reach areas.
- Clean Water: For rinsing the components thoroughly after cleaning.
Having these supplies ready ensures you won’t have to stop in the middle of the process to find something you need.
2.2 Safety Precautions
Safety is crucial when cleaning any electrical appliance. Before you start cleaning your countertop ice maker with freezer storage, follow these safety precautions:
- Unplug the Ice Maker: Ensure the ice maker is unplugged to avoid any risk of electrical shock.
- Turn Off the Unit: If your model has a power switch, make sure it is turned off.
- Cool Down: Allow the ice maker and freezer compartment to cool down before cleaning. This prevents burns and ensures you don’t damage the unit with sudden temperature changes.
- Handle Cleaning Solutions Safely: Use gloves if necessary, especially when using vinegar or commercial cleaners. Ensure the area is well-ventilated.
These precautions help protect both you and your ice maker during the cleaning process.
3. Step-by-Step Cleaning Guide
3.1 Initial Steps
Before you start the actual cleaning, there are a few preliminary steps to prepare your countertop ice maker with freezer storage:
- Remove All Ice: Empty the ice bin completely. Dispose of any remaining ice to ensure you start with a clean slate.
- Drain the Water Reservoir: If your ice maker has a water drain, use it to empty the reservoir. For models without a drain, manually remove the water using a sponge or towel.
3.2 Cleaning the Exterior
The exterior of your ice maker can accumulate dust, fingerprints, and spills. Keeping it clean not only improves its appearance but also ensures the control panel functions properly:
- Wipe Down the Exterior: Use a soft cloth dampened with a mild detergent solution to wipe down all exterior surfaces.
- Clean the Control Panel: Pay special attention to the control panel and buttons, ensuring they are free from grime and sticky residues. Avoid excessive moisture to prevent damage to electronic components.
3.3 Cleaning the Interior
Cleaning the interior of your countertop ice maker with freezer storage is crucial for hygiene and ice quality:
- Remove and Clean the Ice Bin: Take out the ice bin and wash it with warm soapy water. Rinse thoroughly and dry it completely before reassembling.
- Clean the Water Reservoir: Use a mixture of water and mild detergent or vinegar to clean the reservoir. Scrub gently with a soft brush to remove any build-up. Rinse well to remove all cleaning residues.
- Clean the Ice Molds and Freezing Elements: Wipe down the ice molds and any freezing elements with a soft cloth soaked in a mild cleaning solution. Use a soft brush for hard-to-reach areas.
3.4 Descaling the Ice Maker
Descaling is essential to remove mineral deposits that can affect ice production and quality:
- Prepare a Descaling Solution: Mix equal parts of white vinegar and water or use a commercial descaling solution according to the manufacturer’s instructions.
- Run a Cleaning Cycle: Fill the water reservoir with the descaling solution and run a cleaning cycle if your machine has this feature. Otherwise, let the solution sit in the reservoir for about 30 minutes.
- Rinse Thoroughly: After descaling, drain the solution and rinse the reservoir and ice maker components thoroughly with clean water. Run a few cycles with plain water to ensure all residues are removed. https://amzn.to/3WF7jQa
3.5 Cleaning the Freezer Compartment
The freezer compartment should also be cleaned to ensure it remains free from mold and odors:
- Defrost if Necessary: If there is any ice build-up, defrost the compartment by turning off the unit and allowing the ice to melt. Catch the water with towels or a tray.
- Wipe Down the Interior: Use a mild detergent solution or vinegar to clean the interior surfaces of the freezer. Rinse with clean water and dry thoroughly.
- Ensure Proper Drainage and Ventilation: Check that any drainage systems are clear and that ventilation is not obstructed.
3.6 Final Rinse and Assembly
Once all components are clean, it’s time to reassemble your ice maker:
- Rinse All Components: Ensure that all parts that came into contact with cleaning solutions are thoroughly rinsed with clean water.
- Dry All Parts: Allow all components to dry completely to prevent any mold or bacteria growth.
- Reassemble the Ice Maker: Put all the components back in their respective places. Plug in the unit and perform a test run to ensure everything is functioning correctly.
4. Special Cleaning Considerations
4.1 Dealing with Mold and Mildew
Mold and mildew can develop in damp environments, making regular cleaning essential:
- Identifying Mold and Mildew: Look for black or green spots and musty odors, which are clear indicators of mold and mildew.
- Effective Cleaning Solutions: Use a mixture of one part bleach to ten parts water or a commercial mold cleaner. Apply with a soft brush and scrub the affected areas thoroughly.
- Preventing Mold Growth: Keep the ice maker dry when not in use and ensure proper ventilation. Regular cleaning and maintenance can prevent mold from returning.
4.2 Addressing Hard Water Deposits
Hard water deposits can reduce the efficiency of your ice maker:
- Recognizing Hard Water Build-Up: Look for white or chalky deposits on the interior surfaces of your ice maker.
- Using Descaling Solutions: Regularly descale your ice maker using vinegar or a commercial descaling solution to remove hard water deposits.
- Preventative Measures: Consider using filtered or distilled water to minimize mineral deposits. Installing a water softener can also help if you have hard water.
4.3 Cleaning Self-Cleaning Models
Some countertop ice makers come with a self-cleaning function:
- Understanding Self-Cleaning Functions: Refer to your user manual to understand how the self-cleaning feature works and which parts it cleans.
- Initiating a Self-Cleaning Cycle: Follow the instructions to start a self-cleaning cycle. This typically involves filling the reservoir with a cleaning solution and activating the cycle.
- Manual Cleaning: Even with a self-cleaning function, some areas may require manual cleaning. Focus on parts that the self-cleaning cycle may not reach, such as the exterior and ice bin.
5. Maintenance Tips for Longevity
5.1 Regular Maintenance Schedule
Establishing a regular maintenance schedule helps keep your ice maker in top condition:
- Monthly Tasks: Clean the water reservoir and ice bin, wipe down the exterior, and check for any visible dirt or mold.
- Quarterly Tasks: Descale the ice maker, inspect the water filter (if applicable), and perform a thorough cleaning of all components.
- Annual Tasks: Conduct a comprehensive inspection of the ice maker, including all internal components, and replace any worn parts or filters.
5.2 Using Filtered Water
Using filtered water can significantly improve the performance and longevity of your ice maker:
- Benefits of Filtered Water: Reduces mineral build-up, improves ice quality, and prevents unpleasant tastes and odors.
- Installing and Replacing Water Filters: If your ice maker has a water filter, ensure it is installed correctly and replace it according to the manufacturer’s recommendations.
5.3 Storing the Ice Maker
If you need to store your ice maker for an extended period, proper storage techniques are essential:
- Ensure the Unit is Dry: Thoroughly dry all components to prevent mold and mildew growth.
- Clean Before Storing: Perform a complete cleaning and descaling cycle before storing the ice maker.
- Proper Storage Conditions: Store the ice maker in a cool, dry place, away from direct sunlight and extreme temperatures.
6. Troubleshooting Common Issues
6.1 Ice Maker Not Producing Ice
If your ice maker stops producing ice, several issues could be at play:
- Power Supply: Ensure the machine is properly plugged in and receiving power. Check the circuit breaker if necessary.
- Water Supply: Verify that the water reservoir is filled or that the water line is properly connected and not blocked.
- Temperature Settings: Check the temperature settings of the freezer compartment. If it’s too warm, the ice maker may not produce ice efficiently.
6.2 Bad Tasting or Smelly Ice
Bad-tasting or smelly ice is usually due to impurities or residues in the ice maker:
- Cleaning the Reservoir: Ensure the water reservoir is clean and free from old water.
- Using Filtered Water: Switch to filtered or distilled water to improve ice taste.
- Regular Cleaning: Perform regular cleaning and descaling to remove any residues that can affect ice quality.
6.3 Freezer Compartment Issues
If the freezer compartment is not performing as expected:
- Defrosting: Ensure there is no ice build-up obstructing the airflow.
- Cleaning Vents and Drains: Check that all vents and drainage systems are clear.
- Temperature Settings: Adjust the temperature settings to ensure they are set to the appropriate levels.
7. Conclusion
Regular cleaning and maintenance of your countertop ice maker with freezer storage are essential for ensuring optimal performance, ice quality, and longevity. By understanding the components of your ice maker, following a detailed cleaning routine, and addressing any special considerations, you can keep your appliance in excellent condition. A well-maintained ice maker not only produces better-tasting ice but also operates more efficiently and lasts longer, providing you with a reliable source of ice for all your needs. Remember to establish a regular cleaning schedule and use filtered water to enhance the performance and lifespan of your ice maker. With proper care, your countertop ice maker with freezer storage will continue to serve you well for years to come. https://amzn.to/3WF7jQa
8. References
- GE Profile Opal Nugget Ice Maker Product Page
- NewAir Countertop Ice Maker Product Page
- Igloo ICEB26HNBK Portable Electric Countertop Ice Maker Product Page
- Scotsman SCN60PA-1SS
- EUHOMY Nugget Ice Maker Countertop
- Silonn Ice Maker Countertop
Additional Resources
- [How often should you clean your countertop ice maker?]
- [What happens if you don’t clean your countertop ice maker regularly?]
- [How does a countertop ice maker work?]
- [How to install a countertop ice maker?]
- [How often to descale a countertop ice maker?]
- [Buying Guide: Countertop Ice Makers with Water Line Connection]
- [Kitchen Upgrade Ideas: Countertop Ice Makers with Water Line]
- [Which countertop ice maker with freezer is best?]
8.3 Frequently Asked Questions
Here are some common questions and expert answers about cleaning and maintaining countertop ice makers with freezer storage:
Q: How often should I clean my countertop ice maker?
A: It’s recommended to clean your ice maker every few weeks or as specified in the user manual. Regular cleaning prevents scale build-up and ensures the production of clean, high-quality ice.
Q: Can I leave my ice maker running all the time?
A: Yes, most countertop ice makers are designed to run continuously. However, ensure it has adequate water supply and regular maintenance to prevent issues.
Q: What type of water should I use in my ice maker?
A: It’s best to use filtered or distilled water to prevent mineral deposits and scale build-up, which can affect the machine’s performance and ice quality.
Q: How do I prevent my ice from clumping together?
A: Regularly using the ice maker and ensuring the freezer compartment maintains a consistent temperature can help prevent ice clumping. Some models also feature a stirring mechanism to keep ice separated.
Q: Can I use my ice maker outdoors?
A: Many countertop ice maker are portable and can be used outdoors, provided they are placed in a shaded area and protected from extreme temperatures and weather conditions.
By considering these FAQs and utilizing the additional resources provided, you can confidently select and maintain the best countertop ice maker with freezer storage to meet your needs.


