Introduction
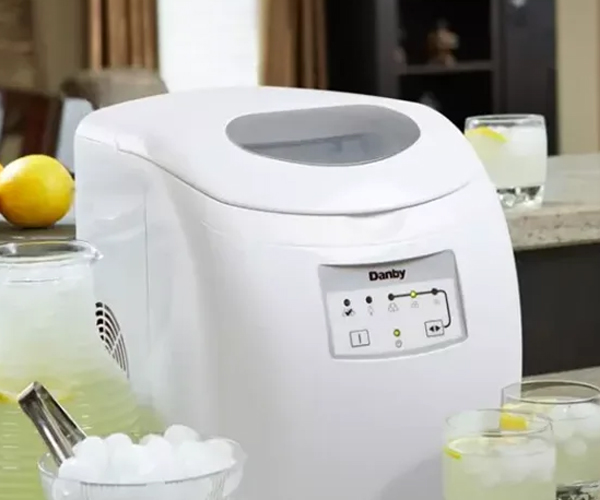
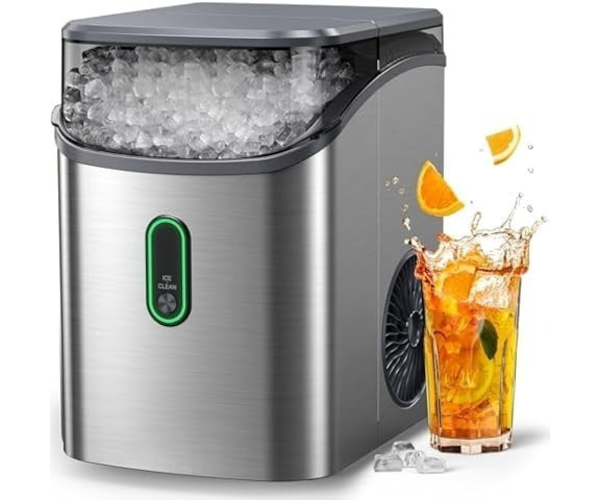
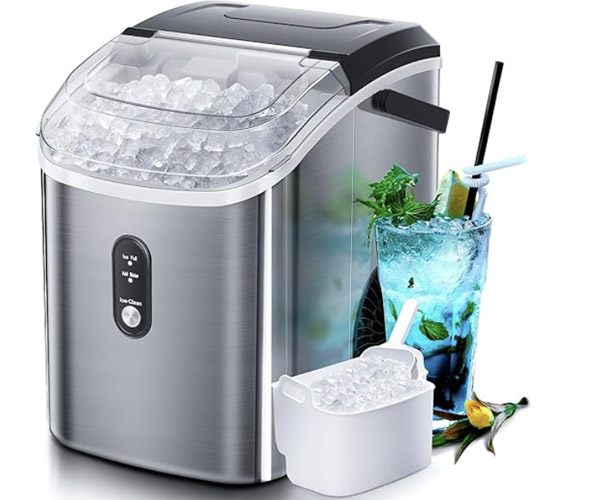
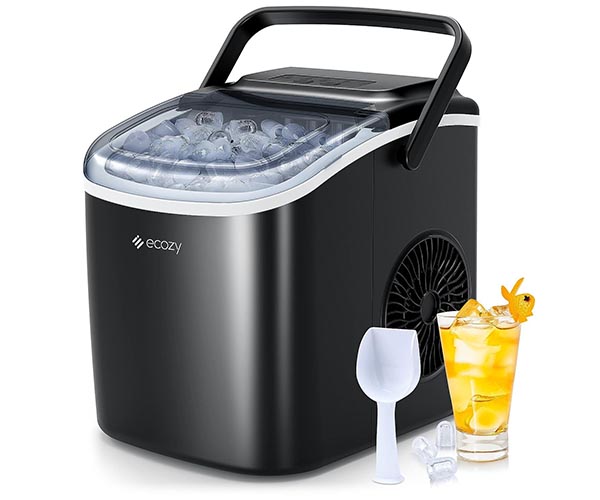
Keeping your countertop ice maker clean is crucial for several reasons. Not only does it ensure you always have fresh, hygienic ice, but it also improves the performance and longevity of your machine. A clean ice maker operates more efficiently, produces better quality ice, and prevents the buildup of mold and bacteria. In this guide, I’ll walk you through the entire process of cleaning your countertop ice maker, sharing tips and tricks I’ve learned along the way. By the end of this post, you’ll have all the knowledge you need to keep your ice maker in tip-top shape, just like a pro. https://amzn.to/3WoePQf
Why Regular Cleaning is Essential
Regularly cleaning countertop ice makers is not just a good habit; it’s essential for ensuring the best performance and longevity of your machine. Here are the key benefits:
- Better Ice Quality: When you keep your ice maker clean, it consistently produces high-quality ice. Dirty machines can lead to cloudy or off-tasting ice, which can affect the flavor of your beverages. Clean machines ensure that the ice is clear and tastes pure.
- Increased Machine Lifespan: Regular cleaning helps to maintain the internal components of your ice maker. Dirt, scale, and mold buildup can cause mechanical issues, leading to frequent breakdowns and reduced efficiency. By keeping your machine clean, you reduce wear and tear, helping it last longer and perform better.
- Prevention of Mold and Bacteria: Ice makers can be breeding grounds for mold and bacteria if not cleaned regularly. These contaminants not only pose health risks but can also lead to unpleasant odors and tastes. Routine cleaning eliminates these risks, ensuring your ice is safe and hygienic.
Frequency of Cleaning
Understanding how often you should be cleaning countertop ice makers is crucial for maintaining their performance and hygiene. Here’s a general guideline:
- Weekly Cleaning: A quick clean of the exterior and ice bin once a week helps to prevent surface grime and minor buildup. This involves wiping down surfaces with a mild detergent and rinsing thoroughly.
- Monthly Deep Cleaning: Once a month, perform a more thorough cleaning. This includes descaling, cleaning the water reservoir, and scrubbing the internal components. Deep cleaning removes mineral deposits and buildup that can affect ice quality and machine performance.
- After Extended Inactivity: If your ice maker has been sitting unused for a while, give it a deep clean before using it again. This ensures any dust, mold, or bacteria that may have accumulated during inactivity are removed.
- After Heavy Use: If you’ve used your ice maker extensively, perhaps during a party or event, consider cleaning it soon after. Heavy use can lead to quicker buildup of dirt and scale.
Regular maintenance and cleaning schedules not only ensure your ice maker’s longevity but also guarantee that every cube of ice you produce is as clean and safe as possible. So, make a routine and stick to it, and your countertop ice maker will serve you well for years to come.
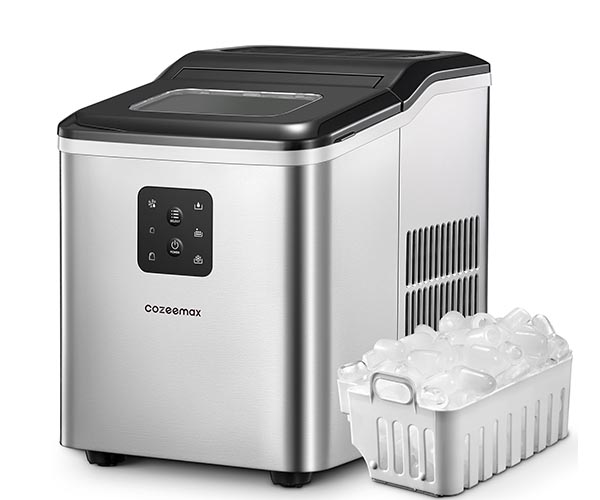
Materials Needed for Cleaning
When it comes to cleaning countertop ice makers, having the right supplies and tools is essential. Here’s a detailed list of what you’ll need to get the job done effectively:
Essential Cleaning Supplies:
- Mild Detergent: A gentle soap that won’t leave harsh residues.
- White Vinegar: Ideal for breaking down mineral deposits and sanitizing.
- Soft Cloths: For wiping down surfaces without scratching them.
- Soft-Bristle Brushes: Useful for scrubbing hard-to-reach areas and internal components.
- Q-tips or Cotton Swabs: Perfect for cleaning small crevices and corners.
- Water: Preferably distilled, to avoid introducing new minerals into the machine.
- Baking Soda: Effective for deodorizing and gentle scrubbing.
Optional: Natural Cleaning Alternatives: If you prefer natural cleaning solutions, you can substitute some of the above items with the following:
- Lemon Juice: A natural acid that can help dissolve mineral buildup and leave a fresh scent.
- Hydrogen Peroxide: An excellent disinfectant that can be used in place of harsher chemicals.
- Essential Oils: Adding a few drops of tea tree or lavender oil to your cleaning solution can provide additional antibacterial properties and a pleasant aroma.
By using these tools and supplies, you can ensure that your ice maker remains clean and efficient, producing high-quality ice every time. In the following sections, I’ll guide you through the detailed steps to clean every part of your countertop ice maker, so stay tuned!
Preparation Before Cleaning
Before you start the actual cleaning process, it’s important to properly prepare your countertop ice maker. This preparation ensures a thorough cleaning and helps avoid any potential damage to the machine. Here’s a step-by-step guide to get you started: https://amzn.to/3WoePQf
Step-by-Step Guide on Preparing the Ice Maker for Cleaning
- Unplug the Ice Maker
- Safety first! Always unplug your ice maker from the electrical outlet before you start cleaning. This prevents any risk of electric shock or damage to the appliance.
- Empty the Ice Bin
- Remove all the ice from the ice bin. You can either use the ice or discard it. This step ensures you can clean the bin thoroughly without any obstacles.
- Remove Removable Parts
- Take out any removable parts such as the ice tray, water reservoir, and any other detachable components. This makes it easier to clean each part separately and more thoroughly.
- Prepare a Cleaning Solution
- Mix a solution of warm water and mild detergent or vinegar. Avoid using harsh chemicals as they can damage the machine and leave harmful residues.
- Gather Cleaning Tools
- Get all your cleaning tools ready. You’ll need soft cloths, a sponge, a soft-bristle brush, and possibly some cotton swabs for hard-to-reach areas.
- Check the Manufacturer’s Instructions
- It’s always a good idea to refer to the manufacturer’s manual for any specific cleaning instructions or precautions. Some parts may require special care.
Safety Precautions
- Unplugging the Machine
- As mentioned, always ensure the machine is unplugged. This is the most crucial step in preventing electrical hazards.
- Use Gentle Cleaners
- Stick to mild detergents or natural cleaners like vinegar. Harsh chemicals can damage the machine and pose health risks if not rinsed properly.
- Handle Removable Parts Carefully
- When removing parts like the ice tray or water reservoir, handle them gently to avoid breaking or damaging any components.
- Avoid Water on Electrical Components
- Be cautious not to get water on any electrical parts of the machine. This can cause short circuits or permanent damage.
- Wear Protective Gear
- If you’re using any cleaning agents, consider wearing gloves to protect your skin. This is especially important if you have sensitive skin or allergies.
By following these preparation steps, you’re setting the stage for an effective and safe deep clean of your countertop ice maker. Proper preparation ensures that every part of the machine can be cleaned thoroughly, resulting in better performance and longevity of your appliance.
In the next section, we’ll dive into the actual cleaning process, detailing how to clean each part of the ice maker meticulously. Stay tuned for a sparkling clean ice maker that churns out perfect ice every time!
Step-by-Step Cleaning Guide
Now, let’s dive into the nitty-gritty of cleaning each part of your countertop ice maker. This guide will ensure a deep clean for your machine, keeping it in perfect working order.
Exterior
Cleaning the exterior of your ice maker is the first step. It’s simple but essential for maintaining a clean and attractive appliance.
- Unplug the Machine: Always start by unplugging the ice maker to ensure safety.
- Wipe Down Surfaces: Use a soft cloth dampened with a mild detergent solution to wipe down all exterior surfaces. Avoid using harsh chemicals or abrasive sponges, as they can damage the finish.
- Dry Completely: After wiping, use a dry cloth to remove any remaining moisture. This prevents water spots and keeps your ice maker looking new.
Water Reservoir
The water reservoir is crucial for producing clean, fresh ice. Here’s how to keep it spotless:
- Empty the Reservoir: First, drain any remaining water from the reservoir.
- Clean with Vinegar Solution: Mix one part vinegar with one part water and fill the reservoir. Let it sit for about 10 minutes to break down any mineral deposits or mold.
- Scrub Gently: Use a soft brush or cloth to scrub the interior, paying special attention to corners and crevices.
- Rinse Thoroughly: Drain the vinegar solution and rinse the reservoir several times with clean water to remove any vinegar residue.
- Dry: Ensure the reservoir is completely dry before refilling it with water.
Ice Bin
The ice bin can harbor bacteria and mold if not cleaned regularly. Here’s how to give it a thorough cleaning:
- Empty the Ice Bin: Remove all ice and any loose pieces.
- Wash with Soap and Water: Use warm water and mild dish soap to wash the bin. Scrub all surfaces, including the bottom and sides.
- Rinse and Sanitize: Rinse the bin thoroughly to remove soap residue. For extra cleanliness, wipe the bin with a solution of one tablespoon of bleach in a gallon of water.
- Dry Completely: Let the bin air dry or use a clean towel to dry it before placing it back in the machine.
Internal Components (Filters, Pumps, etc.)
The internal components require careful attention to ensure they function properly and produce clean ice.
- Remove and Inspect Filters: If your ice maker has filters, remove them and inspect for any buildup or damage.
- Clean or Replace Filters: Clean the filters according to the manufacturer’s instructions. If they are damaged or excessively dirty, replace them.
- Clean the Pumps and Tubes: Use a small brush to clean the pumps and tubes. Make sure to remove any mineral deposits or mold.
- Sanitize Internal Components: Run a sanitizing solution (one tablespoon of bleach per gallon of water) through the system. Fill the water reservoir with the solution and run the ice maker as usual, then discard the ice produced.
- Flush the System: Run several cycles of clean water through the system to flush out any remaining bleach solution.
Tips for Thorough Cleaning
To ensure your countertop ice maker stays in top condition, consider these additional tips:
- Regular Maintenance: Clean your ice maker every two to three months, or more frequently if you use it daily.
- Use Filtered Water: Using filtered water can reduce mineral deposits and improve the taste and quality of your ice.
- Inspect for Mold: Regularly check for signs of mold or mildew, especially in the water reservoir and ice bin.
- Deep Clean Monthly: For optimal performance, perform a deep clean once a month. This includes cleaning all internal components and running a sanitizing solution through the system.
- Keep It Dry: Always ensure that all parts of the ice maker are completely dry before reassembling and using it.
By following these detailed steps, you can ensure your ice maker remains clean, efficient, and ready to produce the best quality ice whenever you need it. Happy cleaning!
Deep Cleaning and Descaling
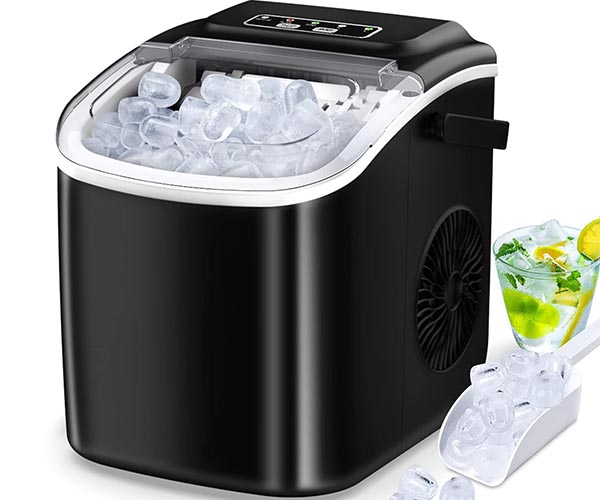
Regular deep cleaning and descaling of your countertop ice maker are essential steps to maintain its performance and hygiene. Here, I’ll explain what these processes involve, recommend the best products and methods, and discuss how often you should perform these tasks.
Explanation of Deep Cleaning and Descaling
Deep cleaning involves thoroughly cleaning every part of your ice maker, not just the visible surfaces. This process removes built-up grime, mold, and bacteria that can affect the taste and quality of your ice. Descaling, on the other hand, focuses on removing mineral deposits that accumulate over time, especially if you use hard water. These deposits can clog the machine, reducing its efficiency and lifespan.
Recommended Products and Methods
When it comes to deep cleaning, you’ll need a few essential supplies:
- Mild Detergent: A gentle dish soap works well for cleaning the exterior and removable parts.
- Vinegar: This natural cleaner is excellent for breaking down grime and killing bacteria.
- Soft Cloths and Brushes: These help scrub away dirt without scratching the surfaces.
- Baking Soda: Useful for tackling stubborn stains and deodorizing.
- Commercial Descaling Solution: Specifically designed to dissolve mineral deposits, these solutions are available at most home appliance stores.
Here’s a step-by-step method for deep cleaning and descaling:
- Unplug the Machine: Safety first! Always unplug your ice maker before cleaning.
- Empty the Ice and Water: Remove any ice and drain the water reservoir.
- Disassemble: Take out any removable parts, such as the ice bin and water reservoir.
- Clean Removable Parts: Wash these parts with mild detergent and warm water. Use a soft brush to scrub away any stuck-on debris.
- Clean the Interior: Wipe down the interior surfaces with a cloth dipped in a mixture of vinegar and water (1:1 ratio). For stubborn stains, use baking soda.
- Descale the Machine: Fill the water reservoir with a descaling solution and run the machine as if you were making ice. This process will circulate the solution through the system, breaking down mineral deposits.
- Rinse Thoroughly: After descaling, run several cycles with clean water to ensure all the descaling solution is flushed out.
- Reassemble and Wipe Down: Once everything is clean and dry, reassemble the machine and wipe down the exterior with a damp cloth.
Frequency of Deep Cleaning
To keep your ice maker in optimal condition, it’s recommended to deep clean and descale it every three to six months. However, if you notice any of the following signs, you should clean it sooner:
- Unpleasant smells or tastes in the ice.
- Reduced ice production.
- Visible mold or mildew.
- Increased noise during operation.
Regular maintenance not only ensures that your ice maker produces the best quality ice but also extends the machine’s lifespan, making it a worthwhile investment of your time.
By following these steps, you’ll keep your countertop ice maker running smoothly and efficiently. Regular deep cleaning and descaling will ensure that your ice is always fresh and your machine lasts for years to come.
Maintenance Tips
Regular maintenance is the key to keeping your countertop ice maker in top condition. By following a consistent maintenance routine, you can ensure that your ice maker operates efficiently and produces high-quality ice every time. Here’s a detailed guide on maintaining your ice maker and addressing common issues that may arise.
Regular Maintenance Routines
- Daily Maintenance
- Empty the Ice Bin: At the end of each day, empty the ice bin to prevent stale ice from accumulating.
- Wipe Down the Exterior: Use a soft cloth and mild detergent to clean the exterior of the ice maker. This helps remove any dust or spills that could affect the machine’s performance.
- Weekly Maintenance
- Clean the Water Reservoir: Once a week, empty and clean the water reservoir with a mixture of water and vinegar. This prevents mineral buildup and ensures clean ice.
- Inspect for Debris: Check the ice bin and water reservoir for any debris or foreign objects that could interfere with the ice-making process.
- Monthly Maintenance
- Deep Clean the Ice Maker: Perform a deep clean once a month. This involves disassembling the machine as much as possible and cleaning each part thoroughly. Use a descaling solution or a mixture of water and vinegar to remove any mineral deposits.
- Check Filters: If your ice maker has filters, inspect and clean or replace them as needed. Clean filters ensure optimal water flow and ice quality.
- Lubricate Moving Parts: Some models may require lubrication of moving parts. Refer to your manufacturer’s guide for specific instructions.
- Bi-Annual Maintenance
- Professional Servicing: Consider having your ice maker serviced by a professional every six months. They can perform a more thorough inspection and maintenance routine to keep your machine running smoothly.
Addressing Common Issues
Despite regular maintenance, you might encounter some common issues with your countertop ice maker. Here’s how to check for and address these problems:
- Strange Noises
- Grinding or Rattling Sounds: These noises often indicate that there is debris caught in the machine. Turn off the ice maker, unplug it, and inspect the interior for any foreign objects. Clean out any debris you find.
- Buzzing or Humming: This could be due to the compressor or fan motor. If the noise persists, it might be best to consult a professional.
- Ice Quality Problems
- Cloudy Ice: If your ice is coming out cloudy, it’s likely due to impurities in the water. Ensure you’re using filtered water, and clean the water reservoir regularly.
- Soft or Melting Ice: This issue can be caused by a dirty condenser or insufficient ventilation. Clean the condenser coils and make sure the ice maker has adequate airflow around it.
- Machine Not Making Ice
- Check the Water Supply: Ensure that the water reservoir is filled and that the water supply line (if applicable) is connected and not kinked.
- Inspect the Sensors: Some ice makers have sensors that can become dirty or misaligned. Clean the sensors with a soft cloth and ensure they are positioned correctly.
- Reset the Machine: Sometimes, a simple reset can fix the issue. Refer to your user manual for instructions on how to reset your specific model.
- Leaking Water
- Inspect the Water Lines: Check all water lines and connections for leaks. Tighten any loose connections and replace damaged hoses.
- Check the Drip Tray: Ensure the drip tray is in place and not overflowing. Empty and clean it regularly.
By following these maintenance tips and addressing common issues promptly, you can ensure that your countertop ice maker remains in excellent condition, providing you with fresh, high-quality ice whenever you need it. Remember, a little effort in regular upkeep can go a long way in extending the life of your appliance.
Conclusion
In summary, maintaining your countertop ice maker through regular cleaning is essential for ensuring its efficiency, longevity, and the quality of the ice it produces. By following the steps outlined in this guide, you can easily keep your machine in excellent condition.
- Recap of Key Points:
- Understanding Your Countertop Ice Maker: Know the basic components and how they function.
- Importance of Regular Cleaning: Prevents mold and bacteria buildup, improves ice quality, and extends the machine’s lifespan.
- Materials Needed: Gather all necessary cleaning supplies, including mild detergent, vinegar, soft cloths, and brushes.
- Preparation Before Cleaning: Unplug the machine and ensure safety precautions are followed.
- Step-by-Step Cleaning Guide: Clean each part meticulously, from the exterior to the internal components.
- Deep Cleaning and Descaling: Perform this periodically to maintain optimal performance.
- Maintenance Tips: Regular upkeep to prevent common issues.
- Common Issues and Troubleshooting: Solutions for typical problems encountered with ice makers.
To keep your countertop ice maker functioning at its best, it’s crucial to stick to a regular cleaning schedule. A consistent routine will not only ensure you always have the freshest ice but also help you avoid more significant issues down the line. Think of it as a small investment of time that pays off in reliability and performance.
We’d love to hear from you! Do you have any tips or experiences to share about maintaining your countertop ice maker? Have you found any unique methods or products that work particularly well for a deep clean? Share your insights in the comments below and help the community benefit from your expertise. Your contributions can make a big difference for others looking to keep their ice makers in top shape.
By staying proactive with your maintenance and cleaning routines, you’ll ensure that your countertop ice maker remains a valuable appliance in your kitchen. Whether it’s a quick clean or a deep clean, each step you take adds to the longevity and performance of your machine. So, roll up your sleeves and give your ice maker the care it deserves. Happy cleaning!
FAQs
1. How often should I clean my countertop ice maker?
It’s recommended to clean your countertop ice maker every two to three months. Regular cleaning ensures the machine operates efficiently, produces high-quality ice, and prevents the buildup of mold and bacteria.
2. What materials do I need for cleaning my ice maker?
You’ll need mild detergent, vinegar, soft cloths, brushes, and optionally, natural cleaning alternatives like lemon juice or baking soda. These materials help effectively clean and sanitize your ice maker without damaging it.
3. What are the steps to clean the exterior of my ice maker?
To clean the exterior:
- Unplug the ice maker.
- Wipe down the exterior with a damp cloth and mild detergent.
- Dry thoroughly with a clean cloth. Regularly cleaning the exterior keeps the machine looking new and prevents the buildup of dust and grime.
4. How do I clean the water reservoir and ice bin?
For the water reservoir and ice bin:
- Empty the reservoir and ice bin.
- Use a solution of vinegar and water (1:1 ratio) to scrub the inside.
- Rinse thoroughly with clean water.
- Dry with a soft cloth. Regular cleaning of these parts prevents mold and keeps your ice tasting fresh.
5. What is deep cleaning and how often should it be done?
Deep cleaning involves descaling and sanitizing the entire machine to remove mineral deposits and bacteria. It’s recommended to perform deep cleaning every six months or more frequently if you use the ice maker heavily.
6. How can I prevent common issues with my ice maker?
Regular maintenance is key:
- Clean the ice maker regularly.
- Check and replace filters as needed.
- Ensure proper ventilation around the machine.
- Follow the manufacturer’s guidelines for use and care. These steps help prevent issues like strange noises, ice quality problems, and operational inefficiencies.
7. What should I do if my ice maker stops making ice?
First, check if the machine is properly plugged in and the power switch is on. Ensure the water reservoir is full and the machine is not clogged with ice. If the problem persists, refer to the user manual for troubleshooting tips or contact customer support.
8. Can I use natural cleaning alternatives for my ice maker?
Yes, natural alternatives like lemon juice and baking soda are effective for cleaning:
- Lemon juice can be used to descale and deodorize.
- Baking soda is excellent for scrubbing and removing tough stains. These alternatives are safe and eco-friendly, ensuring your ice maker remains clean without harsh chemicals.
By following these guidelines and maintaining a regular cleaning schedule, you can ensure your countertop ice maker remains efficient and produces high-quality ice. If you have any more questions or tips, feel free to share them in the comments below!

