Introduction
Picture hosting a summer party and ensuring your guests have a constant supply of ice without having to run to the store. A countertop ice maker machine can be a game-changer, providing convenience and efficiency for any event or daily use. However, installing a countertop ice maker properly is crucial to ensure it operates effectively. This comprehensive guide will walk you through the step-by-step process of installing your ice maker machine, ensuring it works seamlessly and delivers optimal performance.
Understanding Countertop Ice Makers
What is a Countertop Ice Maker?
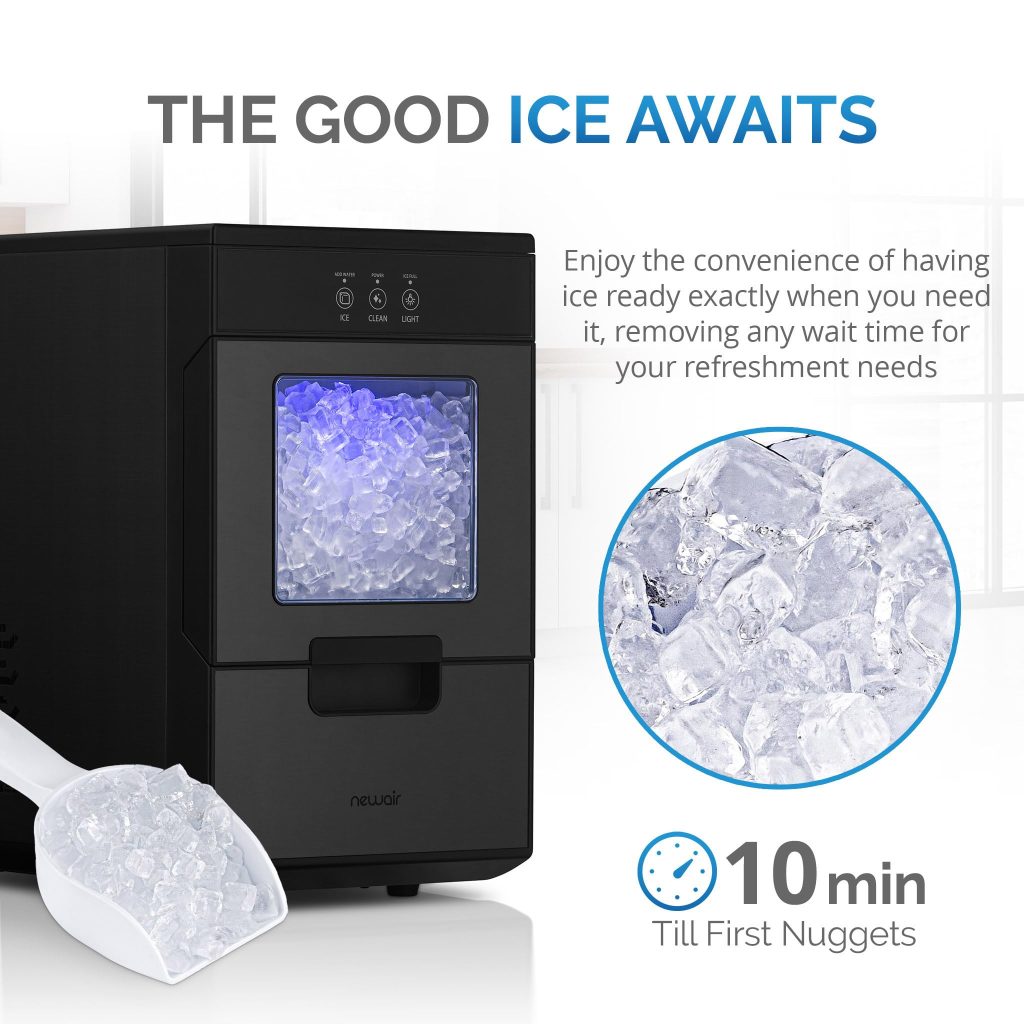
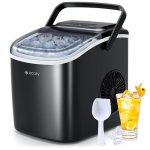
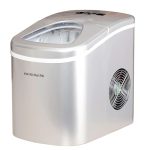
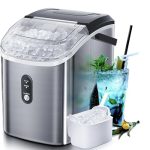
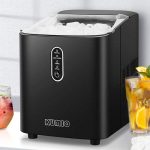
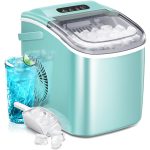
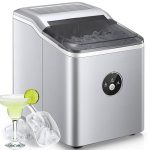
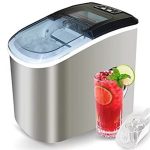
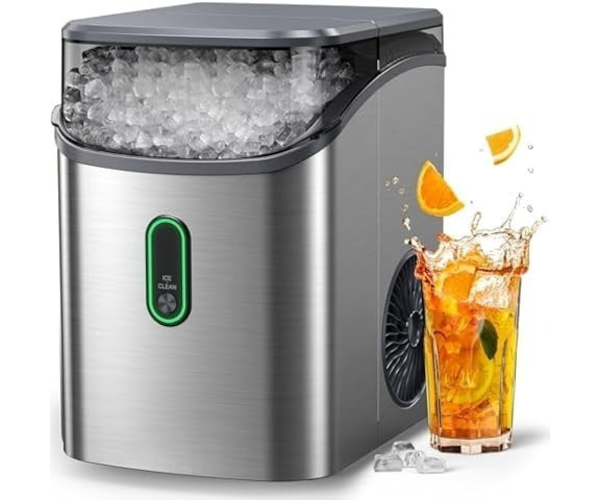
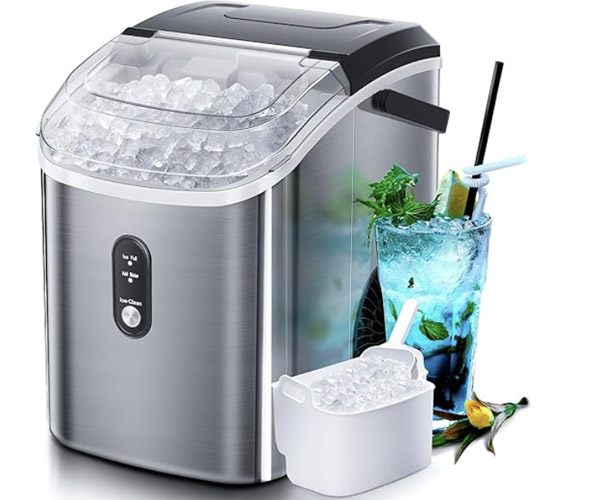
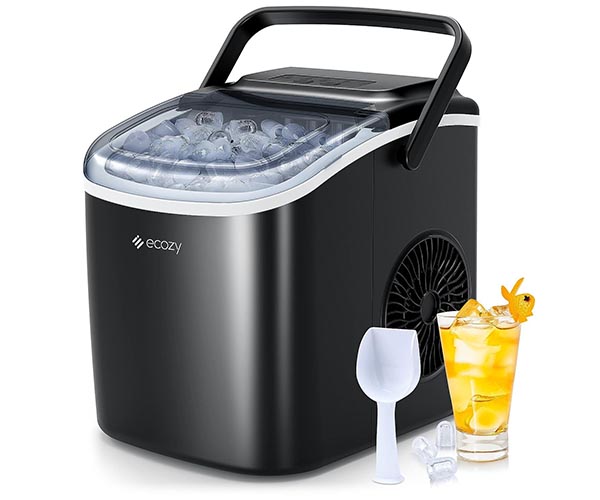
A countertop ice maker is a compact, portable appliance designed to produce ice quickly and efficiently. These machines are ideal for small kitchens, offices, RVs, and gatherings where space is limited, and convenience is a priority. Unlike built-in or under-counter ice makers, countertop ice maker machines do not require permanent installation or a dedicated water line, making them versatile and easy to use.
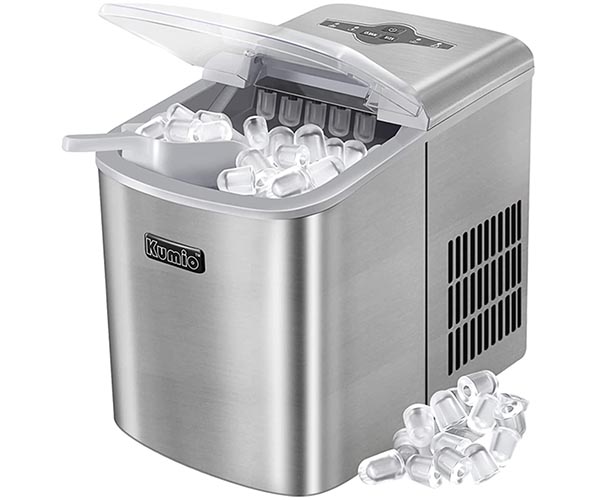
Countertop ice makers operate using a water reservoir, compressor, evaporator, and ice mold to produce ice. The process involves filling the reservoir with water, which is then pumped over the evaporator where it freezes into ice. Once the ice forms, it is harvested and stored in a bin ready for use. This design allows for quick setup and mobility, making it a popular choice for many households. https://amzn.to/3WTxi7M
Types of Countertop Ice Makers
There are several types of countertop ice maker machines, each producing different shapes and sizes of ice:
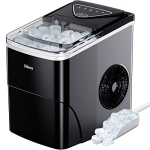
- Bullet Ice Makers: These are the most common type of countertop ice maker. They produce bullet-shaped ice with a hollow center, which is quick to make and ideal for cooling beverages.
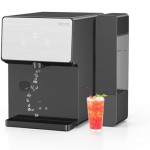
- Nugget Ice Makers: Also known as chewable ice makers, these produce soft, chewable nugget ice that is popular in restaurants and for making cocktails. The texture of nugget ice is preferred for its ability to retain flavors and blend easily in drinks.
- Cube Ice Makers: These machines produce traditional square or rectangular ice cubes, which melt slowly and are perfect for drinks that need to stay cold for longer periods. Cube ice is often used in more upscale settings where presentation is important.
Understanding the type of ice you prefer and the ice maker’s capabilities will help you choose the best model for your needs and expectations regarding ice production time and capacity.
Benefits of Using a Countertop Ice Maker
Installing a countertop ice maker machine offers numerous benefits that enhance convenience and ensure a steady supply of ice. Some of these benefits include:
- Convenience and Portability: Countertop ice makers are designed to be portable and easy to use. They do not require a permanent installation or a dedicated water line, allowing you to move them as needed and use them in various locations, such as kitchens, patios, and RVs.
- Quick Ice Production: These machines are capable of producing ice rapidly, often within 6 to 15 minutes per batch. This quick turnaround is ideal for impromptu gatherings and ensures you always have ice on hand.
- No Need for a Dedicated Water Line: Unlike built-in ice makers, countertop models use a water reservoir that you manually fill. This feature simplifies the installation process and offers greater flexibility in where you can place the machine.
By understanding these benefits, you can appreciate the value of a countertop ice maker and why it is a practical addition to any household or event setup.
Preparation for Installation
Choosing the Right Location
Selecting the appropriate location for your countertop ice maker machine is crucial for optimal performance and longevity. Consider the following factors:
- Importance of Proper Ventilation: Proper ventilation is essential for the ice maker to dissipate heat effectively. Ensure there is sufficient space around the machine for airflow, typically at least 2 to 3 inches on all sides. Avoid placing the machine in enclosed spaces or against walls where ventilation could be restricted.
- Avoiding Heat Sources and Direct Sunlight: Keep the ice maker away from heat sources such as ovens, stoves, and direct sunlight. High ambient temperatures can reduce the machine’s efficiency and increase the time it takes to produce ice.
- Ensuring Proximity to a Power Outlet: Position the ice maker near a power outlet to avoid the need for extension cords, which can be a tripping hazard and may not provide a stable power supply. Ensure the outlet is properly grounded and can handle the machine’s power requirements.
Measuring the Space
Accurately measuring your available space ensures that your ice maker will fit properly and operate efficiently:
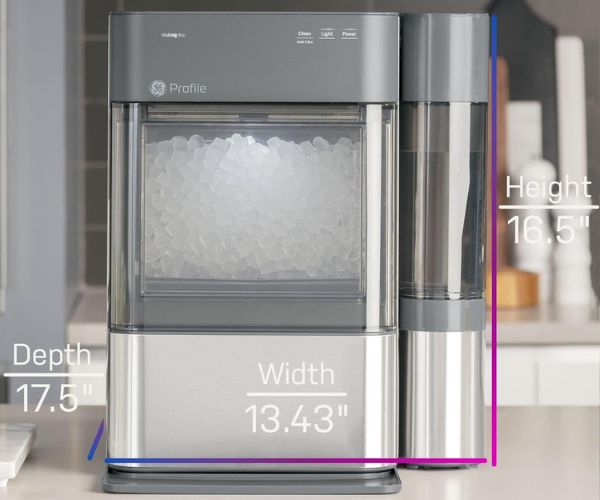
- How to Measure Counter Space Accurately: Use a measuring tape to measure the height, width, and depth of the area where you plan to place the ice maker. Compare these measurements with the dimensions of the ice maker, including any additional space needed for ventilation and access.
- Considering the Height, Width, and Depth of the Ice Maker: Ensure there is enough clearance above the machine for filling the water reservoir and removing the ice bin. Check that the machine’s width and depth fit comfortably on your counter without overhanging or obstructing other appliances.
- Leaving Space for Ventilation and Access: Allow extra space around the machine for proper airflow and easy access to controls, the water reservoir, and the ice bin. This consideration helps maintain optimal performance and makes maintenance tasks more convenient.
Properly measuring your space and considering ventilation needs will help you choose a machine that fits well and operates efficiently.
Gathering Necessary Tools and Materials
Having the right tools and materials on hand will streamline the installation process and ensure everything goes smoothly:
- List of Basic Tools: You may need a measuring tape, level, and a small screwdriver. These tools help you accurately measure the space, level the machine, and make any necessary adjustments.
- Additional Materials: Depending on your setup, you might need a water filter, an extension cord (if placing the machine further from an outlet), and a surge protector to safeguard against power surges.
Gathering these tools and materials in advance ensures a smooth installation process and helps avoid any interruptions.
Reading the User Manual
Before starting the installation, it’s crucial to read the user manual that comes with your countertop ice maker machine:
- Importance of Following Manufacturer Instructions: The user manual provides specific instructions and guidelines tailored to your model. Following these instructions ensures proper installation and avoids potential damage to the machine.
- Understanding Specific Model Requirements and Features: Each ice maker model may have unique features and setup requirements. Familiarizing yourself with these details helps you optimize the machine’s performance and make the most of its capabilities.
Reading the user manual thoroughly prepares you for a successful installation and helps you understand the machine’s operation and maintenance needs.
Step-by-Step Installation Guide
Unboxing and Inspecting the Ice Maker
The first step in installing your countertop ice maker machine is to unbox and inspect it for any potential issues:
- Checking for Any Shipping Damage: Carefully remove the ice maker from its packaging and inspect it for any signs of damage that may have occurred during shipping. Look for dents, scratches, or broken parts that could affect its performance.
- Verifying All Parts and Accessories Are Included: Refer to the user manual to ensure all parts and accessories are included. This typically includes the ice maker unit, water reservoir, ice scoop, and any other components specific to your model.
By inspecting the machine thoroughly, you can address any issues with the seller or manufacturer before proceeding with the installation.
Cleaning the Ice Maker Before First Use
Cleaning the ice maker before its first use is essential to remove any manufacturing residues and ensure the ice produced is safe for consumption:
- Importance of Cleaning to Remove Any Manufacturing Residues: Residues from the manufacturing process can affect the taste and safety of the ice. Cleaning the machine ensures that these residues are removed.
- Steps to Clean the Water Reservoir, Ice Mold, and Other Components: Follow the cleaning instructions in the user manual. Typically, this involves wiping down the exterior and interior surfaces with a mild detergent and warm water, rinsing thoroughly, and drying with a clean cloth. Pay special attention to the water reservoir, ice mold, and any removable parts.
By cleaning the ice maker thoroughly, you ensure that the ice produced is clean and safe to consume.
Placing the Ice Maker in the Chosen Location
Once the machine is cleaned and ready, place it in the chosen location:
- Positioning the Machine for Optimal Performance: Ensure the ice maker is placed on a flat, stable surface. Use a level to check that the machine is even, as an uneven surface can affect its operation.
- Ensuring It Is Level and Stable: Adjust the machine’s feet or use shims if necessary to achieve a stable, level position. Stability is crucial for the ice maker to function correctly and prevent excess noise or vibration during operation.
Properly positioning the ice maker ensures it operates efficiently and produces high-quality ice.
Connecting the Power Supply
Connecting the power supply safely is essential for the ice maker’s operation:
- Safely Plugging in the Ice Maker: Plug the ice maker directly into a grounded power outlet. Avoid using extension cords unless absolutely necessary, as they can introduce electrical hazards and affect performance.
- Using an Extension Cord if Necessary (and Ensuring It Is Safe for Use): If an extension cord is needed, ensure it is rated for the ice maker’s power requirements and is in good condition. Use a heavy-duty extension cord designed for appliances to minimize risks.
By connecting the power supply safely, you ensure reliable operation and reduce the risk of electrical issues.
Filling the Water Reservoir
Filling the water reservoir correctly is crucial for the ice maker to produce ice efficiently:
- Using Clean, Filtered Water: Use filtered or distilled water to fill the reservoir. This helps prevent mineral buildup and ensures the ice is clear and tastes good.
- Avoiding Overfilling the Reservoir: Fill the reservoir to the indicated fill line. Overfilling can cause spills and affect the machine’s performance.
- Tips for Preventing Spills and Leaks: Use a funnel or a container with a spout to pour water into the reservoir. Wipe up any spills immediately to keep the machine and surrounding area clean.
Properly filling the water reservoir ensures the ice maker has the water it needs to produce ice efficiently.
Initial Setup and Ice Production
With the ice maker in place and filled with water, it’s time to start producing ice:
- Turning on the Machine and Selecting Settings: Follow the user manual to turn on the machine and select the desired ice size and type. Most models have a control panel with buttons for these settings.
- Monitoring the First Ice-Making Cycle: Watch the first cycle to ensure everything is functioning correctly. This initial cycle may take a bit longer as the machine cools down and starts producing ice.
- Adjusting Settings as Needed for Desired Ice Size and Type: Once the first batch is complete, check the ice quality and size. Adjust the settings if necessary to match your preferences.
By carefully setting up and monitoring the ice maker, you can ensure it operates correctly and produces the desired ice.
Tips for Optimal Performance
Regular Maintenance and Cleaning
Regular maintenance and cleaning are essential for keeping your ice maker in top condition:
- Cleaning Schedule for Different Components: Follow the manufacturer’s recommended cleaning schedule. This typically involves weekly cleaning of the water reservoir and ice mold, and monthly descaling to remove mineral deposits.
- Descaling to Prevent Mineral Buildup: Use a descaling solution or a mixture of vinegar and water to remove mineral deposits from the machine. Regular descaling ensures efficient operation and extends the life of the ice maker.
Consistent maintenance and cleaning keep the ice maker running smoothly and producing high-quality ice. https://amzn.to/3WTxi7M
Ensuring Proper Ventilation
Proper ventilation is crucial for the ice maker’s performance and longevity:
- Importance of Airflow Around the Machine: Ensure there is adequate space around the ice maker for ventilation. Poor airflow can cause the machine to overheat and reduce its efficiency.
- Tips for Maintaining Ventilation in Confined Spaces: If placing the ice maker in a confined space, consider using a small fan to improve airflow. Regularly check and clean any vents to prevent dust buildup.
Maintaining proper ventilation helps the ice maker operate efficiently and prevents overheating.
Using the Right Water
The quality of water used in the ice maker affects the taste and clarity of the ice:
- Benefits of Using Filtered Water: Filtered water reduces mineral buildup and produces clearer, better-tasting ice. Consider using a water filter pitcher or an inline water filter.
- Avoiding Hard Water to Prevent Scale Buildup: Hard water contains minerals that can accumulate in the ice maker, reducing its efficiency. Use soft or filtered water to minimize scale buildup.
Using the right water ensures high-quality ice and prolongs the life of the machine.
Monitoring and Adjusting Settings
Regularly monitoring and adjusting the ice maker’s settings can optimize its performance:
- Adapting Settings for Different Ice Needs: Adjust the ice size and production speed based on your current needs. Smaller ice cubes may freeze faster and are suitable for quick cooling, while larger cubes melt more slowly.
- Understanding How Ambient Temperature Affects Ice Production: Higher ambient temperatures can slow down ice production. If the room is too warm, consider moving the ice maker to a cooler location.
By fine-tuning the settings, you can ensure the ice maker meets your specific needs and operates efficiently.
Troubleshooting Common Issues
Ice Maker Not Producing Ice
If your ice maker stops producing ice, consider the following steps:
- Checking Power Supply and Water Levels: Ensure the machine is plugged in and the power outlet is functioning. Verify that the water reservoir is filled to the proper level.
- Inspecting for Blockages or Clogs: Check the water pump and ice mold for any blockages or clogs that could be hindering ice production. Clean these components as needed.
Addressing these issues can often resolve the problem and restore ice production.
Slow Ice Production
If the ice maker is producing ice slowly, try these solutions:
- Ensuring Proper Ventilation: Make sure the machine has adequate ventilation. Move it to a more open space if necessary.
- Cleaning Components to Improve Efficiency: Regularly clean the water reservoir, ice mold, and other components to ensure efficient operation. Descale the machine if there is significant mineral buildup.
Improving ventilation and cleanliness can enhance the machine’s efficiency and speed up ice production.
Unusual Noises During Operation
If your ice maker is making unusual noises, consider these steps:
- Identifying and Fixing Sources of Noise: Determine the source of the noise. It could be due to loose components, an uneven surface, or a need for lubrication.
- Ensuring the Machine Is Level and Stable: Check that the ice maker is on a flat, stable surface. Use a level to adjust the machine’s feet or place shims if needed.
By identifying and addressing the sources of noise, you can ensure quieter operation.
Ice Quality Issues
If the ice produced is cloudy or has an off taste, consider the following:
- Addressing Cloudy or Off-Tasting Ice: Use filtered or distilled water to improve the clarity and taste of the ice. Clean the water reservoir and ice mold regularly.
- Cleaning and Using the Right Water Source: Ensure all components are clean and free of residues. Avoid using tap water with high mineral content.
Improving water quality and cleanliness can enhance the taste and appearance of the ice.
Water Leaks
If the ice maker is leaking water, try these solutions:
- Inspecting Connections and Seals: Check all connections and seals for any signs of leaks. Tighten or replace any components as needed.
- Ensuring the Water Reservoir Is Properly Seated: Make sure the water reservoir is securely placed and properly aligned. An improperly seated reservoir can cause leaks.
By addressing these issues, you can prevent water leaks and ensure the machine operates smoothly.
FAQs About Installing a Countertop Ice Maker
Can I use my ice maker outdoors?
While many countertop ice maker machines are portable, they are typically designed for indoor use. If you plan to use your ice maker outdoors, ensure it is protected from the elements and placed in a shaded, well-ventilated area.
How often should I clean my ice maker?
Regular cleaning is essential for maintaining the performance and hygiene of your ice maker. Clean the water reservoir and ice mold weekly, and descale the machine monthly to remove mineral deposits.
What type of water is best for my ice maker?
Filtered or distilled water is best for producing clear, high-quality ice and preventing mineral buildup in the machine. Avoid using hard water to minimize scale deposits.
Can I leave my ice maker on all the time?
Yes, most countertop ice makers are designed to be left on continuously. However, ensure there is enough water in the reservoir and that the machine is properly ventilated to prevent overheating.
What should I do if my ice maker stops working?
If your ice maker stops working, first check the power supply and water levels. Clean any blockages or clogs, and ensure the machine is properly ventilated. If the issue persists, consult the user manual or contact the manufacturer for support.
Conclusion
Installing a countertop ice maker machine involves several steps, from choosing the right location and measuring your space to cleaning and setting up the machine. By following this comprehensive guide, you can ensure your ice maker operates efficiently and meets your ice production needs. https://amzn.to/3WTxi7M
Recap
- Understanding Your Ice Maker: Know how your ice maker works and the different types available.
- Initial Troubleshooting Steps: Check power supply, water supply, and reset the machine if necessary.
- Diagnosing Common Problems: Identify issues like no ice production, slow production, and excessive noise.
- Advanced Troubleshooting: Inspect internal components and test electrical parts.
- Preventative Maintenance: Regular cleaning, descaling, and proper storage prevent future problems.
- When to Seek Professional Help: Know when to call a technician for repairs.
Encouragement
Installing and maintaining a countertop ice maker machine is straightforward with proper preparation and care. By following the steps outlined in this guide, you can keep your machine running smoothly and enjoy a steady supply of ice whenever you need it.
Call to Action
We hope this guide has been helpful. If you have any questions or experiences to share, please leave a comment below. For more insights and tips on kitchen appliances and home convenience, explore our other articles.
References
- GE Profile Opal Nugget Ice Maker Product Page
- NewAir Countertop Ice Maker Product Page
- Igloo ICEB26HNBK Portable Electric Countertop Ice Maker Product Page
- Scotsman SCN60PA-1SS
- EUHOMY Nugget Ice Maker Countertop
- Silonn Ice Maker Countertop
Additional Resources
- [How often should you clean your countertop ice maker?]
- [What happens if you don’t clean your countertop ice maker regularly?]
- [How does a countertop ice maker work?]
- [How to install a countertop ice maker?]
- [How often to descale a countertop ice maker?]
- [Buying Guide: Countertop Ice Makers with Water Line Connection]
- [Kitchen Upgrade Ideas: Countertop Ice Makers with Water Line]
- [Which countertop ice maker with freezer is best?]

