Introduction
A countertop ice maker with freezer storage is a versatile and convenient appliance for any home, office, or small business. These machines provide a constant supply of ice while also offering the added benefit of freezer storage. Proper installation is crucial for ensuring optimal performance and longevity of your ice maker. This comprehensive guide will walk you through the process of installing a countertop ice maker with freezer storage, covering everything from choosing the right location to troubleshooting common issues. By following these steps, you can ensure your ice maker operates efficiently and meets all your ice-making needs.
1. Understanding Countertop Ice Makers with Freezer Storage
1.1 What is a Countertop Ice Maker with Freezer?
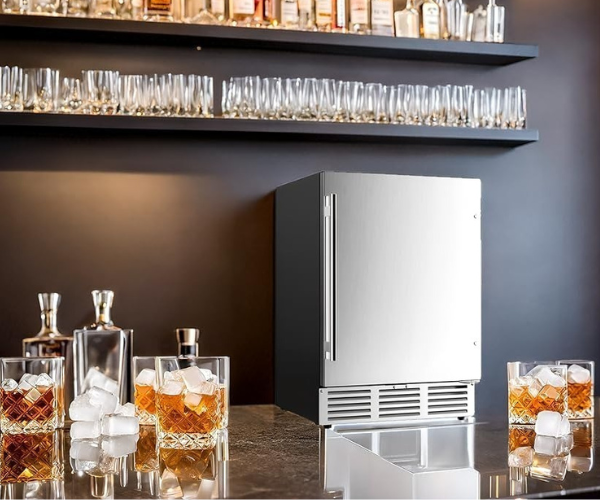
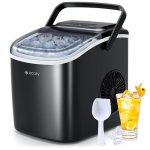
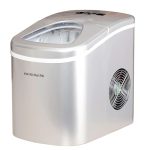
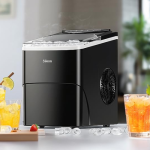
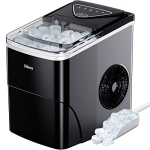
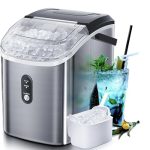
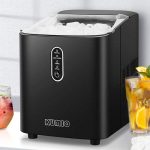
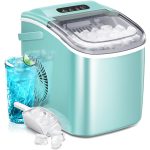
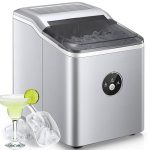
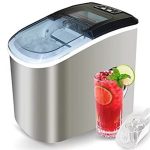
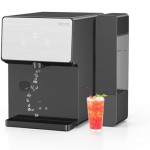
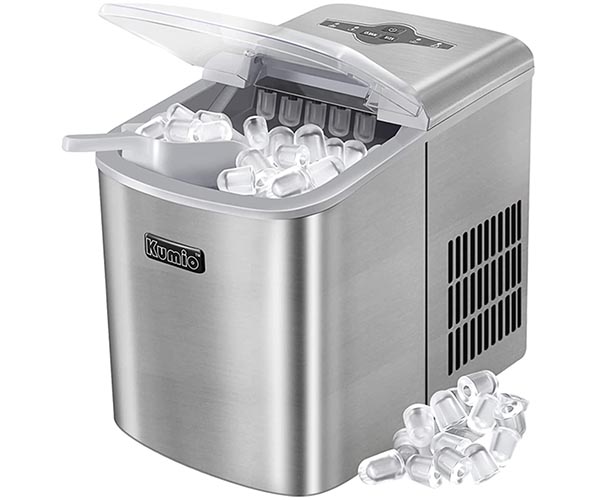
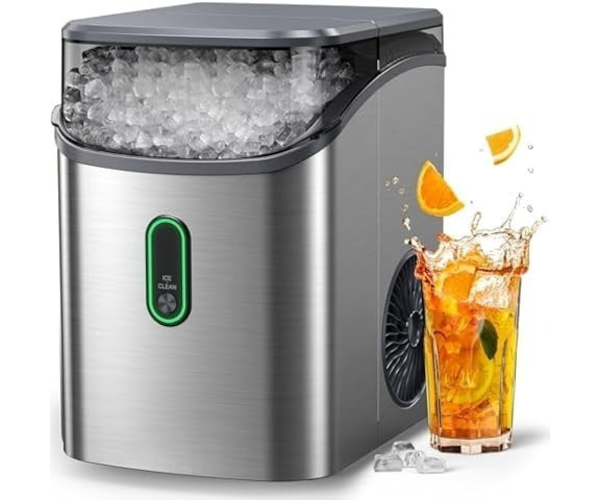
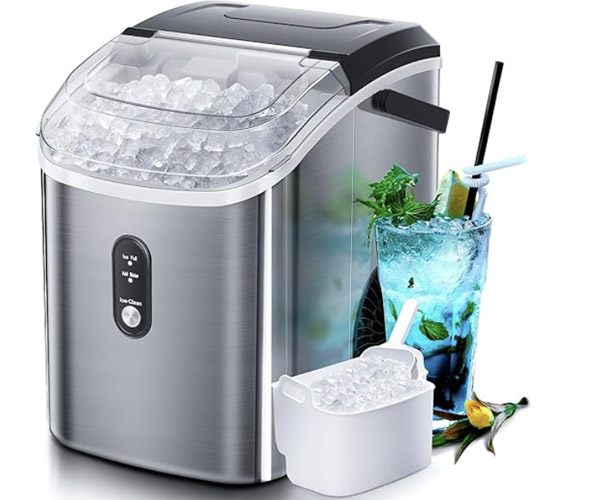
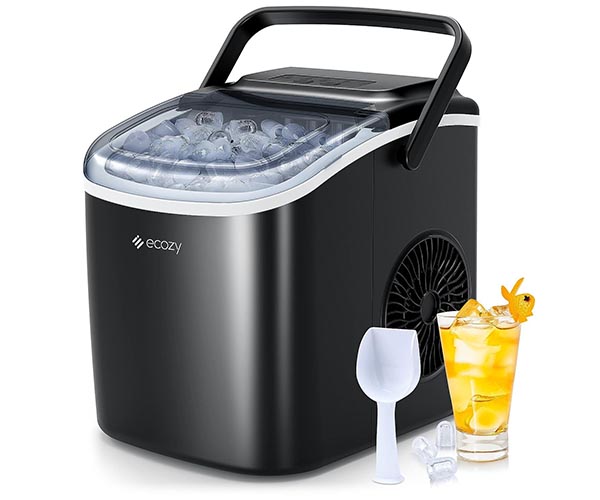
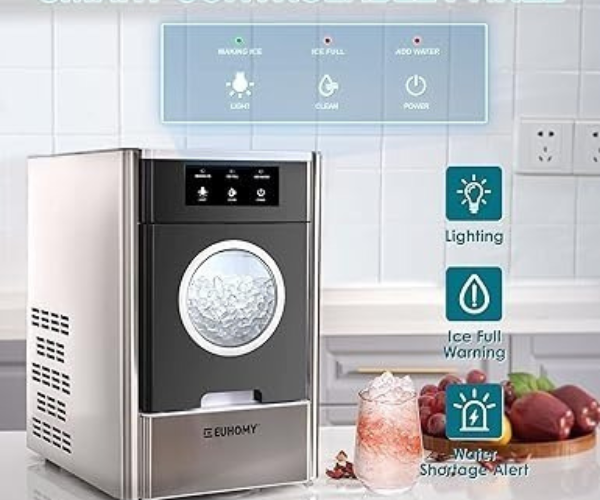
A countertop ice maker with freezer storage is a compact appliance designed to fit on your kitchen counter or any flat surface. It combines the functionalities of an ice maker and a freezer, allowing you to produce ice and store it without the need for a separate freezer unit. These machines are ideal for households that need a steady supply of ice for beverages, cooking, and entertaining, as well as for small businesses such as cafes and offices.
Common Uses and Benefits:
- Household Use: Perfect for parties, family gatherings, and everyday use.
- Office Use: Ensures employees and clients have access to ice for their drinks.
- Small Business Use: Ideal for cafes, small restaurants, and bars needing a reliable ice supply.
1.2 Key Features to Look For
When choosing a countertop ice maker with freezer storage, consider the following key features to ensure you select the right model for your needs:
- Ice Production Capacity: This refers to the amount of ice the machine can produce in 24 hours. Typical capacities range from 20 to 50 pounds per day.
- Freezer Storage Capacity: This indicates how much ice the machine can store at one time. A larger storage capacity means you can store more ice before needing to make more.
- Energy Efficiency: Look for models with Energy Star ratings or other energy-efficient certifications to save on electricity costs.
- Additional Features: These can include self-cleaning functions, multiple ice size options, digital controls, timers, and alerts for when the ice bin is full or the water reservoir is low.
By understanding these features, you can choose an ice maker that meets your specific requirements and fits seamlessly into your space.
2. Preparation Before Installation
2.1 Choosing the Right Location
Selecting the appropriate location for your countertop ice maker with freezer storage is essential for its optimal performance and longevity. Here are some considerations to keep in mind:
- Assessing Available Space: Ensure you have enough counter space to accommodate the ice maker. Measure the dimensions of the appliance and compare them with your available space to ensure a proper fit.
- Proximity to Power Sources and Water Supply: Place the ice maker near an electrical outlet and, if applicable, a water line for models that require a direct water connection. This reduces the need for long cables and hoses, which can be unsightly and pose safety hazards.
- Importance of Ventilation and Airflow: Proper ventilation is crucial to prevent overheating and ensure efficient operation. Make sure there is adequate space around the ice maker for air circulation. Avoid placing the appliance against walls or in enclosed spaces that can restrict airflow.
2.2 Gathering Necessary Tools and Materials
Before you begin the installation process, gather all the necessary tools and materials to ensure a smooth setup:
- Basic Tools: Screwdrivers, wrenches, and pliers are commonly needed for installation tasks.
- Additional Materials: Depending on your model, you may need a water line kit, water filter, and cleaning supplies. Check the user manual for specific recommendations.
Having all the required tools and materials on hand will help you complete the installation efficiently without interruptions.
2.3 Reading the Manufacturer’s Manual
The user manual provided by the manufacturer is an invaluable resource for installation and operation:
- Importance of the User Manual: The manual contains detailed instructions specific to your ice maker model. It provides important information about safety precautions, setup procedures, and maintenance tips.
- Understanding Model-Specific Requirements: Different models may have unique installation requirements and features. Reading the manual ensures you follow the correct steps and avoid damaging the appliance or voiding the warranty.
By thoroughly reviewing the manual, you can familiarize yourself with the installation process and ensure you are prepared for each step. https://amzn.to/4d9nY5j
3. Step-by-Step Installation Guide
3.1 Unboxing and Inspecting the Ice Maker
Start by carefully unboxing your countertop ice maker with freezer storage and inspecting all components:
- Checking for Damages: Inspect the ice maker and all included parts for any signs of damage that may have occurred during shipping. Look for dents, cracks, or broken pieces.
- Ensuring All Parts and Accessories are Included: Verify that all necessary components, such as the ice scoop, water line kit (if applicable), and user manual, are included. Cross-check with the parts list in the user manual.
3.2 Positioning the Ice Maker
Proper positioning is crucial for the efficient operation of your ice maker:
- Proper Placement on the Countertop: Place the ice maker on a flat, stable surface to prevent tipping or vibrations during operation.
- Ensuring Stability and Leveling the Unit: Use a level to check that the ice maker is evenly balanced. Adjust the feet or add shims if necessary to achieve a stable, level position.
3.3 Connecting to a Power Source
Connecting the ice maker to a power source is a straightforward but essential step:
- Identifying a Suitable Power Outlet: Ensure the outlet is compatible with the power requirements specified in the user manual. Avoid using extension cords, as they can cause power fluctuations and potential hazards.
- Ensuring Electrical Safety and Proper Grounding: Plug the ice maker directly into the outlet. Make sure the outlet is grounded to prevent electrical shocks and ensure safe operation.
3.4 Setting Up the Water Supply
Properly setting up the water supply is crucial for continuous ice production:
3.4.1 Using the Built-In Reservoir
For models with a built-in reservoir, follow these steps:
- Filling the Water Reservoir: Open the reservoir lid and fill it with clean, potable water. Avoid overfilling, as this can cause spills and affect ice production.
- Ensuring the Water Level is Adequate for Ice Production: Check the water level indicator (if available) to ensure the reservoir has enough water for the ice-making process.
3.4.2 Connecting to a Water Line
For models that connect directly to a water line, follow these steps:
- Tools and Materials Needed for Water Line Connection: Gather the necessary tools, such as a wrench and tubing cutter, along with the water line kit.
- Step-by-Step Guide to Connecting the Ice Maker to a Water Supply:
- Turn off the main water supply.
- Connect the water line to the nearest cold water source.
- Attach the other end of the water line to the ice maker’s water inlet valve.
- Secure all connections with appropriate fittings and ensure they are tight to prevent leaks.
- Turn on the main water supply and check for any leaks.
- Checking for Leaks and Ensuring a Secure Connection: Run a few cycles to ensure there are no leaks and the water flow is consistent.
3.5 Initial Cleaning and Setup
Before using the ice maker, it’s important to clean it to remove any residues from manufacturing or shipping:
- Cleaning the Interior and Exterior of the Ice Maker: Wipe down the interior and exterior surfaces with a soft cloth dampened with mild detergent and water. Rinse thoroughly and dry.
- Running the First Ice-Making Cycle: Fill the reservoir or ensure the water line is connected, then run the first ice-making cycle according to the manual’s instructions.
- Discarding the First Batch of Ice to Ensure Cleanliness: Discard the first batch of ice produced, as it may contain residues or impurities. This ensures the subsequent batches of ice are clean and safe for consumption.
By following these steps, you can set up your countertop ice maker with freezer storage correctly, ensuring it operates efficiently and produces high-quality ice.
4. Additional Installation Considerations
4.1 Installing a Water Filter
Using a water filter can improve the quality of the ice produced and extend the life of your ice maker:
- Benefits of Using a Water Filter: Filters remove impurities, chlorine, and odors from the water, resulting in clearer, better-tasting ice. They also prevent scale build-up and reduce wear on the ice maker.
- Types of Water Filters and Compatibility: Common types include carbon filters, reverse osmosis systems, and inline filters. Check the user manual for compatible filters recommended by the manufacturer.
- Step-by-Step Guide to Installing a Water Filter:
- Turn off the water supply.
- Install the filter according to the manufacturer’s instructions, ensuring all connections are secure.
- Turn on the water supply and check for leaks.
- Run a few cycles to flush the filter and discard the ice produced during this process.
4.2 Managing Cables and Hoses
Properly managing cables and hoses is essential for safety and aesthetics:
- Organizing and Securing Cables and Hoses: Use cable ties or clips to bundle cables and hoses neatly. Ensure they are not tangled or obstructing any pathways.
- Avoiding Kinks and Blockages: Ensure water hoses are straight and free from kinks that can impede water flow. Regularly inspect hoses for signs of wear and replace them if necessary.
4.3 Ensuring Proper Ventilation
Adequate ventilation is crucial for the efficient operation of your ice maker:
- Importance of Adequate Ventilation for Efficient Operation: Good airflow prevents overheating and ensures the compressor works efficiently. Blocked vents can lead to poor performance and potential damage.
- Tips for Maintaining Proper Airflow Around the Ice Maker: Keep at least 2-3 inches of space around the ice maker. Ensure vents are not blocked by other appliances or objects. Regularly clean the vents to remove dust and debris.
By considering these additional installation factors, you can enhance the performance and longevity of your countertop ice maker with freezer storage.
5. Troubleshooting Common Installation Issues
5.1 Electrical Problems
Electrical issues can prevent your ice maker from operating correctly. Here are some common problems and solutions:
- Identifying and Fixing Power Issues: Ensure the ice maker is plugged into a functioning outlet. Check for tripped circuit breakers or blown fuses. If the ice maker does not power on, try plugging it into a different outlet.
- Ensuring Proper Grounding and Voltage Requirements: Verify that the outlet meets the voltage requirements specified in the user manual. Ensure the appliance is properly grounded to prevent electrical hazards.
5.2 Water Supply Issues
Problems with the water supply can affect ice production. Here’s how to troubleshoot common issues:
- Checking for Leaks: Inspect all connections for leaks. Tighten fittings if necessary. If leaks persist, consider replacing the water line or fittings.
- Ensuring Adequate Water Pressure: Low water pressure can hinder ice production. Ensure the water supply valve is fully open and check for any blockages in the water line.
- Troubleshooting Water Line Connections: If the ice maker is not receiving water, check for kinks or blockages in the water line. Ensure the water inlet valve is functioning correctly.
5.3 Ice Production Problems
If your ice maker is not producing ice correctly, consider these troubleshooting steps:
- Addressing Issues with Ice Quality and Quantity: Ensure the water supply is adequate and the ice maker is properly leveled. Check for any obstructions in the ice mold or dispenser.
- Ensuring Proper Setup and Maintenance: Regularly clean the ice maker and replace filters as needed. Follow the maintenance schedule recommended by the manufacturer to prevent issues.
By troubleshooting these common installation problems, you can ensure your ice maker operates smoothly and efficiently. https://amzn.to/4d9nY5j
6. Maintenance Tips for Longevity
6.1 Regular Cleaning
Regular cleaning is essential for maintaining the performance and hygiene of your ice maker:
- Recommended Cleaning Schedule: Clean the ice maker every few weeks or as recommended by the manufacturer. This prevents the build-up of mold, bacteria, and mineral deposits.
- Cleaning the Interior and Exterior: Use a soft cloth and mild detergent to clean the interior and exterior surfaces. Rinse thoroughly and dry. Avoid using harsh chemicals that can damage the appliance.
- Descaling to Prevent Mineral Build-Up: Descale the ice maker periodically using a descaling solution or a mixture of vinegar and water. This prevents mineral deposits from affecting ice quality and machine performance.
6.2 Replacing Filters
Replacing water filters regularly ensures the ice maker produces clean, clear ice:
- Frequency of Filter Replacement: Replace filters every 3-6 months or as recommended by the manufacturer. Regular replacement prevents clogging and maintains water quality.
- Step-by-Step Guide to Changing Water Filters:
- Turn off the water supply.
- Remove the old filter and discard it.
- Install the new filter according to the manufacturer’s instructions.
- Turn on the water supply and flush the filter by running a few ice-making cycles. Discard the ice produced during this process.
6.3 Monitoring and Adjusting Settings
Regularly monitoring and adjusting the settings on your ice maker ensures optimal performance:
- Regularly Checking and Adjusting Settings for Optimal Performance: Check the ice maker’s settings and adjust as needed to maintain the desired ice size and production rate.
- Using Manufacturer Recommendations for Best Results: Follow the manufacturer’s guidelines for settings and maintenance to ensure the ice maker operates efficiently and effectively.
By following these maintenance tips, you can extend the lifespan of your ice maker and ensure it continues to produce high-quality ice.
7. Safety Considerations
7.1 Electrical Safety
Ensuring electrical safety is crucial when installing and using your ice maker:
- Importance of Proper Electrical Connections: Use only grounded outlets and avoid using extension cords. Ensure all electrical connections are secure and meet the voltage requirements specified by the manufacturer.
- Avoiding Overloading Circuits: Do not plug the ice maker into an overloaded circuit, as this can cause electrical hazards and damage the appliance. If necessary, use a dedicated circuit for the ice maker.
7.2 Water Safety
Maintaining a clean and safe water supply is essential for producing high-quality ice:
- Ensuring Clean and Safe Water Supply: Use filtered or potable water to fill the reservoir or connect the water line. This prevents contaminants from affecting the ice quality.
- Preventing Water Damage and Leaks: Regularly inspect water connections for leaks. Ensure the ice maker is placed on a stable surface to prevent tipping and water spills.
7.3 General Safety Tips
Follow these general safety tips to ensure the safe operation of your ice maker:
- Keeping the Area Around the Ice Maker Clean and Dry: Clean up any spills immediately to prevent slips and falls. Ensure the area around the ice maker is free from clutter.
- Ensuring Children and Pets are Safe Around the Appliance: Keep children and pets away from the ice maker to prevent accidents. Do not allow children to operate the appliance without supervision.
By adhering to these safety considerations, you can ensure the safe and efficient operation of your countertop ice maker with freezer storage.
8. Conclusion
Installing a countertop ice maker with freezer storage is a straightforward process that can significantly enhance your kitchen or workspace. By following the steps outlined in this guide, you can ensure your ice maker is installed correctly and operates efficiently. Proper installation, regular maintenance, and adherence to safety guidelines will help you enjoy a continuous supply of high-quality ice for years to come. Whether you are a homeowner, office manager, or small business owner, investing in a well-installed and maintained ice maker will provide convenience and satisfaction.
9. Additional Resources
9.1 Manufacturer Support
For additional support and information, refer to the following resources:
- Customer Support: Contact the manufacturer’s customer support for assistance with installation and troubleshooting.
- Online Resources: Visit the manufacturer’s website for user manuals, FAQs, and instructional videos.
9.2 Maintenance and Care Guides
To ensure your ice maker remains in top condition, consult these maintenance and care guides:
- How to Clean and Maintain Your Ice Maker: Detailed articles and tutorials on cleaning and maintenance.
- Tips for Prolonging the Life of Your Ice Maker: Practical tips for extending the lifespan of your appliance.
- Ice Maker Troubleshooting Guide: Common issues and solutions for maintaining optimal performance.
9.3 FAQs
Here are some common questions and expert answers about installing and maintaining a countertop ice maker with freezer storage:
Q: How often should I clean my countertop ice maker? A: It’s recommended to clean your ice maker every few weeks or as specified in the user manual. Regular cleaning prevents scale build-up and ensures the production of clean, high-quality ice.
Q: Can I use tap water in my ice maker? A: While tap water can be used, filtered or distilled water is recommended for producing clear ice. Filtering removes impurities that can cause cloudiness and affect taste.
Q: How do I prevent my ice from clumping together? A: Regularly using the ice maker and ensuring the freezer compartment maintains a consistent temperature can help prevent ice clumping. Some models also feature a stirring mechanism to keep ice separated.
Q: What should I do if my ice maker is not producing ice? A: Check the power and water connections, ensure the reservoir is filled or the water line is connected, and refer to the troubleshooting section of the user manual. Regular maintenance and following manufacturer recommendations can also prevent common issues.
By utilizing these FAQs and additional resources, you can ensure your countertop ice maker with freezer storage operates efficiently and meets all your ice-making needs. https://amzn.to/4d9nY5j
References
- GE Profile Opal Nugget Ice Maker Product Page
- NewAir Countertop Ice Maker Product Page
- Igloo ICEB26HNBK Portable Electric Countertop Ice Maker Product Page
- Scotsman SCN60PA-1SS
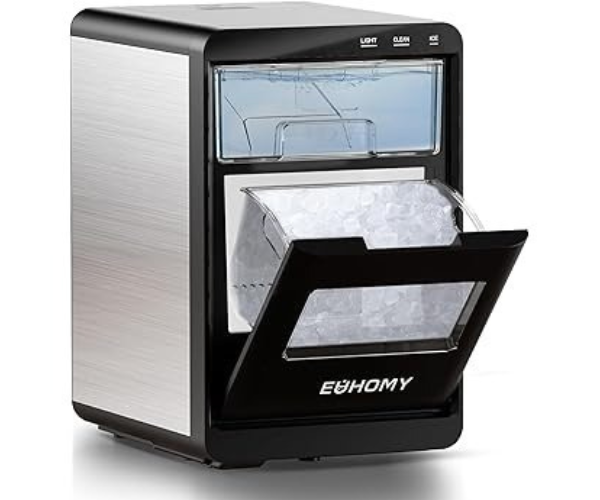
- EUHOMY Nugget Ice Maker Countertop
- Silonn Ice Maker Countertop
Additional Resources
- [How often should you clean your countertop ice maker?]
- [What happens if you don’t clean your countertop ice maker regularly?]
- [How does a countertop ice maker work?]
- [How to install a countertop ice maker?]
- [How often to descale a countertop ice maker?]
- [Buying Guide: Countertop Ice Makers with Water Line Connection]
- [Kitchen Upgrade Ideas: Countertop Ice Makers with Water Line]
- [Which countertop ice maker with freezer is best?]

