Introduction
If you want to enjoy ice-cold beverages whenever you want, having a countertop ice maker can be a game-changer for your kitchen because it provides a handy and effective way to do so. Maintaining your ice maker on a regular basis is essential if you want it to continue operating at peak efficiency and producing ice that is both clean and delicious. It is my intention to provide you with a detailed guide that will lead you through all you need to know about maintaining your countertop ice maker. You will be equipped with all the knowledge you need to guarantee that your ice maker continues to serve you well for many years to come by following this lesson, which will cover everything from daily routines to deep cleaning and diagnosing frequent faults. https://amzn.to/3WoePQf
Understanding Your Countertop Ice Maker
Maintaining a countertop ice maker properly requires a good understanding of its types and key components. By knowing these, you can tailor your maintenance routine to ensure your ice maker operates efficiently and lasts longer.
Types of Ice Makers
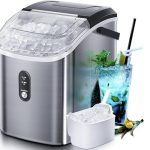
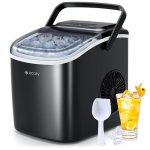
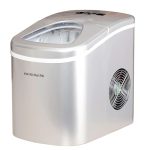
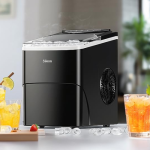
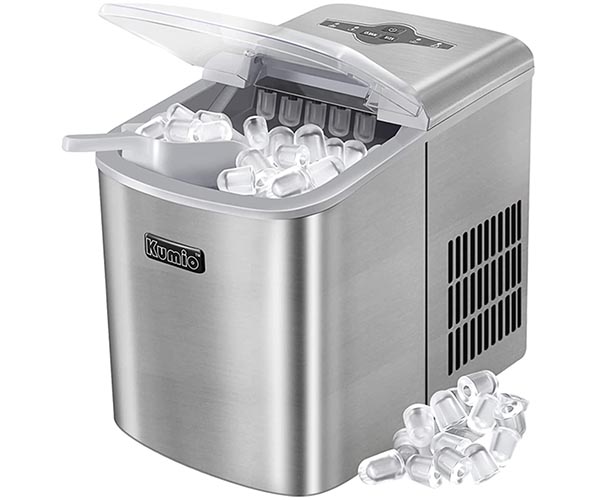
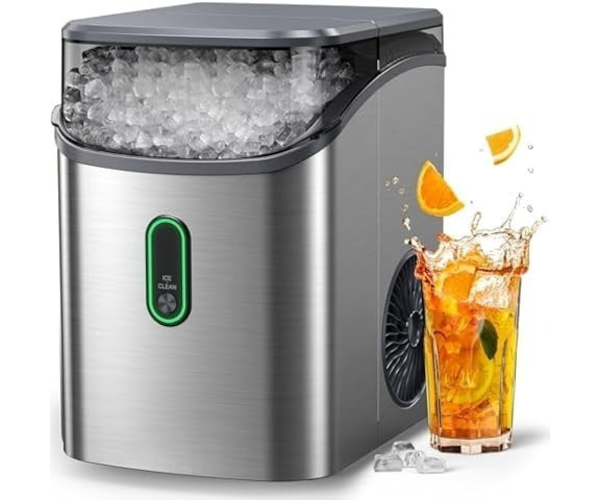
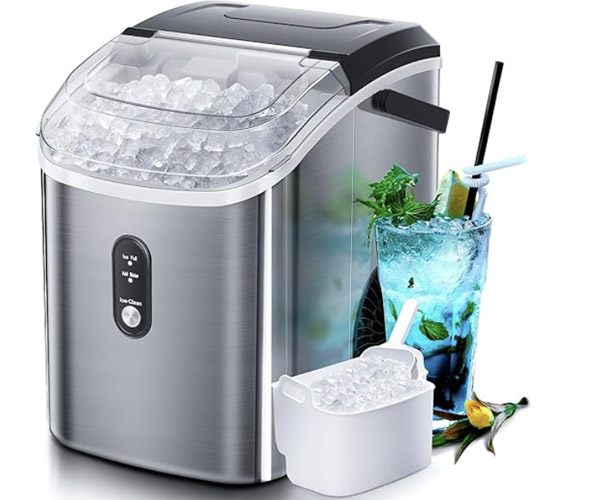
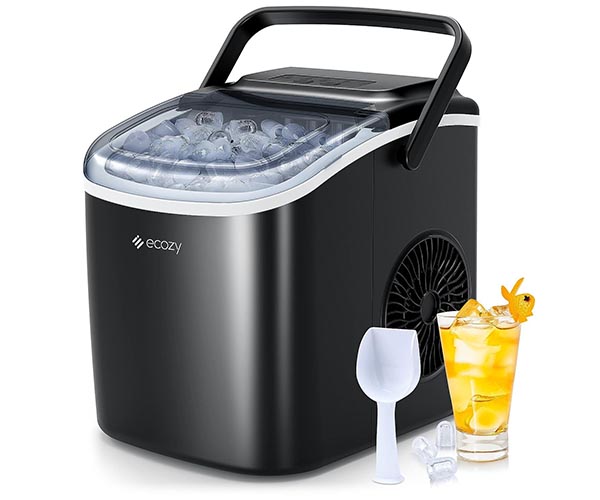
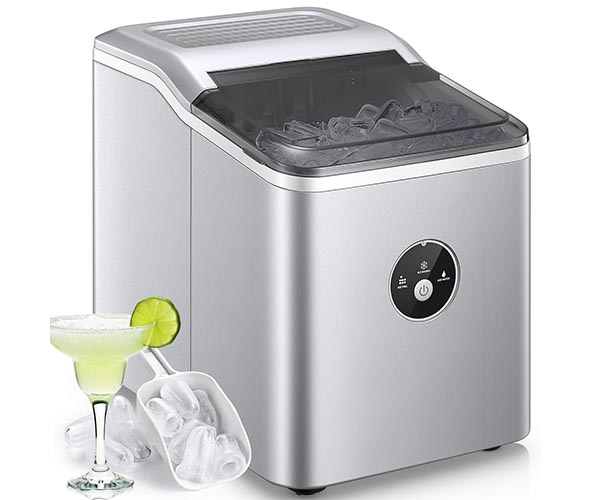
Countertop ice makers come in various types, each with its own set of maintenance needs. Here’s a brief overview:
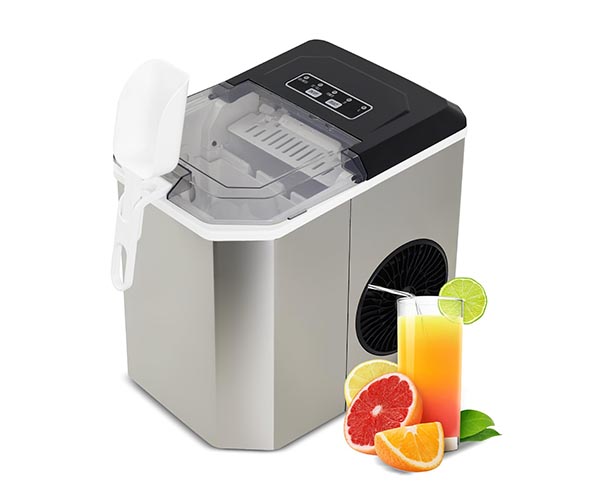
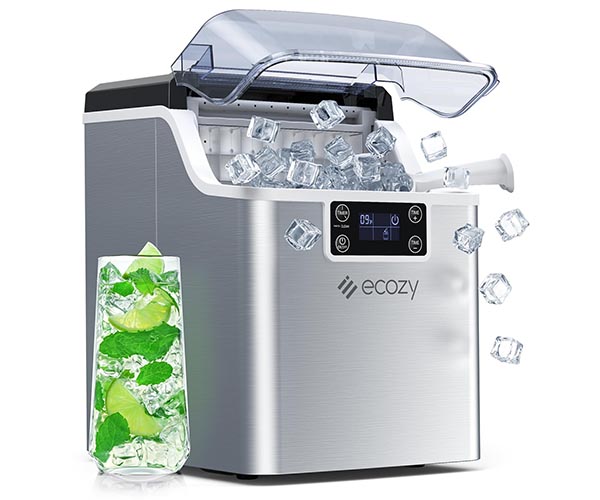
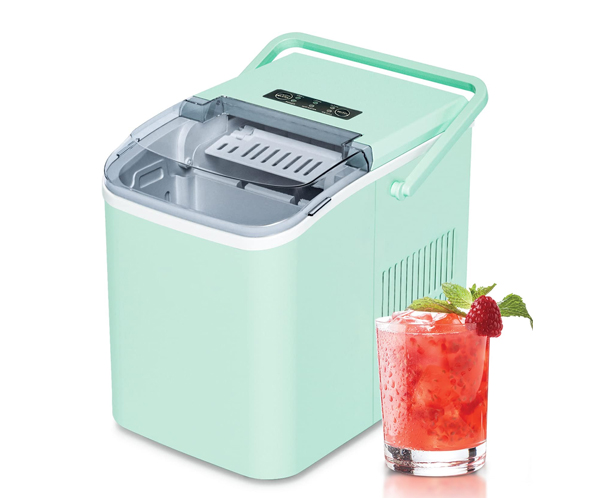
- Portable Ice Makers: These are compact and easy to move. Key maintenance needs include regular cleaning of the water reservoir and ensuring proper ventilation to prevent overheating.
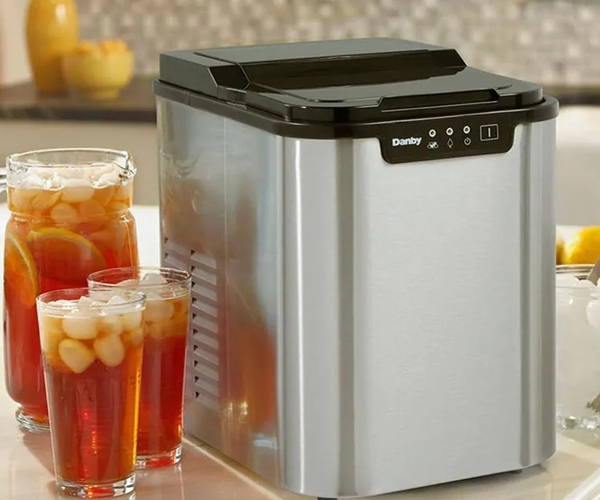
- Freestanding Ice Makers: These are larger and can produce more ice. Key maintenance needs involve more frequent cleaning due to higher usage and ensuring the drain is always clear to prevent water buildup.
- Built-in Ice Makers: Often integrated into kitchen cabinetry. Key maintenance needs include regular cleaning of both the interior and exterior, as well as ensuring the water line and connections are free from leaks.
Each type requires consistent attention to detail to keep them functioning optimally. Regardless of the type, using a suitable countertop ice maker cleaning solution is crucial to prevent scale buildup and ensure sanitary conditions.
Key Components
Understanding the key components of your ice maker will help you identify which parts require regular maintenance. Here are the essential parts:
- Water Reservoir: This is where the ice-making process begins. Over time, mineral deposits can build up, affecting ice quality. Clean the reservoir with a mixture of water and vinegar or a countertop ice maker cleaning solution every week to keep it free from deposits.
- Ice Bin: This is where the ice is stored after it is made. Regularly emptying and cleaning the ice bin prevents mold and bacteria growth. Use warm soapy water or a mild cleaning solution to clean the bin thoroughly.
- Filter: Some countertop ice makers come with a built-in filter to ensure the ice is free from impurities. Replace the filter according to the manufacturer’s instructions to maintain ice quality and prevent clogging.
- Evaporator and Condenser Coils: These components are crucial for the ice-making process. Dust and dirt can accumulate on the coils, reducing efficiency. Clean the coils every few months with a soft brush or a vacuum cleaner to ensure optimal performance.
- Ice Scoop and Other Accessories: Accessories like the ice scoop also need regular cleaning to maintain hygiene. Wash them with warm soapy water and ensure they are thoroughly dried before use.
By focusing on these components and using the appropriate countertop ice maker cleaning solution, you can keep your appliance running smoothly and producing high-quality ice. Regular maintenance not only extends the life of your ice maker but also ensures that the ice you consume is safe and clean.
Conclusion
Understanding the types and key components of your countertop ice maker is the first step toward effective maintenance. By incorporating regular cleaning routines and addressing each part’s specific needs, you can enjoy a reliable supply of ice and prolong the lifespan of your appliance. Remember, the key to a well-functioning ice maker is consistent care and the use of proper cleaning solutions.
Importance of Regular Maintenance
Regular maintenance of your countertop ice maker is essential for both health and safety and to ensure the efficiency and longevity of the appliance. Here’s a detailed look at why consistent upkeep is crucial and how it can benefit you: https://amzn.to/3WoePQf
Health and Safety: Preventing Mold, Bacteria, and Mineral Buildup
Maintaining a clean ice maker is vital to prevent the growth of mold, bacteria, and the accumulation of mineral deposits. These contaminants can affect the quality of the ice, potentially causing health issues. Here are the key points:
- Mold Prevention: Mold thrives in moist environments, and an ice maker is no exception. Regular cleaning helps eliminate mold spores before they can grow and spread.
- Bacterial Growth: Bacteria can easily accumulate in the water reservoir and on the ice maker’s surfaces. These microorganisms can contaminate the ice, posing a risk to your health. Regular sanitization using a countertop ice maker cleaning solution ensures the ice remains safe for consumption.
- Mineral Buildup: Tap water contains minerals such as calcium and magnesium, which can build up over time, forming scale deposits. These deposits can clog the ice maker, reducing its efficiency and potentially leading to mechanical failures. Using a descaling solution regularly can prevent these issues.
By incorporating a regular cleaning routine, you can ensure that the ice produced is clean and safe, free from harmful contaminants.
Efficiency and Longevity: How Maintenance Extends the Life of the Appliance and Ensures Optimal Performance
Keeping your countertop ice maker in good working condition involves more than just basic cleaning. Regular maintenance can significantly enhance the appliance’s performance and extend its lifespan. Here’s how:
- Optimal Performance: Regular cleaning ensures that all components of the ice maker are functioning correctly. When parts such as the water filter, reservoir, and ice bin are clean, the machine can produce ice more efficiently. A well-maintained ice maker will also operate more quietly and require less energy, leading to cost savings on your utility bills.
- Extended Lifespan: Regular maintenance prevents wear and tear on the ice maker’s components. By addressing minor issues early, you can avoid major repairs or the need for a replacement. Keeping the ice maker free from mineral buildup, mold, and bacteria ensures that the machine runs smoothly and lasts longer.
- Preventative Measures: Routine inspections can help identify potential problems before they become serious. For instance, checking for unusual noises, leaks, or reduced ice production can prompt timely interventions, such as cleaning or part replacement, thereby preventing more extensive damage.
In summary, a well-maintained countertop ice maker not only produces cleaner ice but also operates more efficiently and has a longer operational life. Incorporating a countertop ice maker cleaning solution into your regular maintenance routine is a simple yet effective way to achieve these benefits.
By understanding and implementing these maintenance practices, you can enjoy the convenience of fresh, clean ice at any time, while ensuring your ice maker remains in top condition for years to come. Regular upkeep is a small investment that pays off with improved performance, safety, and longevity of your appliance.
Daily Maintenance Routine
Maintaining your countertop ice maker with a consistent daily routine is essential to ensure it functions efficiently and produces clean, tasty ice. Here’s a detailed look at the crucial daily tasks you should perform:
Emptying the Ice Bin
Why it’s Important: Regularly emptying the ice bin is crucial to prevent ice from clumping together, which can happen if ice is left sitting for too long. This ensures that your ice maker can continue producing fresh ice and prevents any stale ice from affecting the taste of new batches.
How to Do It:
- Step 1: Unplug the ice maker to ensure safety.
- Step 2: Remove the ice bin carefully.
- Step 3: Discard any leftover ice. If the ice is clean and hasn’t melted, you can store it in a separate container in your freezer.
- Step 4: Rinse the ice bin with warm, soapy water. Use a soft cloth to avoid scratching the surface.
- Step 5: Dry the bin thoroughly before placing it back in the ice maker.
Wiping Surfaces
Best Practices: Keeping the external surfaces of your ice maker clean is not just about aesthetics; it also helps prevent the accumulation of dust and grime that can affect the machine’s operation.
How to Do It:
- Step 1: Use a soft, damp cloth to wipe down the exterior surfaces daily. A mixture of mild detergent and water works well.
- Step 2: Avoid abrasive cleaners or pads, as these can scratch the surface.
- Step 3: Pay special attention to buttons and crevices where dust and grime can accumulate.
- Step 4: Dry the surfaces with a soft, dry cloth to prevent water spots and ensure a shiny finish.
Checking Water Levels
Importance: Ensuring the water reservoir is filled to the correct level is critical for the ice maker to function properly. Insufficient water can lead to inefficient ice production and potentially damage the machine.
How to Do It:
- Step 1: Check the water level in the reservoir at the start and end of each day.
- Step 2: Refill the reservoir with fresh, clean water as needed. Using filtered or distilled water can help reduce mineral buildup and extend the life of your machine.
- Step 3: Ensure the water is filled up to the indicated level and not overfilled.
- Step 4: Regularly inspect the water reservoir for any signs of dirt or mold. Clean it thoroughly if any is found.
By incorporating these tasks into your daily routine, you ensure that your countertop ice maker remains in excellent working condition, producing clean and fresh ice consistently. A clean ice maker not only enhances the taste of your ice but also contributes to the overall longevity and efficiency of the appliance. Implementing a routine that includes emptying the ice bin, wiping surfaces, and checking water levels will make a significant difference in maintaining the machine.
Remember, a well-maintained ice maker is an efficient ice maker. Regular attention to these details ensures you get the best performance out of your appliance every day. Plus, it helps you avoid any unexpected breakdowns, keeping your ice maker running smoothly for years to come. This simple daily routine is an easy yet effective way to keep your countertop ice maker in top shape, ready to deliver fresh, clean ice whenever you need it.
This routine is your first line of defense in maintaining a clean and efficient ice maker. Coupled with weekly and monthly deep cleaning sessions, your countertop ice maker will stay in prime condition, ensuring reliable ice production for all your needs.
Remember, maintaining your countertop ice maker cleaning solution is key to its longevity and efficiency. Implement these daily maintenance steps, and you’ll notice the difference in the quality and taste of your ice. Keep these tips handy, and make them a part of your daily kitchen routine.
Weekly Cleaning Procedure for Your Countertop Ice Maker
Maintaining a clean countertop ice maker is essential for ensuring its longevity and the quality of the ice it produces. By incorporating a weekly cleaning routine, you can prevent buildup and keep your machine running smoothly. Here’s a detailed guide to help you with the process. https://amzn.to/3WoePQf
Tools and Supplies Needed
Before you start, gather the following materials:
- Mild detergent
- Soft cloths
- Vinegar solution (a mix of equal parts water and white vinegar)
- Microfiber cloths
Step-by-Step Guide
1. Unplugging the Ice Maker
Safety first! Always begin by unplugging the ice maker to avoid any electrical hazards while cleaning.
2. Removing and Cleaning the Ice Bin
- Remove the ice bin from the ice maker.
- Wash it with warm water and mild detergent. Use a soft cloth to gently scrub away any residue or buildup.
- Rinse thoroughly with clean water and dry completely with a microfiber cloth before reinserting it into the machine.
3. Wiping Down the Interior Surfaces
- Use a soft cloth dampened with a vinegar solution to wipe down all interior surfaces of the ice maker.
- Pay special attention to corners and crevices where grime and bacteria can accumulate.
- After wiping with the vinegar solution, use a clean, damp cloth to remove any remaining residue.
- Dry the interior surfaces with a microfiber cloth to prevent water spots and ensure all areas are completely dry.
4. Cleaning the Water Reservoir
- Remove the water reservoir if it is detachable. If not, ensure the ice maker is unplugged before proceeding.
- Empty any remaining water from the reservoir.
- Fill the reservoir with the vinegar solution and let it sit for about 10 minutes. This helps to break down any mineral deposits and disinfect the area.
- Use a soft cloth to scrub the inside of the reservoir, focusing on any areas with visible buildup.
- Rinse the reservoir thoroughly with clean water to remove any vinegar residue.
- Dry the reservoir completely before reattaching it to the ice maker.
By following these steps on a weekly basis, you can maintain a clean countertop ice maker and ensure it operates efficiently. Regular cleaning not only enhances the performance of your ice maker but also extends its lifespan, providing you with a reliable source of ice for all your needs.
Remember, consistency is key. Set a weekly reminder to clean your ice maker and keep it in top condition. This small effort can make a big difference in the quality of ice you enjoy and the longevity of your appliance. Happy cleaning!
Deep Cleaning Every Few Months
Why Deep Cleaning is Necessary
Regular maintenance is crucial, but every few months, your countertop ice maker requires a more thorough cleaning to address scale buildup and ensure deeper sanitation. Over time, minerals from water can accumulate inside the machine, leading to reduced efficiency and potential contamination. Deep cleaning removes these deposits and any lingering bacteria, ensuring your ice maker produces clean and safe ice.
Preparation
Before diving into the deep cleaning process, gather the necessary supplies to ensure a thorough job:
- Descaling solution: Specifically designed to break down mineral deposits.
- Soft brushes: To gently scrub the interior components without causing damage.
- Microfiber cloths: For wiping down surfaces and components.
Step-by-Step Process
- Disassembling Removable Parts
- Begin by unplugging the ice maker to ensure safety.
- Remove any parts that can be detached, such as the ice bin, water reservoir, and any internal trays. Refer to the user manual if needed to understand how to disassemble these components properly.
- Cleaning and Descaling the Interior Components
- Prepare the descaling solution according to the instructions on the package. Typically, this involves mixing the solution with water.
- Use a soft brush dipped in the descaling solution to scrub the interior parts of the ice maker, focusing on areas with visible scale buildup.
- For stubborn deposits, let the descaling solution sit for a few minutes before scrubbing again.
- Clean the ice bin and water reservoir separately using the descaling solution, ensuring all surfaces are thoroughly treated.
- Rinsing and Reassembling
- After scrubbing, rinse all the components with clean water to remove any residue from the descaling solution.
- Wipe down the interior and exterior surfaces with a damp microfiber cloth to ensure they are clean and free from any cleaning solution.
- Allow all parts to dry completely before reassembling the ice maker. This prevents any moisture from being trapped inside, which could lead to mold growth.
- Once everything is dry, reassemble the parts, making sure each component is securely in place.
Why Deep Cleaning is Necessary
Deep cleaning your countertop ice maker every few months is vital for several reasons:
- Prevents Scale Buildup: Regular cleaning prevents mineral deposits from accumulating, which can clog the system and reduce efficiency.
- Ensures Sanitation: Thorough cleaning removes bacteria and other contaminants that regular cleaning might miss.
- Extends Appliance Life: By maintaining clean and efficient components, your ice maker will last longer and function better.
Preparation
Having the right supplies on hand will make the deep cleaning process smooth and effective:
- Descaling Solution: Essential for breaking down and removing mineral deposits.
- Soft Brushes: Ideal for scrubbing without damaging delicate parts.
- Microfiber Cloths: Perfect for wiping down surfaces and ensuring no residue is left behind.
Step-by-Step Process
- Disassembling Removable Parts
- Unplug the ice maker and carefully remove all detachable components.
- Refer to the user manual for guidance on which parts can be safely removed and how to do so.
- Cleaning and Descaling the Interior Components
- Mix the descaling solution with water as instructed on the packaging.
- Use soft brushes to scrub the interior components, focusing on areas with visible scale.
- Allow the descaling solution to sit on stubborn deposits for a few minutes before scrubbing again.
- Clean the ice bin and water reservoir separately, ensuring all surfaces are treated with the descaling solution.
- Rinsing and Reassembling
- Rinse all components thoroughly with clean water to remove any descaling solution residue.
- Wipe down the interior and exterior surfaces with a damp microfiber cloth.
- Ensure all parts are completely dry before reassembling to prevent moisture-related issues.
- Reassemble the ice maker, making sure each part is securely in place.
Deep cleaning your countertop ice maker is essential for maintaining its efficiency and ensuring it produces safe, clean ice. By following this detailed process, you can address scale buildup and achieve deeper sanitation, contributing to the longevity and optimal performance of your appliance. Regular maintenance, coupled with these deep cleaning sessions, will keep your ice maker in top condition, ready to serve you with fresh ice whenever you need it.
Addressing Common Issues
Troubleshooting Tips
Encountering problems with your countertop ice maker can be frustrating, but many issues have simple solutions. Here are some common problems and how to address them:
- Ice Maker Not Producing Ice: If your ice maker is not producing ice, the first thing to check is the power supply. Ensure that the machine is plugged in and switched on. Next, inspect the water reservoir to make sure it is filled. Sometimes, a blocked water line or a faulty water pump can be the culprit. Additionally, check the temperature of the surrounding environment; if it is too warm, the machine may struggle to produce ice.
- Unpleasant Odors: Unpleasant odors in your ice can be a sign of bacterial buildup or mold within the machine. Regular cleaning of the water reservoir, ice bin, and interior surfaces is crucial. Use a mild detergent and vinegar solution to thoroughly clean all components. Rinse well to ensure no cleaning agents remain, which can affect the taste of the ice.
- Slow Ice Production: Slow ice production can result from several factors. Ensure that the machine is not overloaded and that the air vents are not blocked. Using filtered or distilled water can improve efficiency and prevent mineral buildup that slows ice production. Also, check the condition of the filter and replace it if necessary, as a clogged filter can impede water flow and ice formation.
Quick Fixes
For minor issues, here are some quick fixes you can try:
- Power Cycling: Sometimes, simply turning the machine off and on again can resolve issues. Unplug the machine, wait a few minutes, and then plug it back in.
- Clean Thoroughly: A thorough cleaning can often resolve many problems. Use a vinegar solution to descale and sanitize the machine. Make sure to clean all removable parts and wipe down all surfaces.
- Check Connections: Ensure all connections, such as water lines and electrical connections, are secure. A loose connection can prevent the machine from functioning properly.
- Inspect and Replace Filters: Regularly check the condition of the filters and replace them as recommended by the manufacturer. Clogged filters can restrict water flow and reduce ice production.
When to Seek Professional Help
While many issues can be resolved with basic troubleshooting and maintenance, there are times when professional help is needed. Here are some scenarios where you should consider calling a professional:
- Persistent Issues: If the problem persists after trying all troubleshooting steps, there might be a more serious issue that requires professional attention.
- Strange Noises: Unusual sounds such as grinding or knocking could indicate mechanical problems that need to be addressed by a technician.
- Electrical Issues: If you notice any electrical issues, such as sparks or a burning smell, immediately unplug the machine and seek professional help to avoid the risk of fire or electric shock.
Maintaining your countertop ice maker involves regular cleaning and timely troubleshooting. By addressing common issues promptly and knowing when to seek professional help, you can ensure your machine continues to provide you with fresh, clean ice efficiently. Regular maintenance not only extends the life of your appliance but also ensures the ice it produces is safe and tastes great. Keep these tips in mind, and you’ll enjoy the benefits of your cleaning countertop ice maker for years to come.
Best Practices for Long-Term Care
Maintaining your countertop ice maker over the long term requires consistent care and attention to a few key practices. Ensuring that you follow these steps will not only keep your machine running smoothly but also guarantee the quality and safety of the ice it produces. Here are some best practices for long-term care:
Using Quality Water
Using the right type of water in your ice maker is crucial for its longevity and performance. Here’s why:
- Filtered or Distilled Water: Always opt for filtered or distilled water instead of tap water. Tap water often contains minerals and impurities that can build up in your machine over time, leading to scale buildup and potential damage to internal components.
- Benefits:
- Reduces mineral deposits, which can clog and damage the machine.
- Ensures cleaner and better-tasting ice.
- Minimizes the need for frequent deep cleaning, saving you time and effort.
Regular Filter Replacement
Filters play a vital role in maintaining the quality of water used in your ice maker. Regular replacement is essential to keep the machine running efficiently.
- Frequency of Replacement:
- Generally, it’s recommended to replace the water filter every three to six months, depending on usage and water quality. Check the manufacturer’s guidelines for specific recommendations.
- Choosing the Right Filter:
- Use filters that are specifically designed for your ice maker model. This ensures compatibility and optimal performance.
- Look for filters that are easy to replace and have a good reputation for removing impurities.
Storage Tips
Proper storage of your countertop ice maker is important, especially if you won’t be using it for an extended period.
- Preparation for Storage:
- Clean Thoroughly: Before storing, ensure the machine is thoroughly cleaned. This includes wiping down all surfaces, cleaning the water reservoir, and making sure there are no residual water or ice particles left inside.
- Dry Completely: Allow all parts to dry completely before storing to prevent mold and mildew growth.
- Storage Environment:
- Store the ice maker in a cool, dry place. Avoid areas with high humidity or extreme temperatures.
- Cover: Use a dust cover or plastic wrap to protect the machine from dust and dirt.
- Positioning: Store the ice maker in an upright position to avoid any potential damage to internal components.
By following these best practices, you can ensure that your countertop ice maker remains in excellent condition, providing you with high-quality ice whenever you need it. Regular maintenance and proper care are key to extending the lifespan of your appliance and avoiding unnecessary repairs.
Maintaining a clean countertop ice maker is essential not only for the health and safety of your household but also for the efficiency and longevity of the appliance itself. With these detailed tips, you’ll be well-equipped to keep your ice maker in top shape for years to come.
Conclusion
Maintaining your countertop ice maker is essential for ensuring it runs smoothly and produces clean, safe ice. Let’s recap the key points we’ve covered in this guide:
- Understanding Your Ice Maker: Recognize the different types of ice makers and their specific maintenance needs. Pay attention to key components like the water reservoir, ice bin, and filter, which require regular cleaning.
- Daily Maintenance Routine:
- Empty the ice bin to prevent clumping and ensure efficient operation.
- Wipe surfaces with a mild detergent and soft cloth to keep the exterior clean.
- Check water levels to maintain optimal ice production.
- Weekly Cleaning Procedure:
- Gather necessary tools and supplies such as mild detergent, soft cloths, and a vinegar solution.
- Follow the step-by-step cleaning guide: unplug the ice maker, remove and clean the ice bin, wipe down interior surfaces, and clean the water reservoir.
- Deep Cleaning Every Few Months:
- Address scale buildup and ensure thorough sanitation by gathering supplies like descaling solution and soft brushes.
- Follow the deep cleaning process: disassemble removable parts, clean and descale interior components, and rinse and reassemble.
- Addressing Common Issues:
- Troubleshoot problems like not producing ice, unpleasant odors, and slow ice production. Implement quick fixes and know when to seek professional help.
- Best Practices for Long-Term Care:
- Use quality water (filtered or distilled) to prevent mineral buildup.
- Replace filters regularly as per the manufacturer’s recommendation.
- Store the ice maker properly when not in use to avoid damage and dust accumulation.
Encouragement
Keeping your countertop ice maker in top shape doesn’t have to be a daunting task. By incorporating these maintenance routines into your regular cleaning schedule, you can enjoy the benefits of a well-functioning appliance for years to come. Remember, the effort you put into maintaining your ice maker will pay off in the form of consistently fresh and clean ice, enhancing your overall experience.
Call to Action
Now that you’re equipped with all the tips and tricks for maintaining your countertop ice maker, we’d love to hear from you! Share your own maintenance tips and experiences in the comments below. Have you discovered any unique cleaning solutions or faced any tricky issues that you managed to solve? Your insights could help fellow readers keep their ice makers in perfect condition. Let’s build a community where we all enjoy the perks of well-maintained appliances together.
By following this guide, you’re not just ensuring the longevity of your countertop ice maker but also making sure every icy treat is as refreshing and hygienic as possible. Keep up the good work and happy ice making!
FAQs About Maintaining a Countertop Ice Maker
1. How often should I clean my countertop ice maker?
- Answer: For optimal performance, perform a quick clean daily by emptying the ice bin and wiping down the surfaces. A more thorough cleaning, including the water reservoir, should be done weekly. Deep cleaning with descaling solution should be done every few months, depending on the frequency of use and water hardness.
2. What supplies do I need for cleaning my countertop ice maker?
- Answer: Basic supplies include mild detergent, soft cloths, and a vinegar solution for regular cleaning. For deep cleaning, you may need descaling solution, soft brushes, and microfiber cloths. Having filtered or distilled water on hand can also help prevent mineral buildup.
3. Can I use tap water in my countertop ice maker?
- Answer: While you can use tap water, it’s recommended to use filtered or distilled water to prevent mineral deposits and ensure the longevity of your ice maker. Tap water can contain minerals that build up over time and affect the machine’s performance.
4. What should I do if my ice maker produces unpleasant odors?
- Answer: Unpleasant odors usually indicate the need for a thorough cleaning. Empty the ice bin, wash it with soapy water, wipe down the interior surfaces, and clean the water reservoir with a vinegar solution. Ensure all parts are completely dry before reassembling the machine.
5. How can I troubleshoot if my ice maker stops producing ice?
- Answer: First, check if the machine is plugged in and turned on. Ensure the water reservoir is filled. If these are not the issues, clean the machine thoroughly to remove any blockages or mineral buildup. If problems persist, consult the user manual or seek professional help.
6. Why is my ice production slow?
- Answer: Slow ice production can be due to high ambient temperatures or low water levels. Ensure the ice maker is placed in a cool area and the water reservoir is filled. Regular cleaning to prevent mineral buildup can also improve ice production efficiency.
7. How do I store my countertop ice maker when not in use?
- Answer: Clean and dry the ice maker thoroughly before storage to prevent mold and odors. Store it in a cool, dry place, and cover it to protect it from dust and debris. Ensure all parts are dry to prevent any residual moisture from causing issues.
8. How often should I replace the filter in my ice maker?
- Answer: Filter replacement frequency depends on the manufacturer’s recommendations, typically every 3-6 months. Regular replacement ensures clean, fresh ice and optimal machine performance. Mark your calendar or set a reminder to replace the filter as needed.
By addressing these common questions, you can ensure your countertop ice maker remains in excellent condition, providing you with clean and refreshing ice whenever you need it.
