Introduction
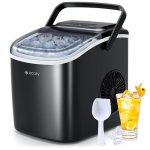
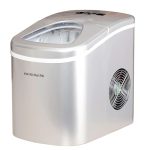
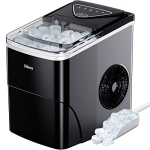
Countertop ice maker machines are incredibly convenient appliances, providing a steady supply of ice for your beverages without taking up too much space. However, like all appliances, they can sometimes run into issues. One common problem that many users face is their countertop ice maker not keeping ice frozen. This issue can be frustrating, especially when you rely on your ice maker for daily use or entertaining guests. In this comprehensive guide, we will walk you through the troubleshooting steps to diagnose and fix this problem, ensuring your ice maker functions optimally.
Understanding the mechanics of these machines and knowing what to look for can save you time and money. By following the steps outlined in this article, you can identify the root cause of the issue and apply the necessary fixes. Let’s dive into the world of troubleshooting countertop ice makers and help you get your machine back to perfect working condition. https://amzn.to/4ddyIiV
Understanding How Countertop Ice Makers Work
To effectively troubleshoot your countertop ice maker that keeps ice frozen, it’s crucial to understand how these machines operate. Countertop ice makers are designed to produce ice quickly and efficiently using a relatively simple process. Here’s a breakdown of the basic mechanics:
Basic Mechanics of Ice Production
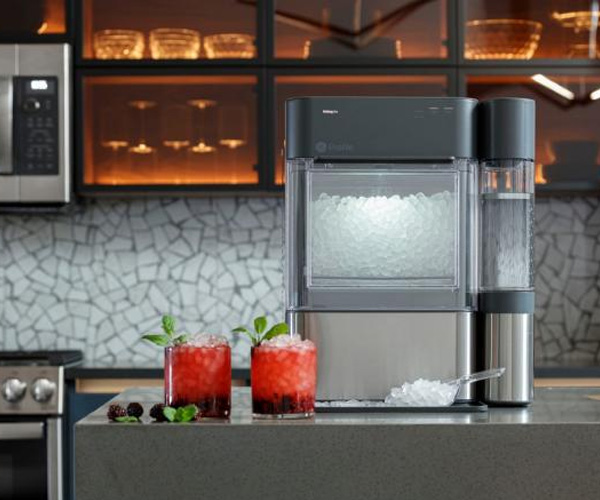
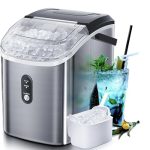
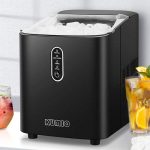
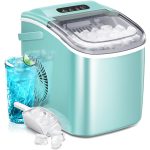
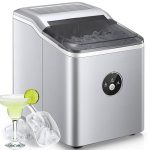
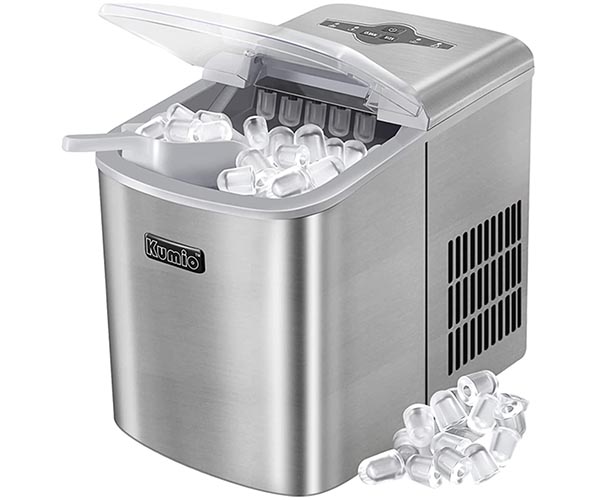
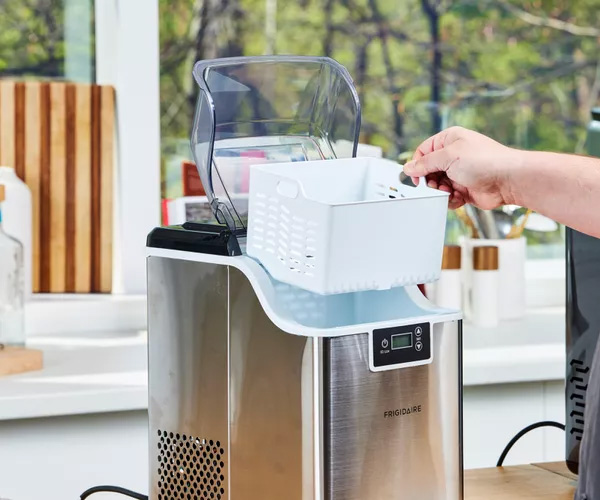
Countertop ice makers function by drawing water from a reservoir, freezing it in molds, and then releasing the ice cubes into a storage bin. The key components involved in this process include:
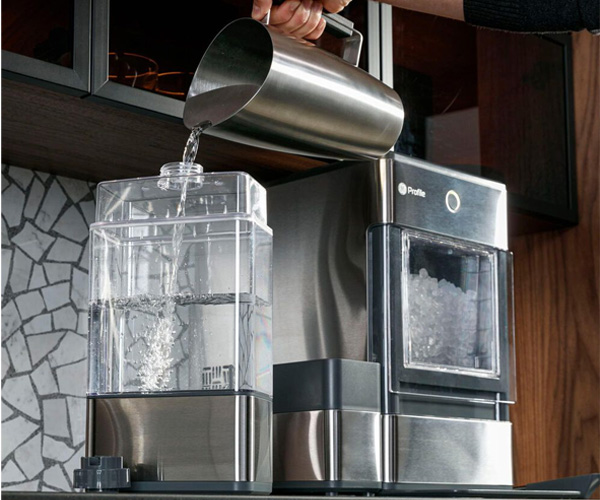
- Water Reservoir: This is where the water is stored before it’s converted into ice. The reservoir needs to be filled manually, and its capacity can vary between different models.
- Pump and Water Supply: A pump circulates the water from the reservoir to the ice-making molds.
- Freezing Mechanism: The freezing mechanism involves a compressor, condenser, and evaporator. The compressor circulates refrigerant, which absorbs heat from the water, causing it to freeze in the molds.
- Ice Mold: The mold shapes the ice cubes and is designed to freeze water quickly.
- Ice Bin: Once the ice is formed, it is released into the storage bin, which is typically insulated to keep the ice frozen for some time.
How Ice Is Kept Frozen in a Countertop Ice Maker
The storage bin in a countertop ice maker is insulated to help keep the ice frozen for as long as possible. However, unlike traditional freezers, these bins do not have their own active cooling systems. Instead, they rely on the residual cold from the ice production process and the insulation to delay melting. This design means that the ice in the bin will eventually start to melt if not used or transferred to a freezer. Understanding this limitation is key to troubleshooting issues with your ice maker not keeping ice frozen.
Common Reasons Why a Countertop Ice Maker Doesn’t Keep Ice Frozen
When your countertop ice maker fails to keep ice frozen, several potential issues could be at play. Here are some common reasons why this might happen:
Lack of Proper Insulation
The insulation in the ice storage bin plays a crucial role in keeping ice frozen. If the insulation is inadequate or damaged, the ice will melt more quickly. Over time, insulation can degrade, reducing its effectiveness.
Issues with the Compressor
The compressor is responsible for circulating refrigerant and maintaining the cold temperatures needed to freeze water into ice. If the compressor is malfunctioning, it might not be able to maintain the required temperature, leading to problems with ice retention.
Faulty Thermostat or Temperature Sensor
The thermostat and temperature sensors regulate the ice maker’s internal temperature. If these components are faulty, the machine might not maintain the correct temperature, causing the ice to melt faster.
Poor Airflow and Ventilation
Proper ventilation is necessary for the ice maker to function efficiently. If the unit is placed in a confined space or if the vents are blocked, the machine can overheat, affecting its ability to keep ice frozen.
Water Supply Problems
Issues with the water supply, such as blockages or inadequate water levels, can disrupt the ice-making process. Ensuring a steady and clean water supply is essential for optimal performance.
Electrical Issues
Faulty electrical components or connections can affect the performance of your ice maker. Issues such as blown fuses, tripped circuit breakers, or damaged power cords can prevent the machine from operating correctly.
Initial Checks and Basic Troubleshooting Steps
Before diving into more detailed troubleshooting, it’s important to perform some initial checks to rule out simple issues that might be causing your ice maker to malfunction.
Power Supply
Ensure that the ice maker is properly plugged in and that the outlet is functioning. Check the power cord for any visible damage and ensure that it is securely connected. If the outlet is not working, try plugging the ice maker into a different outlet to see if the problem persists.
Temperature Setting
Verify that the temperature settings on your ice maker are correct. If the settings have been accidentally changed, the machine might not be maintaining the necessary temperature to keep the ice frozen. Adjust the thermostat as needed and monitor the ice maker’s performance.
Water Supply
Check the water reservoir to ensure it is filled to the appropriate level. If the water level is too low, the ice maker might not be able to produce enough ice. Additionally, inspect the water lines for any blockages or leaks that might be disrupting the water flow.
Ice Bin Position
Make sure the ice bin is correctly positioned within the ice maker. If the bin is not properly aligned, the ice might not be stored correctly, leading to faster melting. Ensure that the bin is securely in place and that there are no obstructions.
Detailed Troubleshooting Steps
If the initial checks do not resolve the issue, it’s time to delve deeper into troubleshooting specific components of your countertop ice maker.
Inspecting the Insulation
Poor insulation can cause ice to melt quickly. Here’s how to inspect and address insulation issues:
- Check for Visible Damage: Look for any cracks, gaps, or damage in the insulation material. Over time, insulation can degrade or become damaged, reducing its effectiveness.
- Improve Insulation: If the insulation appears inadequate, consider adding additional insulation material. Products such as foam insulation tape can be used to reinforce the existing insulation and improve its performance.
- Replace Damaged Insulation: In cases of significant damage, it might be necessary to replace the insulation entirely. Contact the manufacturer for replacement parts or professional assistance.
Checking the Compressor
The compressor is vital for maintaining cold temperatures. Here’s how to check if the compressor is functioning properly:
- Listen for Unusual Noises: A faulty compressor often makes unusual noises, such as clicking or buzzing. These sounds can indicate that the compressor is struggling to operate.
- Test the Compressor: Use a multimeter to check the electrical continuity of the compressor. If the readings are outside the normal range, the compressor might need to be replaced.
- Professional Repair: If you suspect the compressor is malfunctioning, it’s best to seek professional repair. Compressors are complex components that require specialized knowledge to fix or replace.
Evaluating the Thermostat and Temperature Sensors
Faulty thermostats and sensors can prevent the ice maker from maintaining the correct temperature. Here’s how to evaluate these components:
- Check the Settings: Ensure the thermostat is set to the correct temperature. Adjust the settings if necessary and monitor the ice maker’s performance.
- Test the Sensors: Use a multimeter to check the resistance of the temperature sensors. Compare the readings to the manufacturer’s specifications. If the readings are inaccurate, the sensors might need to be replaced.
- Replace Faulty Components: If the thermostat or sensors are found to be faulty, replace them with new components. Refer to the manufacturer’s instructions or seek professional assistance for the replacement process.
Ensuring Proper Airflow and Ventilation
Proper airflow is crucial for efficient operation. Here’s how to ensure your ice maker has adequate ventilation:
- Check the Placement: Ensure the ice maker is placed in a well-ventilated area with plenty of space around it. Avoid placing it in confined spaces or near heat sources.
- Clean the Vents: Dust and debris can block the vents, restricting airflow. Clean the vents regularly using a soft brush or vacuum cleaner to remove any buildup.
- Improve Ventilation: If necessary, use additional fans or ventilation aids to improve airflow around the ice maker. Proper ventilation helps maintain optimal operating temperatures.
Addressing Water Supply Issues
A steady water supply is essential for ice production. Here’s how to address water supply problems:
- Check for Blockages: Inspect the water lines for any blockages or kinks that might be disrupting the water flow. Clear any obstructions to ensure a steady supply of water.
- Ensure Adequate Water Levels: Make sure the water reservoir is filled to the appropriate level. Low water levels can prevent the ice maker from producing enough ice.
- Fix Leaks: Check for any leaks in the water lines or reservoir. Repair any leaks promptly to prevent water from escaping and disrupting the ice-making process.
Electrical Component Checks
Faulty electrical components can affect the performance of your ice maker. Here’s how to check and address electrical issues:
- Inspect the Power Cord: Check the power cord for any visible damage or wear. Replace the cord if it appears damaged.
- Check Fuses and Circuit Breakers: Inspect the fuses and circuit breakers to ensure they are not blown or tripped. Replace any faulty fuses and reset tripped circuit breakers.
- Test Electrical Components: Use a multimeter to test the electrical components, such as the control board and motor. If any components are found to be faulty, replace them as needed.
Advanced Troubleshooting Techniques
If the basic and detailed troubleshooting steps do not resolve the issue, it might be necessary to use advanced techniques to diagnose and fix the problem.
Using a Multimeter to Test Electrical Components
A multimeter is a valuable tool for testing the electrical components of your ice maker. Here’s how to use it:
- Set the Multimeter: Set the multimeter to the appropriate mode for testing continuity or resistance.
- Test the Components: Touch the multimeter probes to the terminals of the component you are testing. Compare the readings to the manufacturer’s specifications to determine if the component is functioning correctly.
- Replace Faulty Components: If the readings indicate a fault, replace the component with a new one.
Inspecting and Cleaning the Evaporator and Condenser Coils
Dirty coils can affect the efficiency of your ice maker. Here’s how to inspect and clean them:
- Turn Off the Ice Maker: Unplug the ice maker and allow it to cool before inspecting the coils.
- Locate the Coils: The evaporator and condenser coils are typically located at the back or bottom of the machine.
- Clean the Coils: Use a soft brush or vacuum cleaner to remove dust and debris from the coils. Be gentle to avoid damaging the coils.
- Reassemble and Test: After cleaning, reassemble the ice maker and plug it back in. Monitor its performance to see if the cleaning has improved efficiency.
Replacing Faulty Parts: Step-by-Step Guide
If you identify any faulty parts during troubleshooting, here’s a step-by-step guide to replacing them:
- Unplug the Ice Maker: Always unplug the machine before attempting any repairs.
- Identify the Faulty Part: Use your troubleshooting findings to identify the specific part that needs replacement.
- Obtain Replacement Parts: Purchase the correct replacement parts from the manufacturer or a reputable supplier.
- Follow Manufacturer Instructions: Refer to the manufacturer’s manual for detailed instructions on replacing the part. Follow the steps carefully to avoid damaging the machine.
- Test the Machine: After replacing the part, plug in the ice maker and test its performance to ensure the issue is resolved.
Preventative Maintenance Tips
Regular maintenance can help prevent issues with your countertop ice maker. Here are some preventative maintenance tips:
Regular Cleaning and Descaling
- Clean Weekly: Wipe down the interior and exterior surfaces of the ice maker weekly to prevent mold and bacteria buildup.
- Descale Monthly: Use a descaling solution to remove mineral deposits from the water lines and ice molds. Follow the manufacturer’s instructions for descaling.
Inspecting and Replacing Filters
- Check Filters Regularly: Inspect the water filters regularly and replace them as needed to ensure clean water and efficient ice production.
- Use High-Quality Filters: Use high-quality filters recommended by the manufacturer for optimal performance.
Keeping the Ice Maker in a Cool, Well-Ventilated Area
- Choose the Right Location: Place the ice maker in a cool, well-ventilated area to prevent overheating and ensure efficient operation.
- Avoid Heat Sources: Keep the machine away from direct sunlight, ovens, and other heat sources.
Regularly Checking and Tightening Connections
- Inspect Connections: Regularly check all connections, including water lines, power cords, and hoses, to ensure they are secure and in good condition.
- Tighten Loose Connections: If you find any loose connections, tighten them to prevent leaks and ensure proper operation.
When to Seek Professional Help
While many issues with countertop ice maker can be resolved through troubleshooting and maintenance, some problems require professional repair. Here’s when to seek professional help:
Identifying Problems That Require Professional Repair
- Compressor Issues: Problems with the compressor often require professional repair due to the complexity of the component.
- Electrical Issues: If you suspect a major electrical problem, such as a faulty control board or wiring issue, it’s best to seek professional assistance.
- Refrigerant Leaks: Leaks in the refrigerant lines can be hazardous and require specialized repair.
How to Find a Qualified Technician
- Manufacturer Recommendations: Check the manufacturer’s website for recommended service providers or technicians.
- Local Repair Services: Search for local appliance repair services with experience in repairing ice makers.
- Customer Reviews: Look for technicians with positive customer reviews and a good reputation for quality service.
What to Expect During a Professional Service Call
- Diagnosis: The technician will diagnose the issue by inspecting the machine and testing components.
- Repair Estimate: You will receive an estimate for the repair costs, including parts and labor.
- Repair Work: The technician will perform the necessary repairs and test the machine to ensure it is functioning correctly.
Frequently Asked Questions (FAQs)
Here are some common questions and answers about troubleshooting and maintaining countertop ice makers:
Why Is My Ice Maker Not Making Enough Ice?
Several factors can affect ice production, including low water levels, blocked water lines, and incorrect temperature settings. Ensure the water reservoir is filled, check for blockages, and verify the temperature settings. https://amzn.to/4ddyIiV
How Often Should I Clean My Countertop Ice Maker?
It’s recommended to clean your ice maker at least once a week to prevent mold, bacteria buildup, and mineral deposits. Regular cleaning ensures efficient operation and high-quality ice production.
Can I Use Tap Water in My Ice Maker?
While you can use tap water, it’s better to use filtered or distilled water to prevent mineral buildup and ensure the production of clean, high-quality ice. Tap water may contain impurities that can affect the machine’s performance.
How Long Should a Countertop Ice Maker Last?
With proper maintenance, a countertop ice maker can last between 3 to 5 years. Regular cleaning, descaling, and prompt repairs can extend the lifespan of the machine.
What Can I Do to Extend the Life of My Ice Maker?
Regular maintenance, including cleaning, descaling, and inspecting connections, can extend the life of your ice maker. Additionally, using filtered water and keeping the machine in a cool, well-ventilated area can improve its longevity.
Conclusion
Troubleshooting a countertop ice maker that doesn’t keep ice frozen involves understanding how the machine works, performing initial checks, and conducting detailed inspections of key components. By following the steps outlined in this guide, you can identify and resolve common issues, ensuring your ice maker functions efficiently. Regular maintenance and proper care are essential for keeping your ice maker in optimal condition and extending its lifespan. If you encounter complex problems, don’t hesitate to seek professional help to ensure your machine receives the necessary repairs.
References
- GE Profile Opal Nugget Ice Maker Product Page
- NewAir Countertop Ice Maker Product Page
- Igloo ICEB26HNBK Portable Electric Countertop Ice Maker Product Page
- Scotsman SCN60PA-1SS
- EUHOMY Nugget Ice Maker Countertop
- Silonn Ice Maker Countertop
Additional Resources
[Which countertop ice maker with freezer is best?]
[How often should you clean your countertop ice maker?]
[What happens if you don’t clean your countertop ice maker regularly?]
[How does a countertop ice maker work?]
[How to install a countertop ice maker?]
[How often to descale a countertop ice maker?]
[Buying Guide: Countertop Ice Makers with Water Line Connection]
[Kitchen Upgrade Ideas: Countertop Ice Makers with Water Line]
Call to Action
If you have any experiences or questions about troubleshooting countertop ice maker, feel free to share them in the comments below. Don’t forget to subscribe to our blog for more home appliance tips and reviews, and check out our related articles on ice maker machines and countertop appliances. https://amzn.to/4ddyIiV

