Introduction
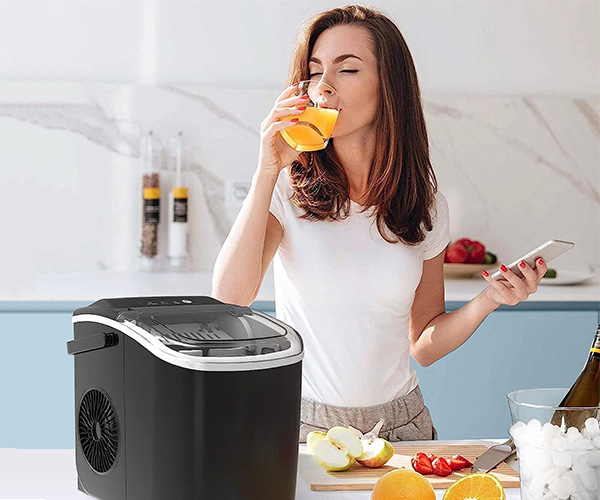
Have you ever questioned why your countertop ice maker isn’t making as much ice as it once did or why your ice tastes a little off? It’s probably a lack of routine cleaning. The longevity of the machine and the quality of your ice depend on keeping your countertop ice maker clean. Everything you need to know about cleaning your countertop ice maker will be covered in this tutorial, from how these devices operate to offering a thorough cleaning plan and step-by-step instructions. Let’s make sure your drinks are always served with clean, fresh ice! https://amzn.to/3WoePQf
Understanding Countertop Ice Makers
How They Work
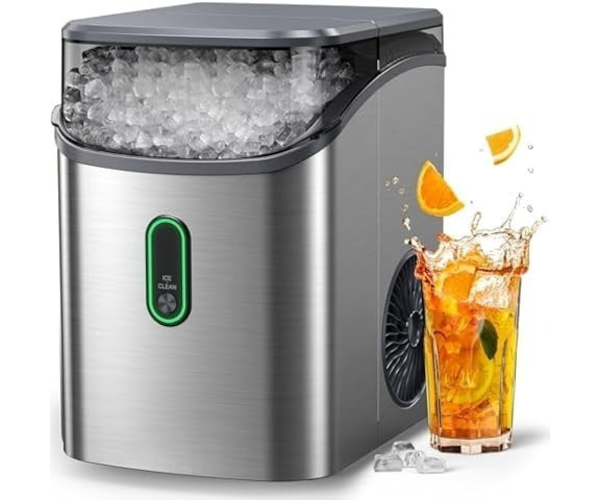
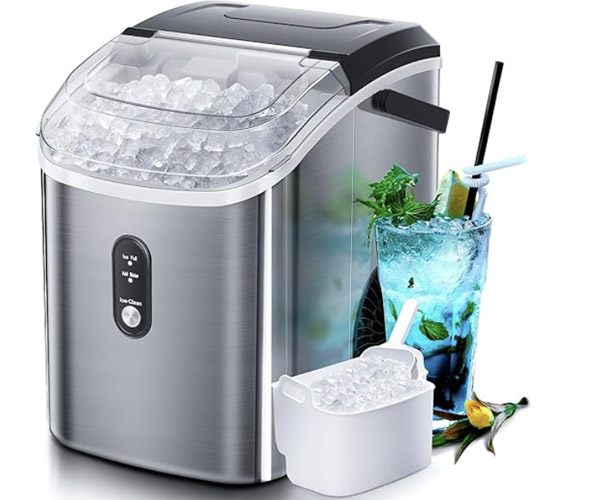
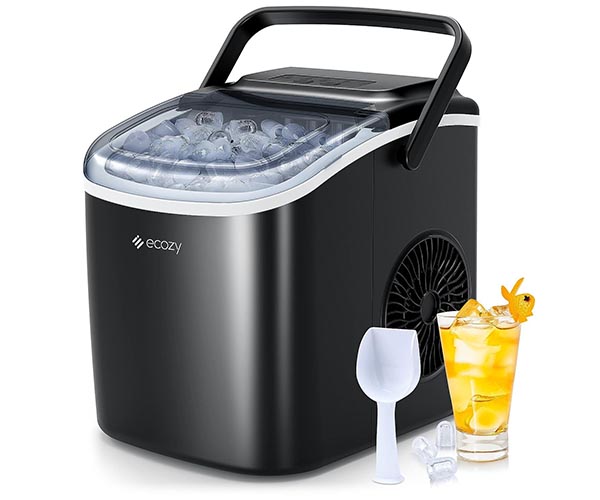
Countertop ice makers are a convenient appliance designed to provide a steady supply of ice for your beverages without taking up too much space. Here’s a basic breakdown of how they operate:
- Water Reservoir: The first step involves filling the water reservoir with clean water. It’s essential to use filtered or distilled water to avoid mineral buildup that can affect the machine’s performance.
- Water Pump: The water is then pumped from the reservoir into the ice-making area. This pump ensures a steady flow of water, which is crucial for consistent ice production.
- Freezing Mechanism: The water is directed over a refrigerated metal prong or plate, which quickly freezes the water into ice. This method is efficient, allowing the ice maker to produce ice cubes or nuggets in a short amount of time.
- Harvesting: Once the ice has formed, the machine uses a slight increase in temperature or a mechanical arm to release the ice from the prong or plate. The ice then falls into a storage bin, ready for use.
- Storage Bin: The ice storage bin holds the freshly made ice, keeping it insulated until you need it. Some models also have a slight cooling mechanism to keep the ice from melting too quickly.
The entire process, from filling the reservoir to harvesting the ice, is automated, making it easy to produce ice on demand.
Common Problems
While countertop ice makers are designed to be user-friendly, neglecting regular cleaning can lead to several issues that can compromise the quality of the ice and the machine’s performance. Here are some common problems caused by a lack of cleaning:
- Mold and Mildew: One of the most significant problems is the growth of mold and mildew. The moist environment inside an ice maker is a perfect breeding ground for these fungi. If the machine is not cleaned regularly, mold and mildew can grow on the interior surfaces, leading to contaminated ice.
- Bad-Tasting Ice: When minerals from hard water build up inside the machine, they can impart a bad taste to the ice. Additionally, any residual cleaning agents or unclean surfaces can also affect the taste. This is why it’s crucial to use filtered water and ensure all parts are thoroughly rinsed after cleaning.
- Reduced Efficiency: Scale buildup from minerals in the water can obstruct the freezing mechanism, making it harder for the machine to produce ice. This can result in smaller ice cubes or nuggets and a longer production time.
- Ice Production Issues: If the machine is not regularly cleaned, the buildup of impurities can lead to blockages in the water pump or freezing mechanism. This can cause the machine to produce less ice or stop working altogether.
- Clogged Filters: Some countertop ice makers have filters to keep the water clean. These filters can become clogged with impurities over time, reducing water flow and ice quality.
- Mechanical Failures: Over time, neglecting regular cleaning can lead to mechanical issues. For example, the ice harvesting arm can become stuck due to mineral deposits, or the water pump can fail if it’s clogged with debris.
To avoid these issues, it’s essential to adhere to a regular cleaning schedule for your countertop ice maker. This involves not just wiping down the exterior but thoroughly cleaning the interior components, including the water reservoir, ice-making mechanism, and storage bin.
Tips for Maintaining Your Countertop Ice Maker:
- Regular Cleaning: Clean the machine every few weeks, depending on usage, to prevent buildup of mold, mildew, and minerals.
- Use Filtered Water: Always use filtered or distilled water to minimize mineral deposits and improve the taste of your ice.
- Descale When Necessary: If you notice scale buildup, use a commercial descaling solution to clean the internal components.
- Keep It Dry: After cleaning, ensure all parts are dry before reassembling to prevent mold and mildew growth.
By following these tips and maintaining a regular cleaning schedule, you can ensure your countertop ice maker remains efficient and produces high-quality ice.
Factors Influencing Cleaning Frequency
Manufacturer Recommendations
When it comes to cleaning your countertop ice maker, manufacturers often provide general guidelines to ensure optimal performance. These guidelines typically suggest a thorough cleaning every three to six months. However, it’s crucial to refer to the specific instructions provided by your ice maker’s brand. For example: https://amzn.to/3WoePQf
- Brand A: Recommends cleaning every three months to maintain ice quality.
- Brand B: Advises a six-month cleaning interval but suggests more frequent maintenance if used daily.
- Brand C: Offers a self-cleaning feature but still recommends a manual clean every six months.
Following these manufacturer guidelines helps prevent buildup and ensures your ice maker operates efficiently.
Usage Level
The frequency of use significantly impacts the cleaning needs of your countertop ice maker. If you use your ice maker daily, it will require more frequent cleaning compared to an ice maker that is used occasionally. High usage can lead to quicker buildup of:
- Mineral deposits: Frequent use increases the likelihood of scale buildup, especially in areas with hard water.
- Mold and bacteria: Regular use in warm, humid environments can create a breeding ground for mold and bacteria, necessitating more frequent cleanings.
Consider your usage patterns:
- Daily use: Clean every one to two months.
- Weekly use: Clean every three to four months.
- Occasional use: Clean every six months.
Adjusting your cleaning schedule based on usage ensures the ice maker remains sanitary and efficient.
Water Quality
Water quality is a critical factor in determining how often you should clean your countertop ice maker. Hard water, which contains high levels of minerals such as calcium and magnesium, can cause significant scale buildup. This buildup not only affects the taste of the ice but can also reduce the efficiency of the ice maker. To combat this:
- Use filtered or distilled water: This minimizes the mineral content and reduces the frequency of cleaning.
- Install a water softener: If you have hard water, a softener can help reduce mineral deposits.
Regular cleaning with a descaling solution is essential if you’re using hard water. Check for signs of scale buildup, such as white or chalky deposits inside the ice maker, and clean accordingly.
Environment
The environment where your countertop ice maker is located also plays a significant role in how often it needs to be cleaned. Factors such as humidity, temperature, and exposure to contaminants can affect the machine:
- Humidity: High humidity levels can encourage mold and mildew growth inside the ice maker. In humid environments, consider cleaning the machine more frequently, possibly every month.
- Temperature: Consistently warm temperatures can also promote bacterial growth. If your ice maker is in a warm kitchen, increase the cleaning frequency.
- Dust and contaminants: An environment with a lot of dust or potential contaminants (e.g., near a cooking area) can lead to faster accumulation of debris inside the ice maker.
To mitigate these environmental impacts, keep your ice maker in a cool, dry place and ensure it is well-ventilated. Regular cleaning is essential to prevent environmental factors from compromising the cleanliness and functionality of the machine.
By understanding these factors and adjusting your cleaning routine accordingly, you can maintain a clean and efficient countertop ice maker. This not only ensures the production of high-quality ice but also extends the lifespan of your appliance.
Optimal Cleaning Frequency for Countertop Ice Makers
Optimal Cleaning Frequency
General Guidelines: Average Recommended Cleaning Intervals
Cleaning your countertop ice maker regularly is essential to ensure it functions properly and produces fresh, clean ice. Here are the general guidelines for average recommended cleaning intervals:
- Every 3 to 6 Months: Most manufacturers recommend a thorough cleaning every three to six months. This interval helps prevent the buildup of scale, mold, and bacteria that can affect the taste and quality of your ice.
- Monthly Maintenance: Even if you don’t do a deep clean every month, it’s good practice to perform a quick cleaning. This involves wiping down the exterior, cleaning the ice bin, and running a cleaning cycle with a vinegar solution or a commercial descaler.
- Weekly Check: Inspect your ice maker weekly for any signs of mold or scale buildup, and wipe down any visible dirt or residue. This can help prevent more significant issues and keep your ice maker in top shape.
Maintaining a consistent cleaning schedule helps to ensure your ice maker stays in optimal condition and prolongs its lifespan. Additionally, it ensures that every batch of ice is as fresh and clean as possible.
Signs It’s Time to Clean
While following a regular cleaning schedule is crucial, sometimes your countertop ice maker might need cleaning sooner. Here are some indicators that your ice maker needs cleaning:
- Off Taste or Odor: If your ice has an unusual taste or smell, it’s a clear sign that your ice maker needs to be cleaned. This can be caused by bacteria, mold, or scale buildup affecting the water and ice.
- Reduced Ice Production: A decrease in the amount of ice produced can indicate that your machine is working harder due to internal buildup, which needs to be addressed with a thorough cleaning.
- Smaller or Misshapen Ice Cubes: If your ice maker is producing smaller or misshapen ice cubes, it may be due to blockages or buildup within the machine.
- Visible Mold or Mildew: Any visible mold or mildew inside the ice maker is a sure sign that it needs a deep clean. Mold and mildew not only affect the taste of your ice but can also pose health risks.
- Unusual Noises: If your ice maker is making strange noises during its operation, it could be due to internal parts being clogged or obstructed by scale or debris.
Deep Cleaning Your Countertop Ice Maker
When your ice maker shows signs that it needs cleaning beyond the regular maintenance, it’s time for a deep clean. Here’s a step-by-step process:
- Unplug the Ice Maker: Ensure the machine is turned off and unplugged to avoid any electrical hazards.
- Disassemble: Remove the ice bin and any other detachable parts as per the manufacturer’s instructions.
- Clean the Parts: Wash the ice bin, water reservoir, and any other removable parts with warm, soapy water. Use a soft cloth or sponge to avoid scratching the surfaces.
- Descale the Machine: Fill the water reservoir with a mixture of vinegar and water or a commercial descaling solution. Run the ice maker through a cleaning cycle to remove mineral buildup.
- Scrub the Interior: Use a small brush to clean the interior components, especially around the ice-making mechanism. This helps remove any stubborn residue.
- Rinse Thoroughly: After the cleaning cycle, rinse all parts thoroughly with clean water to remove any remaining cleaning agents.
- Reassemble and Test: Reassemble the ice maker, plug it back in, and run a few cycles to ensure it’s working correctly and producing clean ice.
By following these steps and adhering to the recommended cleaning intervals, you can keep your countertop ice maker running efficiently and producing high-quality ice.
Remember, a well-maintained ice maker not only improves the taste of your ice but also extends the lifespan of your appliance. Stay on top of your cleaning routine, and enjoy the benefits of fresh, clean ice in all your beverages.
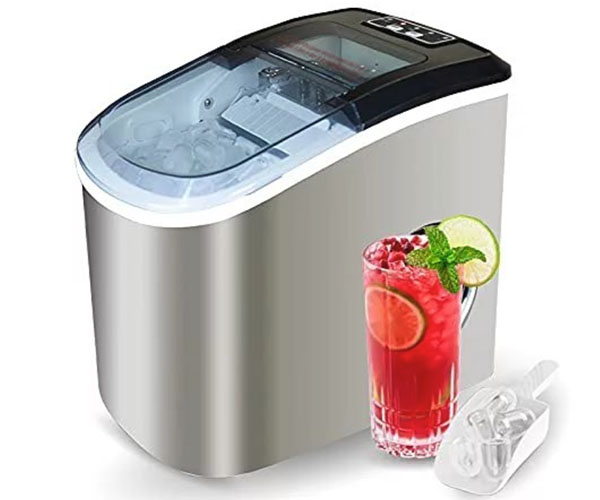
Step-by-Step Cleaning Guide for Optimal Cleaning Frequency for Countertop Ice Makers
Preparation
Before diving into the cleaning process, gather all the necessary supplies and tools. Ensuring you have everything at hand will make the process smoother and more efficient. Here’s what you’ll need: https://amzn.to/3WoePQf
- Soft cloths or sponges
- Mild dish soap
- Vinegar or a commercial descaling solution
- A small brush (like a toothbrush)
- Clean, filtered water
- Towels for drying
Safety Precautions
Safety should always be your top priority when performing a deep clean on your countertop ice maker. Follow these important tips to avoid accidents and damage to your appliance:
- Unplug the ice maker: Always disconnect the machine from the power source before cleaning.
- Read the manual: Familiarize yourself with the manufacturer’s instructions specific to your model.
- Use mild cleaners: Harsh chemicals can damage the machine’s components.
- Handle with care: Be gentle with delicate parts to avoid breaking or bending them.
Cleaning Process
Disassembly Proper disassembly is crucial to effectively clean each part of your ice maker. Follow these steps to safely take apart your machine:
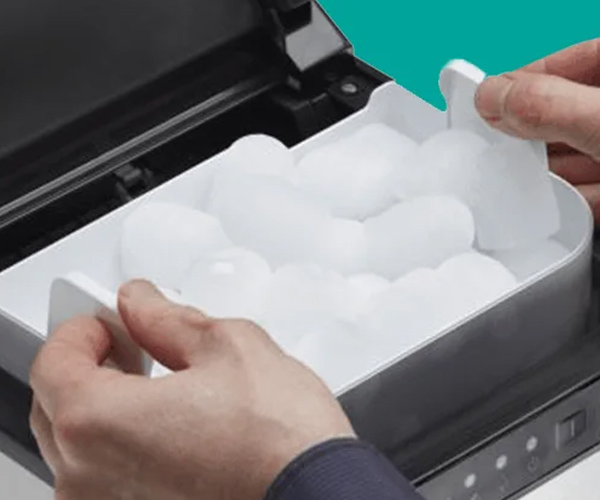
- Remove the ice bin: Slide out the ice bin and set it aside.
- Take out the water reservoir: If removable, lift out the water reservoir carefully.
- Detach internal components: Depending on your model, this may include the ice scoop holder, water filter, and any other removable parts.
Cleaning Parts Each part of your ice maker requires thorough cleaning to ensure optimal performance. Here’s how to clean each component:
- Ice Bin: Wash the ice bin with warm, soapy water. Rinse thoroughly and dry with a clean towel.
- Water Reservoir: Clean the reservoir using a mixture of vinegar and water or a commercial descaling solution. Rinse well to remove any cleaning agents.
- Internal Components: Use a small brush to scrub away any debris or buildup on removable parts. Rinse and dry each part completely before reassembling.
Descaling Descaling is essential to remove mineral buildup that can affect the efficiency of your ice maker. Follow these steps for effective descaling:
- Prepare the descaling solution: Mix vinegar with water or use a commercial descaler as per the instructions.
- Run a cleaning cycle: Fill the water reservoir with the descaling solution and run a cleaning cycle. This will help remove any scale buildup inside the machine.
- Rinse thoroughly: After the cycle, run several cycles with clean, filtered water to ensure all descaling solution is removed.
Reassembly After cleaning and descaling, reassemble your ice maker by following these steps:
- Reattach internal components: Carefully place each cleaned part back into the machine, ensuring they fit snugly and securely.
- Replace the water reservoir: If removable, securely fit the water reservoir back into place.
- Slide in the ice bin: Make sure the ice bin is clean and dry before sliding it back into the machine.
Final Checks
Once reassembled, perform these final checks to ensure your ice maker is ready to use:
- Inspect for cleanliness: Check that all parts are clean and free from any cleaning residues.
- Run a test cycle: Fill the water reservoir with clean, filtered water and run a test cycle to ensure the machine is working properly.
- Check for leaks: Ensure there are no leaks or drips coming from the machine.
By following these detailed steps, you’ll ensure your countertop ice maker is thoroughly cleaned and maintained, ready to produce fresh, clean ice whenever you need it.
Deep clean countertop ice maker regularly to maintain its performance and longevity, keeping your ice fresh and your machine in optimal condition.
Preventative Maintenance Tips
Regular maintenance is crucial to ensure your countertop ice maker functions optimally and produces high-quality ice. Here are some deep clean countertop ice maker routines you should follow:
Regular Tasks
Daily
- Empty the Ice Bin: Make it a habit to empty the ice bin at the end of each day to prevent old ice from affecting the taste of new ice.
- Wipe Down Surfaces: Use a damp cloth to wipe down the exterior and interior surfaces of the ice maker to remove any dust or spills.
Weekly
- Check for Mold and Mildew: Inspect the water reservoir and ice-making area for any signs of mold or mildew. If you notice any, perform a quick cleaning using a vinegar solution.
- Clean the Water Reservoir: Empty the water reservoir and refill it with fresh, clean water. This helps prevent the buildup of minerals and impurities.
Monthly
- Run a Cleaning Cycle: Use a mixture of vinegar and water or a commercial descaling solution to run a full cleaning cycle. This helps remove any scale buildup and keeps the ice maker in good working condition.
- Inspect the Machine: Check all parts of the ice maker for wear and tear. Ensure that seals are intact and there are no leaks.
Using Clean Water
- Filtered or Distilled Water: Always use filtered or distilled water in your ice maker. Tap water can contain minerals that contribute to scale buildup, affecting the efficiency and longevity of your machine.
- Water Filters: Consider installing a water filter if your ice maker doesn’t have one built-in. This will help remove impurities and improve the taste of your ice.
- Regular Filter Changes: If your ice maker uses a water filter, make sure to replace it according to the manufacturer’s recommendations to maintain water quality.
Proper Storage
- Clean Before Storage: Before storing your ice maker, ensure it is thoroughly cleaned and dried. Any residual moisture can lead to mold growth during storage.
- Store in a Dry Place: Find a dry, cool place to store your ice maker. Avoid areas with high humidity, as this can cause mold and mildew to form.
- Cover the Machine: Use a cover to protect your ice maker from dust and dirt while it’s in storage. This helps keep it clean and ready for use when you need it again.
- Regular Check-ups: Even when not in use, periodically check on your stored ice maker to ensure it remains in good condition and there are no signs of moisture or pests.
By following these preventative maintenance tips, you can significantly extend the life of your countertop ice maker and ensure it consistently produces clean, great-tasting ice. Regular care and attention to detail will keep your ice maker running smoothly and efficiently, providing you with peace of mind and high-quality ice for all your needs.
Common Mistakes to Avoid
When it comes to maintaining your countertop ice maker, there are a few common pitfalls that can easily be avoided with the right knowledge and care. Here’s a detailed look at some of the most frequent mistakes and how to steer clear of them:
Skipping Steps
One of the biggest mistakes is skipping steps in the cleaning process. Each step in cleaning your countertop ice maker is crucial for ensuring it remains hygienic and functional. Neglecting even one step can lead to several issues:
- Mold and Mildew Growth: Incomplete cleaning can leave moisture behind, which promotes mold and mildew growth. This not only affects the taste of your ice but can also pose health risks.
- Residual Build-Up: Skipping descaling or not thoroughly cleaning the water reservoir can result in mineral deposits. Over time, these deposits can clog the machine, reducing its efficiency and lifespan.
- Poor Ice Quality: Inadequate cleaning can lead to ice that tastes or smells bad. This happens because contaminants and old water are left in the system.
To avoid these problems, always follow a comprehensive cleaning routine. Make sure you:
- Disassemble all removable parts for thorough cleaning.
- Use the right cleaning solutions, such as a mixture of vinegar and water, to descale and disinfect.
- Rinse all parts thoroughly to remove any cleaning agents before reassembly.
Using Harsh Chemicals
Another common mistake is using harsh chemicals that can damage your countertop ice maker. Many people think that stronger chemicals will clean better, but this is not the case with delicate appliances. Harsh chemicals can:
- Corrode Metal Parts: Strong acids or alkalis can corrode the metal components inside the ice maker, leading to premature wear and potential breakdowns.
- Damage Plastic Components: Harsh cleaners can also degrade plastic parts, making them brittle and prone to cracking.
- Leave Harmful Residues: Chemical residues left behind can contaminate your ice, making it unsafe for consumption.
Instead, opt for safe alternatives:
- Vinegar Solution: A mixture of vinegar and water is effective for descaling and disinfecting without causing damage.
- Mild Dish Soap: Use a gentle dish soap for cleaning removable parts. Ensure you rinse thoroughly to remove any soap residue.
- Commercial Cleaners: Use cleaners specifically designed for ice makers. These products are formulated to clean effectively without damaging the machine.
Ignoring Manufacturer Instructions
Finally, ignoring the manufacturer’s instructions is a mistake that can lead to improper maintenance and potential damage to your countertop ice maker. Each model may have specific requirements and guidelines for cleaning and maintenance. Ignoring these can result in:
- Warranty Issues: Not following the recommended maintenance procedures can void your warranty, leaving you without coverage if something goes wrong.
- Improper Cleaning: Using incorrect methods or products can fail to clean the machine properly, leading to the issues mentioned above.
- Mechanical Problems: Incorrect disassembly or reassembly can damage components or cause them to function improperly.
To ensure you’re taking the best care of your ice maker:
- Read the Manual: Take the time to thoroughly read the user manual provided with your ice maker. It contains specific instructions and recommendations.
- Follow Guidelines: Adhere to the cleaning and maintenance schedules suggested by the manufacturer.
- Use Recommended Products: Use only the cleaning solutions and tools recommended in the manual to avoid any unintended damage.
By avoiding these common mistakes, you can ensure that your countertop ice maker remains in top condition, providing you with fresh, clean ice every time. Regular maintenance and proper cleaning not only extend the life of your appliance but also ensure the quality and safety of the ice it produces.
FAQs
- How often should I clean my countertop ice maker?
- Answer: Most manufacturers recommend cleaning your countertop ice maker every three to six months. However, if you use the machine daily or have hard water, you may need to clean it more frequently, around every one to two months.
- What signs indicate that my ice maker needs cleaning?
- Answer: Signs that your ice maker needs cleaning include bad-tasting or foul-smelling ice, reduced ice production, smaller or misshapen ice cubes, and visible mold or mildew inside the machine.
- Can I use regular household cleaners to clean my ice maker?
- Answer: It’s best to avoid harsh household cleaners that can damage your ice maker. Instead, use a mixture of vinegar and water or a commercial descaling solution specifically designed for ice makers. Mild dish soap can also be used for removable parts, ensuring they are thoroughly rinsed.
- What are the steps to properly clean a countertop ice maker?
- Answer: The basic steps include unplugging the machine, disassembling removable parts, cleaning each part with a vinegar solution or mild dish soap, descaling the water reservoir, thoroughly rinsing all parts, and reassembling the machine. Always follow the manufacturer’s detailed instructions.
- Why is it important to use filtered or distilled water in my ice maker?
- Answer: Using filtered or distilled water helps prevent mineral buildup and scale, which can reduce the efficiency of your ice maker and affect the taste of the ice. It also helps in reducing the frequency of deep cleaning required for the machine.
- What happens if I skip regular cleaning of my ice maker?
- Answer: Skipping regular cleaning can lead to mold and mildew growth, scale buildup, bad-tasting ice, and reduced ice production. It can also shorten the lifespan of your ice maker due to mechanical issues caused by residues and buildup.
- Can I clean my ice maker while it’s still plugged in?
- Answer: No, you should always unplug your ice maker before cleaning to avoid any electrical hazards. This ensures your safety and prevents any potential damage to the machine.
- Is it necessary to follow the manufacturer’s cleaning instructions?
- Answer: Yes, it is crucial to follow the manufacturer’s instructions to ensure you are using the correct cleaning methods and products. This helps maintain the warranty, ensures proper cleaning, and prevents damage to the ice maker. Ignoring these instructions can lead to improper maintenance and potential mechanical issues.
By following these guidelines and maintaining a regular cleaning schedule, you can ensure your countertop ice maker remains in optimal condition, providing fresh and clean ice consistently. Regular maintenance is key to the longevity and efficiency of your appliance.

