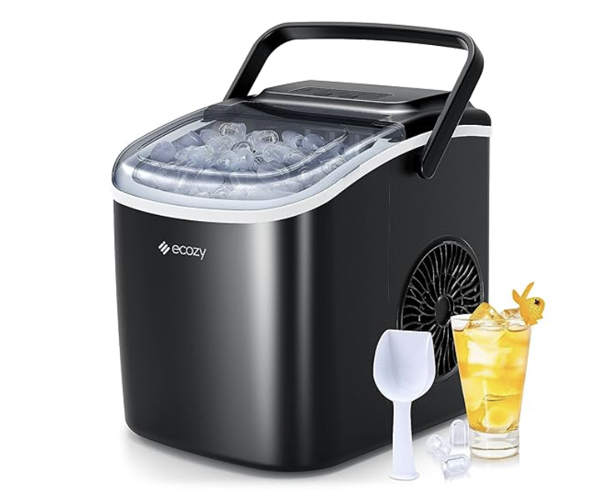
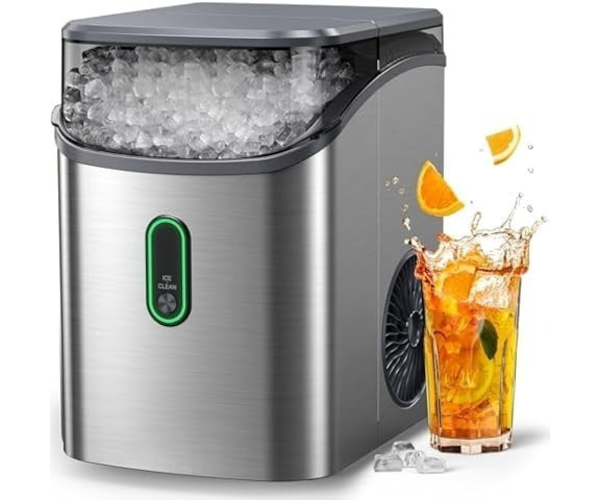
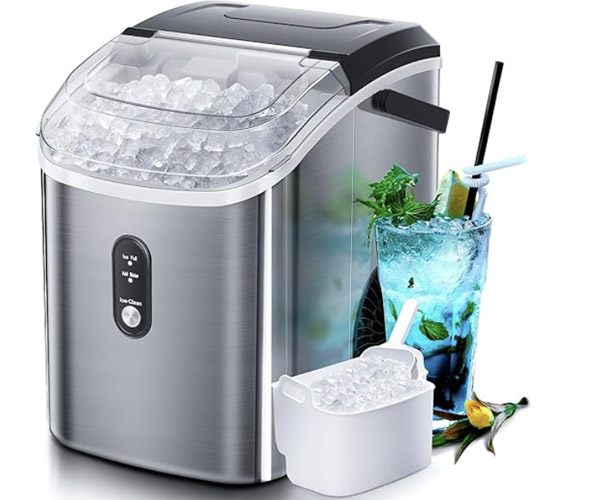
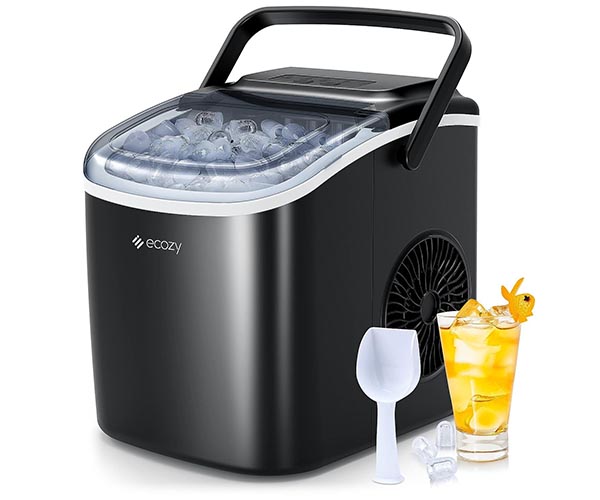
Portable ice makers are a convenient appliance for anyone who loves having ice on demand, whether for a home bar, family gatherings, or camping trips. However, like any appliance, they can encounter issues that may prevent them from functioning properly. This comprehensive guide aims to walk you through common problems and solutions, helping you understand how to fix your countertop ice maker when it’s not working. With detailed explanations and step-by-step instructions, you’ll be equipped to handle most repairs and maintenance tasks. https://amzn.to/3ShXndQ
Understanding Your Ice Maker
Basic Components and How They Work
Portable ice makers, also known as countertop ice makers, are designed to be compact yet efficient, allowing you to make ice quickly without needing a permanent water line. These machines typically include several key components:
- Compressor: This is the heart of the ice maker, compressing refrigerant and circulating it through the system to remove heat from the water, causing it to freeze.
- Condenser: The condenser cools down the refrigerant, dissipating the heat absorbed during the refrigeration process.
- Evaporator: Located inside the ice-making chamber, the evaporator is where the water freezes. Water is pumped over the evaporator’s cold surface, gradually forming ice cubes.
- Water Pump: This component pumps water from the reservoir to the evaporator.
- Ice Tray: The tray collects the formed ice cubes, ready for you to use.
Understanding how these parts work together can help you diagnose and fix issues when your ice maker stops working. For instance, if your countertop ice maker is not working, it could be due to a problem with the water pump, the compressor, or even a simple blockage in the water line.
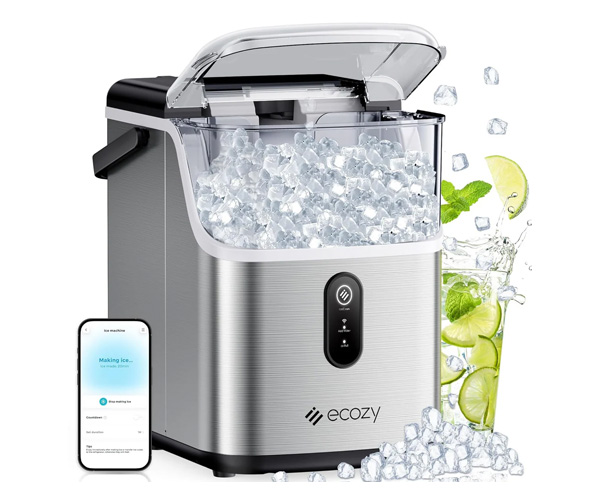
Safety Precautions Before Starting Repairs
Before diving into repairs, it’s crucial to prioritize safety. Ice makers involve electrical components and water, which can be a hazardous combination if not handled properly. Here are some essential safety tips:
- Unplug the Appliance: Always disconnect the ice maker from the power source before starting any repair work. This prevents accidental electric shocks.
- Use the Right Tools: Ensure you have the necessary tools, such as screwdrivers, wrenches, and pliers, to safely disassemble and reassemble parts.
- Avoid Water Exposure: Be cautious when working near water. Dry your hands thoroughly and ensure the workspace is free from moisture.
- Consult the Manual: Refer to the user manual for specific instructions and warnings related to your ice maker model.
Taking these precautions will help you avoid accidents and ensure a smooth repair process. Remember, if you’re ever unsure about a repair, it’s best to consult a professional. https://amzn.to/3ShXndQ
Common Issues and Their Solutions
When your countertop ice maker isn’t working as expected, it can be frustrating. However, understanding common problems and their solutions can save you time and money. In this section, we’ll explore frequent issues with portable ice makers and provide detailed instructions on how to fix them.
Ice Maker Not Turning On
Possible Causes:\
When your ice maker fails to power on, the issue can often be traced back to electrical components. The most common causes include:
- Power Supply Issues: A loose or damaged power cord, tripped circuit breaker, or an unplugged unit.
- Faulty Control Board: If the control board is malfunctioning, it may not send the correct signals to power up the machine.
Step-by-Step Solution:
- Check the Power Source: Ensure that the ice maker is properly plugged into a working outlet. Test the outlet with another device to confirm it’s functioning. If the outlet is not the issue, check the circuit breaker to ensure it hasn’t tripped.
- Inspect the Power Cord: Examine the power cord for any visible damage, such as fraying or cuts. If the cord is damaged, it should be replaced. Avoid using damaged cords as they pose a safety hazard.
- Test the Control Board: If the unit still won’t power on, the problem might lie with the control board. Testing the control board requires a multimeter to check for continuity and proper voltage. If the control board is faulty, it should be replaced by a professional unless you are experienced with electronics.
- Check Internal Components: Sometimes, internal components like the fuse or thermostat may cause the unit to not turn on. These should be checked and replaced if necessary, keeping in mind to follow the safety precautions outlined earlier.
No Ice Production
Possible Causes:\
One of the most common issues is when the ice maker doesn’t produce ice at all. This problem can be caused by:
- Water Supply Issues: An interrupted or inadequate water supply can prevent the ice maker from functioning.
- Clogged Filters: Filters that are dirty or clogged can restrict water flow.
- Defective Water Inlet Valve: The valve that allows water into the machine can fail or become blocked.
Step-by-Step Solution:
- Ensure Water Supply: Verify that the water supply line is connected and the valve is open. If your ice maker uses a water reservoir, make sure it is filled.
- Clean or Replace Filters: Over time, filters can become clogged with debris. Remove the filter and rinse it under clean water. If it’s too dirty or damaged, replace it according to the manufacturer’s instructions.
- Inspect the Water Inlet Valve: Check the water inlet valve for any signs of blockage or damage. Use a multimeter to test for continuity. If the valve is defective, it needs to be replaced. Be sure to turn off the water supply before working on the valve.
- Check the Pump: The water pump may also be a culprit if it’s not pushing water to the evaporator. Listen for any unusual sounds from the pump or check if it’s working at all. Replacing a faulty pump might require professional help. https://amzn.to/3ShXndQ
Ice Maker Producing Small or Misshapen Ice
Possible Causes:\
Issues with the ice shape or size can often be traced back to:
- Low Water Pressure: Insufficient water pressure can result in incomplete ice cubes.
- Dirty Evaporator: A dirty or damaged evaporator can cause the ice to form improperly.
- Incorrect Temperature Settings: The temperature inside the ice maker may be too warm or too cold.
Step-by-Step Solution:
- Verify Water Pressure: Check the water pressure from the source. If it’s too low, consult a plumber to address the issue. For ice makers with a reservoir, ensure it’s properly filled.
- Clean the Evaporator: A buildup of mineral deposits can prevent ice from forming correctly. Clean the evaporator coils with a mixture of water and vinegar or a specialized cleaning solution. Be gentle to avoid damaging the coils.
- Adjust Temperature Settings: Consult the manual to ensure the temperature settings are correct. If the ice maker is set too high or too low, adjust it accordingly. The optimal temperature setting is usually specified by the manufacturer.
- Inspect the Ice Tray and Blades: Sometimes, the ice tray or cutting blades may be out of alignment or damaged. Check for any misalignments or wear and replace parts if necessary.
Ice Tastes or Smells Bad
Possible Causes:\
Bad-tasting or smelling ice can ruin drinks and point to underlying issues:
- Dirty Water Lines: Buildup of minerals or bacteria in the water lines.
- Mold or Mildew: The presence of mold or mildew inside the machine.
- Poor Water Quality: The water used may contain impurities.
Step-by-Step Solution:
- Clean Water Lines and Ice Bin: Regularly clean the water lines with a mixture of vinegar and water to remove any mineral buildup. Clean the ice bin thoroughly to prevent bacterial growth.
- Use a Vinegar Solution: Run a vinegar solution through the machine, followed by several cycles of clean water to ensure all the vinegar is rinsed out. This will help remove any lingering mold or mildew.
- Install a Water Filter: If the water quality is poor, consider installing a high-quality water filter. This can remove impurities and improve the taste and smell of the ice.
- Regular Maintenance: Schedule regular cleanings and maintenance to prevent buildup and contamination. This will also extend the life of your ice maker.
Machine Leaks Water
Possible Causes:\
Water leaks are not only inconvenient but can also damage your ice maker and surrounding areas. Common causes include:
- Loose Connections: Water line connections may become loose over time.
- Cracked Water Lines: Damage to water lines can cause leaks.
- Overflowing Reservoir: An improperly seated or malfunctioning reservoir can lead to leaks.
Step-by-Step Solution:
- Inspect and Tighten Connections: Check all water line connections, ensuring they are tight and secure. Use a wrench if necessary but be careful not to overtighten and damage the fittings.
- Replace Cracked Water Lines: Examine the water lines for cracks or damage. If any are found, they should be replaced immediately to prevent leaks.
- Adjust Water Level Settings: If your ice maker uses a reservoir, ensure it is properly seated and not overfilled. Some models allow you to adjust the water level settings, so check the manual for instructions.
- Check for Internal Leaks: Sometimes, internal components like the water pump or valve may leak. If you suspect an internal leak, consult a professional to avoid further damage.
Preventive Maintenance Tips
Maintaining your portable ice maker not only ensures it works efficiently but also extends its lifespan. Regular maintenance can prevent most of the common issues discussed earlier.
Regular Cleaning and Descaling
To keep your ice maker in top condition, regular cleaning and descaling are essential. Mineral deposits from water can build up over time, affecting the machine’s performance.
- Descaling: Use a descaling solution recommended by the manufacturer or a mixture of vinegar and water. Run the solution through the machine, followed by several cycles of clean water to rinse out any residue.
- Cleaning: Clean the interior parts, including the ice tray, water reservoir, and evaporator. Wipe down the exterior with a damp cloth and mild detergent.
- Frequency: It’s advisable to descale and clean your ice maker at least once every three months, or more frequently if you use it often.
Replacing Filters and Components
Filters and other components wear out over time. Regular replacement ensures your ice maker continues to function optimally.
- Water Filters: Replace water filters as per the manufacturer’s recommendation, typically every six months. This helps maintain water quality and prevents scale buildup.
- Other Components: Keep an eye on the condition of other parts like the ice tray, water pump, and cutting blades. Replace any worn or damaged parts to prevent future issues.
- DIY vs. Professional Replacement: While some components can be easily replaced at home, others may require professional assistance. Always consult the manual and follow the manufacturer’s guidelines.
Storage and Seasonal Care
If you’re not using your ice maker year-round, proper storage is crucial to maintain its condition.
- Draining Water: Before storing, ensure all water is drained from the machine to prevent mold growth and damage from freezing.
- Cleaning: Clean the machine thoroughly before storage to avoid any unpleasant odors or residue buildup.
- Storage Environment: Store the ice maker in a cool, dry place. Avoid places with extreme temperatures or high humidity.
- Preparing for Use: When ready to use the ice maker again, clean and descale it to remove any dust or residue that may have accumulated during storage.
Troubleshooting Advanced Problems
Sometimes, more complex issues can arise that are beyond basic troubleshooting. Understanding these problems can help you decide when to DIY and when to call a professional.
Compressor Issues
Signs of a Failing Compressor:\
The compressor is a vital component of the ice maker. Signs of a failing compressor include:
- Noisy Operation: Unusual noises such as rattling or humming.
- Overheating: The compressor is unusually hot to the touch.
- Inefficient Cooling: The machine struggles to reach freezing temperatures.
When to Call a Professional:\
Repairing or replacing a compressor requires specialized tools and knowledge. If you suspect a compressor issue, it’s best to consult a professional. Attempting to repair it yourself can lead to further damage and void warranties.
Refrigerant Leaks
Identifying a Refrigerant Leak:\
Refrigerant leaks are often indicated by:
- Warm Air: The ice maker blows warm air instead of cold.
- Oily Residue: Oil stains around the machine’s fittings or components.
- Hissing Sounds: A hissing sound can indicate a refrigerant leak.
Steps to Take:\
If you suspect a refrigerant leak, turn off the ice maker and unplug it. Refrigerant leaks can be hazardous, so do not attempt to repair them yourself. Contact a qualified technician who can safely handle the refrigerant and fix the leak.
Electrical Problems
Identifying Electrical Issues:\
Electrical issues can manifest as:
- Tripped Breakers: Frequent tripping of circuit breakers.
- Flickering Lights: Flickering lights on the machine’s control panel.
- Non-responsive Controls: The control panel does not respond to inputs.
Safely Addressing Minor Electrical Repairs:\
If you’re comfortable working with electrical components, you can check for loose wires or replace blown fuses. However, for more complex issues like a faulty control board, it’s advisable to consult a professional. Always prioritize safety and ensure the machine is unplugged before attempting any electrical repairs.
DIY vs. Professional Repair
Understanding when to tackle a repair yourself and when to call in a professional can save you time, money, and hassle.
When to DIY
Simple Issues:\
Many minor issues, such as replacing a water filter, cleaning the ice maker, or tightening loose connections, can be handled at home. DIY repairs can be a cost-effective solution for basic problems.
Tools and Skills Required:\
Basic tools like screwdrivers, pliers, and a multimeter are often sufficient for DIY repairs. It’s also helpful to have a general understanding of how ice makers work.
Guidelines:\
Always refer to the user manual for specific instructions and safety warnings. Follow proper safety protocols to avoid accidents.
When to Call a Professional
Complex Repairs:\
Issues involving the compressor, refrigerant leaks, or major electrical problems should be handled by a professional. These repairs require specialized tools and expertise.
Benefits of Professional Repair Services:\
Professionals can accurately diagnose and fix issues, often providing a warranty for their work. They can also source genuine replacement parts, ensuring the longevity of your ice maker.
Cost Considerations:\
While professional repairs can be more expensive upfront, they can save you money in the long run by preventing further damage and extending the life of your machine.
Conclusion
In conclusion, maintaining and repairing your portable ice maker doesn’t have to be a daunting task. By understanding the common issues and their solutions, you can keep your ice maker running smoothly and efficiently. Regular maintenance, such as cleaning and replacing filters, can prevent many problems and extend the life of your machine. However, for more complex issues, it’s best to consult a professional to avoid further damage.
Whether you’re a DIY enthusiast or prefer professional services, this guide provides the knowledge and tools needed to tackle any issue with your countertop ice maker. Remember, the key to a long-lasting ice maker is regular maintenance and prompt attention to any problems that arise. With proper care, your ice maker will continue to provide you with cool, refreshing ice for years to come.

