Introduction
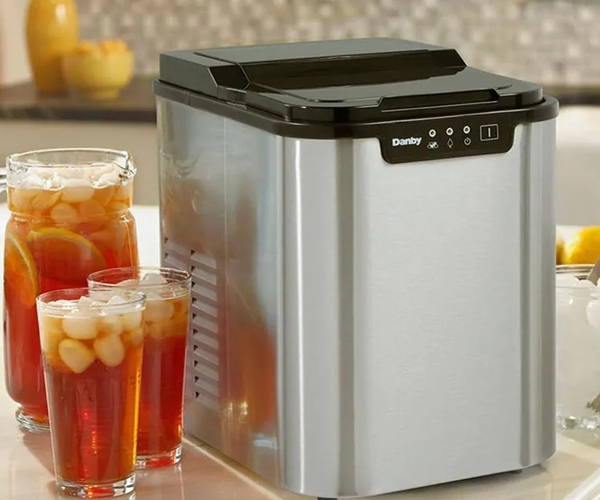
Keeping your countertop ice maker in pristine condition is crucial for ensuring you get the best-tasting and cleanest ice possible. Over time, mineral deposits, mold, and bacteria can build up in your ice maker, leading to unpleasant tastes and potential health hazards. In this comprehensive guide, we’ll explore the best solutions for cleaning your countertop ice maker, ensuring it operates efficiently and safely. From understanding the different types of ice makers to step-by-step cleaning instructions, we’ve got you covered. Let’s dive in and make sure your ice maker stays in top shape! https://amzn.to/3WoePQf
Understanding Your Countertop Ice Maker
Types of Ice Makers
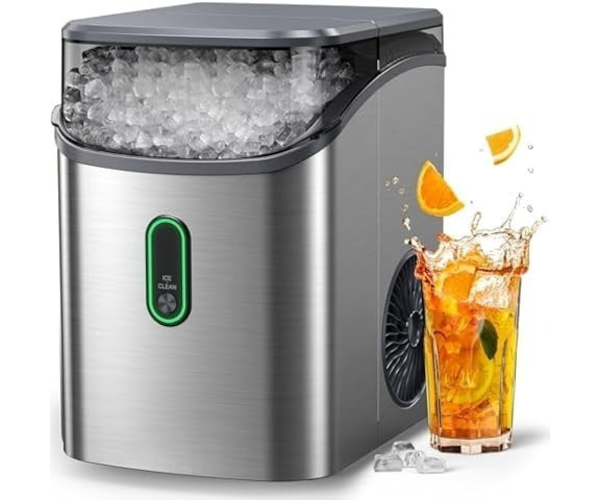
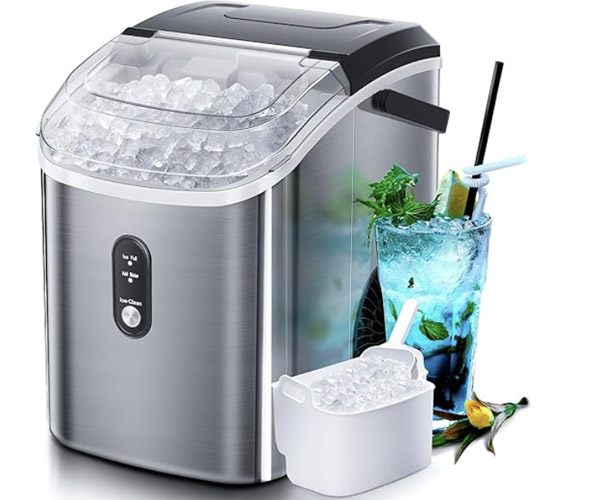
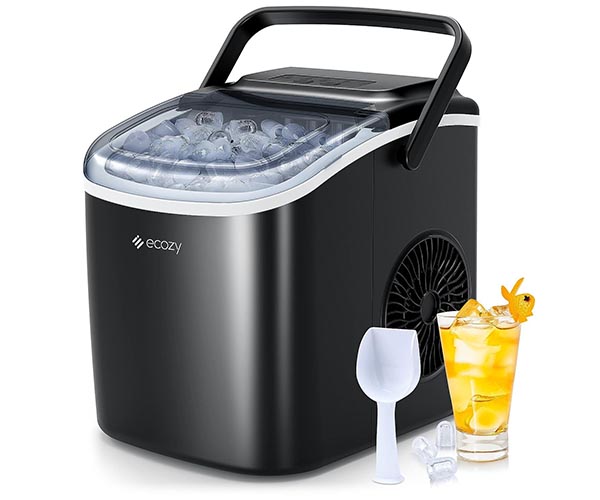
When it comes to countertop ice makers, there are several types to consider, each with its own set of features and benefits:
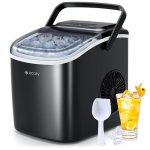
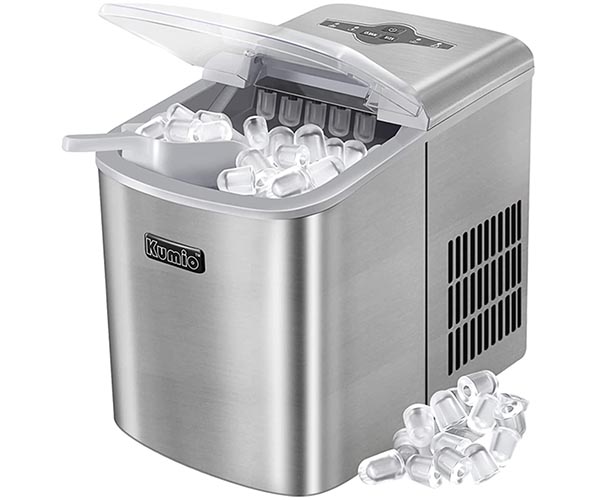
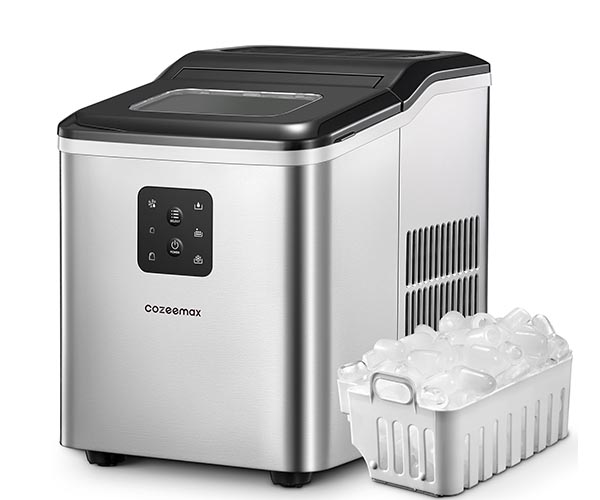
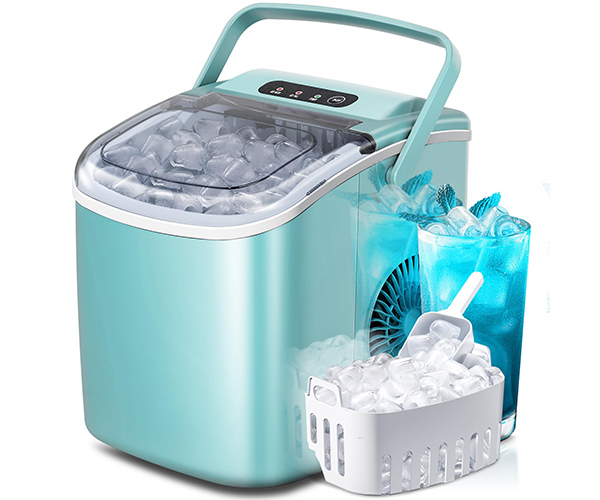
- Portable Ice Makers: These are the most common type, known for their ease of use and mobility. They are perfect for small kitchens, RVs, and outdoor events. Portable ice makers can typically produce a batch of ice in about 10-20 minutes and are great for on-the-go convenience.
- Self-Cleaning Ice Makers: These models come with a self-cleaning function, which simplifies maintenance. They are ideal for those who prefer a low-maintenance option. The self-cleaning feature usually involves an automatic cycle that uses a cleaning solution to rinse the internal components.
- High-Capacity Ice Makers: Designed for larger households or events, these ice makers can produce a significant amount of ice within a short period. They often have larger water reservoirs and ice storage bins, making them suitable for continuous use.
Each type of ice maker has its unique advantages, but regardless of the type, regular cleaning is essential to ensure optimal performance and longevity.
Importance of Cleaning
Neglecting regular cleaning of your countertop ice maker can lead to several issues that affect both the machine’s performance and the quality of ice it produces. Here are some critical consequences of poor maintenance:
- Bacterial Growth: Ice makers are prone to moisture buildup, creating an ideal environment for bacteria and mold. Without regular cleaning, these harmful microorganisms can contaminate your ice, posing health risks.
- Mineral Deposits: If you use hard water in your ice maker, minerals like calcium and magnesium can accumulate over time. These deposits can clog the machine’s components, reducing efficiency and potentially causing damage.
- Unpleasant Odors and Tastes: Dirty ice makers can impart foul smells and tastes to your ice. Residue from old water or mold can taint the ice, making it unpleasant to use in drinks.
- Decreased Ice Production: When internal components are dirty or clogged, the ice maker’s ability to produce ice can be significantly diminished. This can lead to longer ice-making cycles and reduced output.
- Shortened Lifespan: Regular maintenance is crucial for extending the lifespan of your ice maker. Neglecting to clean the machine can result in more frequent breakdowns and a need for premature replacements.
To prevent these issues, it’s important to follow a consistent cleaning schedule using a reliable countertop ice maker cleaning solution. Here’s a quick rundown of why cleaning is so vital:
- Health and Safety: Regular cleaning prevents bacterial and mold growth, ensuring your ice is safe to consume.
- Optimal Performance: Clean machines run more efficiently, producing ice faster and in larger quantities.
- Prolonged Lifespan: Maintenance helps avoid mechanical issues and extends the machine’s life.
- Better Tasting Ice: Clean ice makers produce ice that is free from unpleasant odors and tastes.
By understanding the importance of cleaning and maintaining your countertop ice maker, you can ensure that your appliance remains in top working condition, providing you with clean and refreshing ice whenever you need it.
In the next section, we’ll delve into the essential tools and materials you’ll need for cleaning your ice maker effectively, ensuring you have everything on hand for a thorough and efficient cleaning process.
Essential Tools and Materials
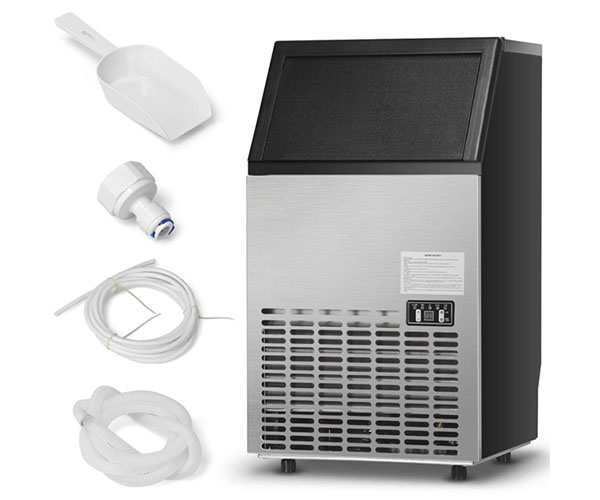
Cleaning your countertop ice maker efficiently requires the right tools and materials. Having everything you need at hand will make the process smoother and more effective. Below, you’ll find a detailed list of the necessary cleaning supplies along with suggestions on where to purchase them. https://amzn.to/3WoePQf
Cleaning Supplies
To ensure your ice maker remains in top condition, you’ll need the following countertop ice maker cleaning solution supplies:
- White Vinegar or Specialized Ice Maker Cleaning Solution
- Why You Need It: Vinegar is a natural disinfectant, excellent for removing mineral deposits and bacteria. Specialized solutions are designed to tackle tough stains and buildup.
- Where to Get It: Available at grocery stores, home improvement stores, and online retailers like Amazon.
- Soft Cloths or Sponges
- Why You Need It: These are essential for wiping down surfaces without scratching them.
- Where to Get It: Found in most supermarkets, dollar stores, and online marketplaces.
- Warm Water
- Why You Need It: Used to dilute vinegar or cleaning solutions and rinse parts after cleaning.
- Where to Get It: From your kitchen tap.
- Mild Dish Soap
- Why You Need It: Gentle enough to clean without damaging parts.
- Where to Get It: Any supermarket or convenience store.
- Soft-Bristle Brush
- Why You Need It: Helps scrub away stubborn residue without scratching.
- Where to Get It: Hardware stores, kitchenware sections in department stores, or online.
- Toothbrush for Small Crevices
- Why You Need It: Perfect for cleaning hard-to-reach areas and ensuring no part is left dirty.
- Where to Get It: Drugstores, supermarkets, or online.
- Lint-Free Towels
- Why You Need It: Ideal for drying parts without leaving fibers behind.
- Where to Get It: Available in home goods stores or online.
- Plastic Container or Bucket
- Why You Need It: To hold cleaning solutions or rinse parts.
- Where to Get It: Found at most home improvement stores or online.
- Cleaning Gloves
- Why You Need It: Protect your hands from cleaning agents.
- Where to Get It: Available at supermarkets, drugstores, and online.
Where to Get Them
Acquiring these supplies is straightforward. Here are some recommendations on where you can find each item:
- White Vinegar or Specialized Cleaning Solutions
- Amazon: Wide selection of both white vinegar and specialized ice maker cleaning solutions.
- Home Depot or Lowe’s: Home improvement stores with various cleaning agents.
- Local Grocery Stores: Most carry white vinegar in the cleaning or cooking sections.
- Soft Cloths or Sponges
- Walmart: Affordable packs of sponges and cloths.
- Target: Offers a range of cleaning supplies in various sizes and materials.
- Dollar Tree: Budget-friendly options for basic cleaning tools.
- Mild Dish Soap
- Supermarkets: Brands like Dawn and Palmolive are widely available.
- Online Retailers: Amazon and other online stores offer bulk purchases at discounted rates.
- Soft-Bristle Brush
- Bed Bath & Beyond: Various brushes suitable for different cleaning tasks.
- IKEA: Affordable kitchen brushes.
- Online: Websites like eBay and Amazon provide numerous options.
- Toothbrush
- Pharmacies: CVS, Walgreens, and Rite Aid carry a range of toothbrushes.
- Supermarkets: Often found in the dental care aisle.
- Online: Convenient for bulk purchases or specific types.
- Lint-Free Towels
- HomeGoods: Offers high-quality lint-free towels.
- Costco: Bulk packs at competitive prices.
- Amazon: Many options with customer reviews to guide your choice.
- Plastic Container or Bucket
- Ace Hardware: Durable containers in various sizes.
- The Container Store: Specializes in storage and organization products.
- Online: Amazon, with fast delivery options.
- Cleaning Gloves
- Walmart: Durable and affordable gloves.
- Ace Hardware: Heavy-duty gloves for more intensive cleaning tasks.
- Amazon: Wide variety, including reusable and disposable options.
Having these supplies ready will make your cleaning routine for your countertop ice maker cleaning solution effective and hassle-free. Proper maintenance not only extends the life of your machine but also ensures you have the best quality ice for your needs.
Step-by-Step Cleaning Process
Preparation
- Unplugging the Machine: Before starting any cleaning process, make sure to unplug the ice maker from the power source. This is a crucial safety step to prevent any electrical hazards or accidental operation during cleaning.
- Gathering Supplies: Gather all necessary supplies to ensure a smooth cleaning process. Here’s a list of what you’ll need:
- White vinegar or a specialized ice maker cleaning solution
- Soft cloths or sponges
- Warm water
- Mild dish soap
- A soft-bristle brush
- A toothbrush for small crevices
Disassembly
- Detailed Instructions on How to Disassemble the Ice Maker: Disassembling your countertop ice maker properly is key to reaching all parts that need cleaning. Start by removing the ice basket and the water reservoir. Refer to your ice maker’s user manual for specific instructions as the design can vary between models. Typically, you will also need to remove any filters and detachable trays.
Cleaning Internal Parts
- Cleaning the Water Reservoir: Empty the water reservoir completely. Fill it with a mixture of warm water and white vinegar (or the specialized cleaning solution). Use a soft cloth or sponge to scrub the inside thoroughly, ensuring you remove any buildup or residue. Rinse it out with clean water.
- Cleaning the Ice Tray and Other Removable Parts: Soak the ice tray and any other removable parts in a vinegar solution. Use a soft-bristle brush or toothbrush to clean any hard-to-reach areas. Pay special attention to the corners and any crevices where mold or mineral deposits might accumulate. Rinse all parts with clean water and let them air dry.
- Using Vinegar or Specialized Cleaning Solutions: For internal parts that are not removable, fill the reservoir with a vinegar solution and run a cleaning cycle if your machine has this feature. This will help to clean the internal components that you can’t reach manually. Vinegar is excellent for dissolving mineral deposits and sanitizing the machine.
Reassembly
- Steps to Reassemble the Ice Maker: Once all parts are clean and dry, carefully reassemble the ice maker. Follow the reverse order of the disassembly process. Ensure all parts fit back securely to avoid any operational issues.
Final Cleaning
- Running a Cleaning Cycle: If your ice maker has a self-cleaning mode, fill the reservoir with a mixture of water and vinegar and run the cleaning cycle. This step helps to flush out any remaining impurities from the machine’s internal components.
- Final Rinse: After the cleaning cycle, run at least two cycles with clean water to rinse out any residual cleaning solution. This ensures that no cleaning agents remain in the machine, which could affect the taste of your ice.
Regular Maintenance Tips
- Routine Cleaning Schedule: To maintain the optimal performance of your countertop ice maker, it’s recommended to clean it every 1-2 months. Regular cleaning prevents buildup of minerals and mold, ensuring your ice maker continues to produce high-quality ice.
- Daily Maintenance: Implement small daily habits to keep your ice maker clean. Wipe down the exterior with a damp cloth and check for any signs of mold or mildew. Empty the ice basket daily to prevent old ice from affecting the taste of new batches.
- Long-Term Care: Descale your ice maker every six months, especially if you have hard water. Use a descaling solution or white vinegar to remove mineral deposits that can impair the machine’s performance. Regularly inspect the water filter and replace it according to the manufacturer’s instructions.
Troubleshooting Common Issues
- No Ice Production:
- Possible Causes: Low water levels, a full ice basket, or a clogged water filter can all prevent ice production.
- Solutions: Ensure the water reservoir is full, empty the ice basket, and clean or replace the water filter.
- Unusual Noises:
- What Different Sounds Might Indicate: Grinding or buzzing noises might indicate a mechanical issue or the need for cleaning.
- Solutions: Inspect and clean the machine thoroughly. Persistent noises might require professional servicing.
- Poor Ice Quality:
- Addressing Issues with Taste, Clarity, and Size: Poor ice quality can be due to dirty components or low-quality water.
- Solutions: Clean the ice maker and use filtered water. Regular maintenance and cleaning are key to producing clear and great-tasting ice.
By following these detailed steps and tips, you can ensure your countertop ice maker stays in excellent condition, providing you with the best quality ice. Remember, regular cleaning and maintenance are essential to prolong the life of your machine and keep it running efficiently.
DIY vs. Professional Cleaning
When to DIY: Situations Where DIY Cleaning Is Sufficient
Taking the DIY approach to cleaning your countertop ice maker can be both cost-effective and straightforward, especially for routine maintenance and minor issues. Here are situations where DIY cleaning is usually sufficient:
- Routine Maintenance:
- Regular cleaning of the ice maker’s components, such as the ice tray, water reservoir, and filters, can be easily handled at home. This helps to prevent the buildup of mold, mildew, and mineral deposits.
- Monthly descaling using vinegar or a specialized cleaning solution is a manageable task that keeps the ice maker in optimal condition.
- Minor Troubleshooting:
- If your ice maker stops producing ice or the ice quality diminishes, a thorough cleaning might resolve the issue. Disassembling the unit to clean and inspect individual parts often restores functionality.
- Addressing common issues like unusual noises or slow ice production can usually be done by the user. Cleaning the internal components and ensuring all parts are correctly reassembled often resolves these problems.
- Simple Repairs:
- Replacing easily accessible parts such as water filters or small mechanical components can typically be done without professional help. Most ice maker manuals provide clear instructions for these tasks.
- Cost and Time Efficiency:
- Regular DIY cleaning saves money by reducing the need for professional services and extends the lifespan of the ice maker. It also minimizes downtime, ensuring your ice maker remains functional when you need it.
When to Call a Professional: Signs That Professional Maintenance Is Needed
While DIY cleaning is effective for routine maintenance, there are times when professional intervention is necessary. Here are indicators that it’s time to call in an expert:
- Persistent Issues:
- If your ice maker continues to malfunction despite thorough cleaning, it may have underlying issues that require professional diagnosis. Problems like persistent no ice production, water leakage, or recurring error codes often indicate more complex mechanical or electrical faults.
- Complex Repairs:
- Issues involving the internal cooling mechanism, electrical components, or advanced circuitry should be handled by professionals. Attempting these repairs without proper knowledge can result in further damage or even pose safety risks.
- Warranty Considerations:
- If your ice maker is still under warranty, attempting DIY repairs might void the warranty. In such cases, it’s best to contact the manufacturer or an authorized service provider to ensure the repairs are covered and performed correctly.
- Specialized Cleaning Needs:
- For ice makers used in commercial settings or those with specialized cleaning requirements, professional cleaning services ensure thorough maintenance. They have the tools and expertise to perform deep cleans that DIY methods might not achieve.
- Safety Concerns:
- Handling refrigerants or other hazardous materials found in some ice makers should only be done by trained professionals. They follow safety protocols to prevent accidents and ensure proper disposal of hazardous substances.
In summary, cleaning your countertop ice maker regularly and handling minor issues through DIY methods can maintain its efficiency and extend its lifespan. However, for persistent problems, complex repairs, and safety concerns, calling a professional is the best course of action. This balanced approach ensures your ice maker remains in top condition, providing clean and high-quality ice whenever you need it.
By understanding when to take a DIY approach and when to seek professional help, you can keep your ice maker running smoothly and avoid unnecessary complications. Regular maintenance, combined with timely professional intervention, ensures the longevity and optimal performance of your countertop ice maker.
Conclusion
In this article, we’ve covered everything you need to know about cleaning your countertop ice maker to ensure it remains in top condition. Here’s a quick recap of the key points:
- Understanding Your Countertop Ice Maker:
- Types of ice makers and why regular cleaning is essential.
- Essential Tools and Materials:
- List of necessary cleaning supplies and where to get them.
- Step-by-Step Cleaning Process:
- Detailed instructions on how to prepare, disassemble, clean, and reassemble your ice maker.
- Regular Maintenance Tips:
- Routine cleaning schedule, daily maintenance tips, and long-term care strategies.
- Troubleshooting Common Issues:
- Solutions for no ice production, unusual noises, and poor ice quality.
- DIY vs. Professional Cleaning:
- When to handle cleaning yourself and when to call a professional.
- Frequently Asked Questions (FAQs):
- Addressing common concerns and providing quick tips.
- Resources and References:
- Helpful links and product recommendations.
Regular maintenance of your countertop ice maker is crucial for its optimal performance. By adhering to a consistent cleaning schedule, you can prevent common issues, ensure the quality of your ice, and extend the lifespan of your appliance. Here are a few tips to keep in mind:
- Clean Monthly: Make it a habit to deep clean your ice maker at least once a month. This involves disassembling and thoroughly cleaning all removable parts.
- Daily Wipe Down: Wipe the exterior of your ice maker daily to prevent dust and grime buildup.
- Use Filtered Water: Using filtered water can reduce mineral deposits and improve the taste of your ice.
- Descale Regularly: Descale your ice maker every six months to prevent mineral buildup, especially if you have hard water.
We hope this guide has provided you with valuable insights and practical steps to keep your countertop ice maker in excellent condition. Regular cleaning and maintenance not only ensure that your ice is fresh and clean but also enhance the overall performance of your appliance.
Call to Action:
We’d love to hear from you! Do you have any additional tips or questions about cleaning your countertop ice maker? Share your thoughts in the comments below. Your experiences and advice can help others maintain their ice makers efficiently. Let’s create a community of well-maintained ice makers and crystal-clear ice!
FAQs
1. How often should I clean my countertop ice maker?
You should clean your countertop ice maker at least once a month. Regular cleaning prevents the buildup of mineral deposits, mold, and bacteria, ensuring your ice is clean and the machine operates efficiently.
2. What cleaning solutions are safe to use on my ice maker?
White vinegar and specialized ice maker cleaning solutions are safe and effective. Vinegar is a natural disinfectant and can remove mineral deposits. Always check your ice maker’s manual for any specific recommendations.
3. Can I use bleach to clean my ice maker?
It’s generally not recommended to use bleach for cleaning your ice maker, as it can leave harmful residues. Vinegar or specialized cleaning solutions are safer options. If you must use bleach, ensure you rinse thoroughly with water afterward.
4. What tools do I need for cleaning my ice maker?
You’ll need white vinegar or a specialized cleaning solution, warm water, mild dish soap, soft cloths or sponges, a soft-bristle brush, and a toothbrush for small crevices. These tools help you clean all parts effectively without damaging the machine.
5. How do I clean the water reservoir of my ice maker?
To clean the water reservoir, empty any remaining water, then scrub it with a soft cloth and a mixture of warm water and vinegar. Rinse thoroughly with clean water before reassembling your ice maker.
6. What should I do if my ice maker produces ice with a bad taste or odor?
Bad-tasting or smelly ice is often due to mineral buildup or bacteria. Clean the ice maker thoroughly, including the water reservoir and all removable parts, using vinegar or a specialized cleaning solution. Using filtered water can also improve the taste of the ice.
7. How can I prevent mold and mildew in my ice maker?
Regular cleaning is key to preventing mold and mildew. Ensure you dry all parts thoroughly before reassembling the machine. Running a final rinse cycle with plain water after cleaning can also help remove any cleaning solution residues.
8. When should I consider professional cleaning for my ice maker?
If your ice maker has persistent issues, such as unusual noises or consistent poor ice quality, despite regular cleaning, it might be time to call a professional. Professionals can address more complex problems and ensure your machine operates efficiently.
By addressing these common questions, you can ensure your countertop ice maker stays in optimal condition, providing clean, great-tasting ice whenever you need it. Regular maintenance and proper cleaning techniques are essential for prolonging the life of your appliance and maintaining its performance.

