Introduction
This is the definitive guide to determining when and how to perform a thorough cleaning of your countertop ice machine. Maintaining the cleanliness of your ice maker is not only important for ensuring that it continues to function well, but it is also essential for safeguarding the health and safety of anyone who has the pleasure of drinking those ice-cold beverages. Throughout the entirety of this in-depth post, we will discuss the many kinds of countertop ice makers, look into the frequent issues that are linked with inadequate cleaning, and offer you with a comprehensive cleaning procedure that is simple to understand. This guide will help you understand the signals that it is time for a thorough clean and teach you the proper methods to guarantee that your ice maker operates efficiently and safely. Whether you are experiencing a peculiar taste in your ice or your machine has slowed down, this guide will help you understand the signs that it is time for a deep clean. It is time to get your cleaning supplies ready, since we are about to begin the process of ensuring that your ice maker will continue to perform its function properly. https://amzn.to/3WoePQf
Understanding Your Countertop Ice Maker
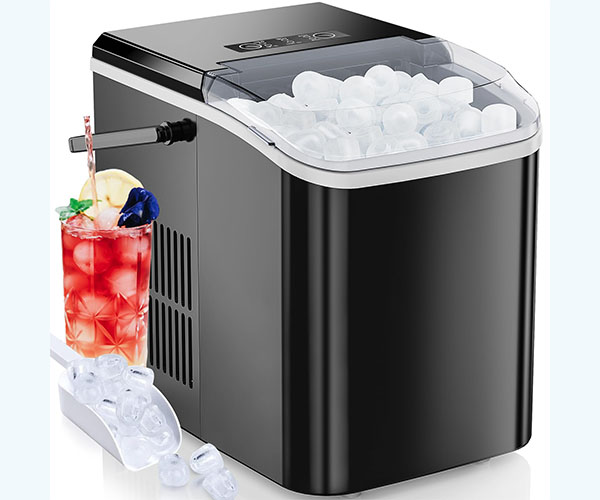
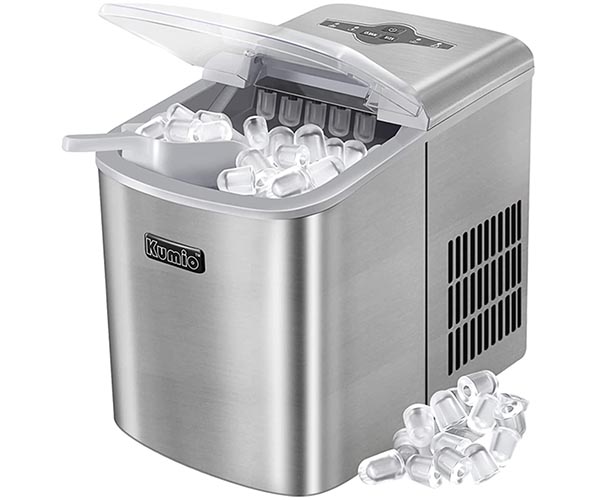
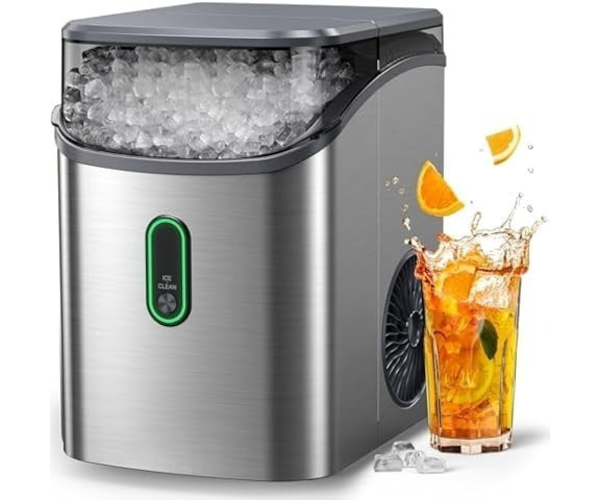
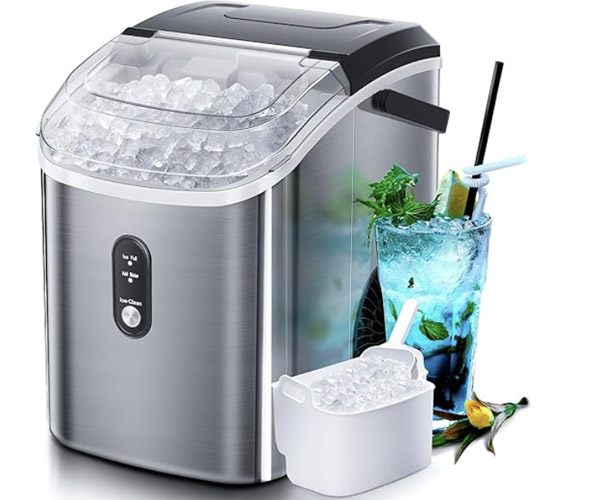
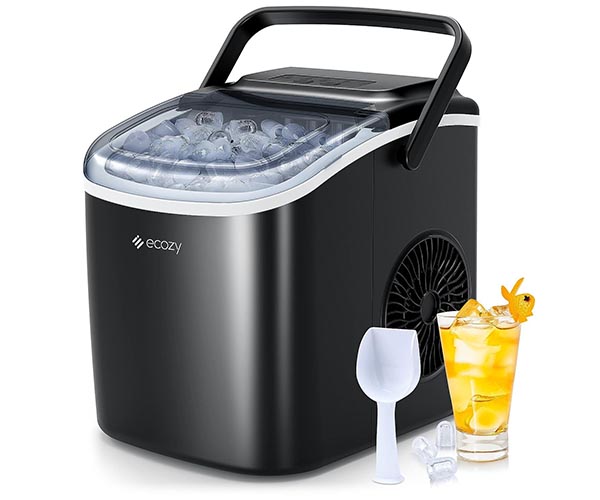
Before diving into how to clean a countertop ice maker, it’s essential to understand the different types that are available and their key components. Each type of ice maker has unique features that can affect the cleaning process, making it crucial to tailor your approach accordingly.
- Types of Countertop Ice Makers:
- Portable Ice Makers: These are the most common for household use, often compact and easy to move. They can produce ice quickly but might require more frequent cleaning due to their size and frequent handling.
- Built-in Ice Makers: Often installed under the counter, these are larger and have a higher capacity. While they are not moved often, their internal mechanisms can accumulate mineral deposits over time.
- Freestanding Ice Makers: Similar to built-in models, these can be placed anywhere but require more space. They are capable of producing large quantities of ice and may have advanced features like automatic cleaning cycles.
- Key Components:
- Water Reservoir: Holds the water that is frozen into ice. It’s crucial to keep this component clean to prevent scale and buildup, which can affect taste and ice clarity.
- Ice Making Tray: Where water is cooled to form ice. Residue from water can build up here, leading to cloudy ice or possible mechanical issues.
- Ice Storage Bin: The area where the ice is stored after being made. It must be sanitized regularly to avoid bacterial growth due to melting and refreezing cycles.
Understanding these components and their roles within your ice maker is pivotal when approaching a deep clean. Each part contributes to the overall functionality and hygiene of your machine, dictating specific focus areas during the cleaning process.
- Common Issues Due to Lack of Cleaning:
- Decreased Ice Production: Buildup in the water lines or filters can restrict flow, causing the machine to produce less ice or take longer to cycle.
- Poor Ice Quality: Mineral deposits from hard water can leave deposits in your ice tray, resulting in cloudy ice with a possible off-taste.
- Operational Failures: Over time, neglected components can fail, leading to costly repairs or the need for replacement.
Cleaning your ice maker is not just about keeping its appearance; it is also about ensuring that the machine continues to function well and that the ice it generates is of high quality. Making sure that your ice maker has routine maintenance not only helps it last longer but also guarantees that it functions at its highest possible level. When you have a thorough awareness of the specific requirements of your countertop ice maker, you will be able to properly apply the appropriate cleaning methods to maintain it in pristine shape. With this information, you will be able to reduce the likelihood of common problems and ensure that your appliance is clean and functional at all times.
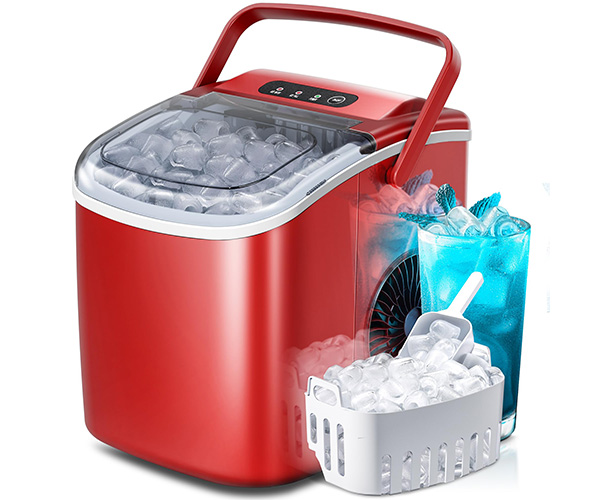
Signs Your Ice Maker Needs Deep Cleaning
There is more to maintaining the excellent condition of your ice maker than simply washing it down and emptying it every so once or so. The ability to identify the indications that indicate the need for a comprehensive deep cleaning will save you from future headaches and ensure that your appliance will last for a long time and perform well. The following is a list of important indicators that indicate it is time to thoroughly clean your countertop ice maker, with the keyword “how to clean a countertop ice maker effectively” incorporated within the explanation: https://amzn.to/3WoePQf
- Strange Tasting Ice: If the ice from your maker starts to taste off or has an unusual smell, it’s a clear signal that impurities have built up inside the machine. This could be due to mineral deposits, mold, or bacteria that have settled in areas where water flows or ice is made.
- Slow Ice Production: A noticeable decrease in the speed at which your ice maker produces ice can indicate a need for deep cleaning. This slowdown is often caused by scaling and other residues on the cooling elements that interfere with the ice-making process.
- Visible Residue or Mold: Any visible signs of residue, discoloration, or mold inside the compartments where ice is formed or stored are obvious red flags. These contaminants can not only affect the taste and smell of your ice but can also pose health risks.
- Cloudy Ice Cubes: While some cloudiness can be normal due to trapped air during freezing, excessive cloudiness can be a sign of mineral buildup. If your ice cubes aren’t as clear as they used to be, it might be time to consider a thorough cleanse.
- Frequent Ice Jamming: Ice that isn’t ejecting properly from the molds or is getting stuck in the chute could be due to the ice machine needing a clean. Residue or ice that doesn’t freeze properly can cause jams and affect performance.
- High Energy Usage: An increase in energy consumption can sometimes be linked to your ice maker working harder than usual to maintain its function, often due to a buildup of dirt and ice residue.
In order to keep your ice maker functioning properly and for as long as possible, it is essential that you are aware of these warning indications. It is normally possible to remedy each of these concerns by doing a thorough deep cleaning session. This not only enhances the functionality of your ice maker but also guarantees that the ice it generates is clean and safe for use.
In the following sections, we will walk you through the specific processes that are required to clean an ice maker that is placed on a countertop. This will ensure that you are able to complete this operation with self-assurance and simplicity. It is important to keep in mind that doing routine maintenance not only helps to avoid these problems but also improves the lifespan of your appliance, making it a worthwhile utilization of your time.
Preparing for Deep Cleaning
Before you dive into the deep clean of your countertop ice maker, it’s essential to ensure you have everything you need for a thorough and safe cleaning process. Here’s a detailed preparation guide to set you up for success:
- Gather Your Cleaning Supplies:
- Soft cloths or sponges: To avoid scratching surfaces.
- Mild detergent: For general cleaning of surfaces.
- White vinegar or specialized ice maker cleaner: Acts as a natural descaler, ideal for removing hard water build-up.
- Bleach (optional): For deep disinfection in cases of mold or mildew.
- Soft brush: To clean hard-to-reach internal components.
- Rubber gloves: To protect your hands from cleaners and cold temperatures.
- Safety Precautions:
- Unplug the ice maker: Safety first—ensure the appliance is disconnected from any power source.
- Empty the ice maker: Remove all ice and water from the machine before cleaning.
- Ensure adequate ventilation: Keep the area well-ventilated, especially if using strong disinfectants like bleach.
- Inspect Your Ice Maker:
- Check for any visible signs of wear or damage. This can affect which areas might need extra attention during the cleaning process.
- Set Up a Cleaning Area:
- If possible, move the ice maker to a space where you can comfortably reach all sides. If it’s built-in, clear the surrounding area to give yourself ample space to work.
The process of cleaning your countertop ice maker entails more than just wiping the outside or emptying the ice bin; it also involves taking care of the machine’s internal components, which are places where mineral deposits and germs can accumulate over time on the unit. It is important to follow these preparation measures in order to guarantee that you are prepared to do a thorough cleaning that will preserve the effectiveness and cleanliness of your appliance, so extending its lifespan and improving the quality of the ice that it generates. It is possible to avoid the typical problems that develop as a result of neglect by engaging in this process on a regular basis. This will ensure that your ice maker continues to be a dependable component of your kitchen or home bar establishment.
Once you have everything ready, you can move forward with complete assurance, knowing that you have everything you need to bring your ice maker back to its original, perfect condition. Keep in mind that the most important aspect of good maintenance is not only the cleaning process itself, but also effectively preparation for the task that lies ahead.
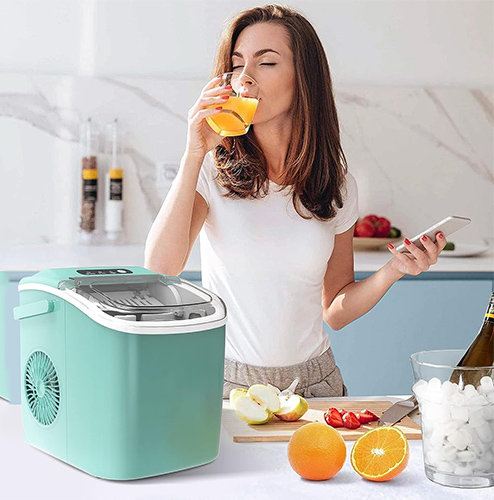
Step-by-Step Cleaning Process
Deep cleaning your countertop ice maker is essential to maintain its performance and ensure the quality of ice it produces. Here’s a detailed guide on how to deep clean your countertop ice maker effectively: https://amzn.to/3WoePQf
- Unplugging and Emptying
- Safety First: Always start by unplugging your ice maker to ensure your safety. This prevents any electrical hazards while cleaning.
- Remove Ice and Water: Empty all the ice and any standing water from the machine. If your model has a drain plug, use it to ensure all water is expelled.
- Internal Cleaning
- Cleaning Water Reservoirs:
- Use a mixture of mild dish soap and warm water to clean the water reservoir. Scrub gently with a soft cloth or sponge to avoid scratching any surfaces.
- For thorough sanitation, consider using a solution of water and vinegar (equal parts) to help remove any mineral build-up and sanitize the area.
- Descaling the Ice-Making Elements:
- Apply a descaling solution specifically designed for ice makers or a DIY solution of water and citric acid. This helps to break down lime and mineral deposits that can hinder the efficiency of your ice maker.
- Allow the solution to sit in the ice-making elements according to the manufacturer’s instructions, usually about 30 minutes, then rinse thoroughly with clean water.
- Sanitizing the Ice Storage Area:
- Wipe down the interior surfaces where ice is stored with a diluted bleach solution (1 tablespoon of unscented bleach per gallon of water) or a commercial sanitizer.
- Make sure to rinse the storage area thoroughly with water to remove any residual cleaning agent.
- Cleaning Water Reservoirs:
- External Cleaning
- Wiping Down Outer Surfaces:
- Clean the external surfaces of your ice maker with a damp cloth dipped in soapy water. If the exterior is stainless steel, use a cleaner specific to stainless steel to avoid streaks or damage.
- Dry the surfaces with a clean, dry cloth to prevent water spots.
- Cleaning Accessible Mechanical Parts:
- Carefully clean any accessible mechanical parts, such as the ice scoop and the front panel, with a damp cloth. Avoid getting electrical components wet.
- Wiping Down Outer Surfaces:
- Rinsing and Reassembling
- Properly Rinsing Cleaned Parts: After cleaning, rinse all components with clean, warm water to ensure no cleaning residue remains that could affect the taste of your ice.
- Reassembling the Ice Maker: Once everything is clean and dry, reassemble your ice maker. Ensure all parts are securely in place before plugging the unit back in.
This detailed cleaning process will help you effectively deep clean your countertop ice maker, enhancing its longevity and performance. Regular deep cleaning not only ensures hygienic ice but also maintains the machine in optimal condition, reducing the need for frequent repairs or replacements.
Maintenance Tips to Keep Your Ice Maker Clean Longer
Maintaining your countertop ice maker isn’t just about cleaning it once in a blue moon; it’s about implementing practices that extend its cleanliness and efficiency over time. Here are some crucial tips to keep your ice maker in top condition, ensuring you always have access to fresh, taste-free ice:
- Regular Cleaning Schedule: Establish a routine cleaning schedule to prevent the build-up of minerals and mold. Depending on usage, cleaning every three to six months is ideal. Incorporating regular cleanings into your schedule can prevent larger issues down the line.
- Use Filtered Water: Utilize filtered water to reduce the amount of scale and mineral deposits in the water reservoir. Filtered water can greatly enhance the longevity of your machine and maintain the quality of your ice.
- Inspect and Replace Filters Regularly: If your ice maker has filters, check and replace them according to the manufacturer’s recommendations. Regular replacement of filters not only ensures cleaner ice but also prolongs the life of your machine.
- Dry the Interior Post-Cleaning: After how to clean a countertop ice maker and its deep cleaning session, ensure that you dry all surfaces thoroughly. This prevents ice from sticking and mold from developing.
- Keep the Area Around Your Ice Maker Clean: Dust and debris can enter your ice maker and contaminate the ice. Keeping the surrounding area clean reduces the risk of such contamination.
- Store Ice Properly: Once the ice is made, store it properly in a clean, sealed container in the freezer. This prevents the ice from absorbing odors from the freezer and also keeps it clean and ready to use.
- Check for Leaks and Loose Fittings: Regularly inspect your ice maker for any leaks or loose fittings. Catching and addressing these early can prevent water damage and more significant malfunctions in the machine.
- Descale Regularly: Depending on the hardness of the water you use, scaling can be a significant problem. Use a suitable descaling agent to remove mineral build-up, which can hinder the efficiency of the ice-making process.
Implementing these maintenance tips will not only extend the life of your ice maker but also enhance its performance. Remember, a well-maintained ice maker is less likely to require costly repairs and will continue to produce high-quality ice for years to come. Keep these tips in mind as you enjoy the benefits of your clean and efficient ice maker.
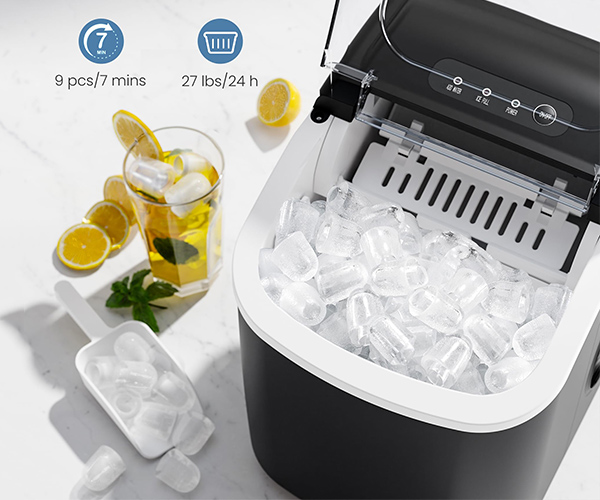
Troubleshooting Common Issues After Cleaning
After a thorough cleaning of your countertop ice maker, it’s reasonable to expect it to run smoother and more efficiently. However, sometimes issues can arise post-cleaning that might need further attention. Here are some common problems you might encounter and how to troubleshoot them:
- Machine Does Not Start:
- Ensure the ice maker is properly plugged in and the power outlet is functional.
- Check for any tripped circuit breakers or blown fuses.
- Verify that the ice maker’s door is securely closed as most units have a safety switch that prevents operation if the door is open.
- Poor Ice Production:
- Confirm that the water supply line is turned on and properly connected without any kinks.
- Check if the water filter needs replacing, as a clogged filter can impede water flow.
- Allow the ice maker time to reach the proper temperature after cleaning, as it may take a few cycles to start producing ice at its regular pace.
- Strange Noises:
- Listen to identify if the noise is coming from the fan, the motor, or the ice dropping area.
- If noise persists, consult the manufacturer’s manual for specific sounds that indicate when professional help is needed.
- Leakage Issues:
- Inspect all hoses and connections for leaks.
- Make sure the ice maker is level; tilting can cause water to pool and leak out.
Understanding how often should you clean a countertop ice maker is key to preventing many of these issues. Regular maintenance not only helps in efficient operation but also extends the lifespan of your appliance. Typically, deep cleaning every 3 to 6 months is recommended, but this can vary based on usage and water quality. Regular cleaning helps you avoid mineral buildup, mold, and odors, which can affect both your ice maker’s performance and the quality of ice it produces.
In cases where troubleshooting doesn’t resolve the issues:
- Review the warranty and service information provided by the manufacturer.
- Contact customer support for guidance or to arrange for professional servicing if needed.
Consistent maintenance and understanding when and how to address post-cleaning complications can greatly enhance the performance and longevity of your countertop ice maker.
Conclusion
As we come to the end of this comprehensive tutorial on how to clean a countertop ice maker, it is abundantly evident that cleaning your appliance on a regular and thorough basis is not merely a maintenance routine; rather, it is an essential activity that not only assures the quality of the ice it makes but also increases the lifespan of your appliance. By adhering to the detailed directions that are provided, you will be able to effortlessly change your countertop ice maker from an item that has been ignored into a machine that is spotless and fully functional.
Here are some key takeaways to remember:
- Consistency is Key: Regular cleaning prevents the build-up of minerals and mold that can affect both the performance of your ice maker and the taste of your ice.
- Preventive Maintenance: Addressing issues early on can save you from costly repairs or replacements down the line. This guide on how to clean a countertop ice maker is your first step towards effective appliance management.
- Health and Safety: Keeping your ice maker clean is not just about functionality; it’s about health. Ensuring your machine is free of contaminants is crucial for anyone consuming the ice it produces.
We hope that this article has provided you with the knowledge and self-assurance you need to efficiently clean and maintain your ice maker that is located on your countertop. Keep in mind that the most important factor in enjoying ice that is flavourless, safe, and refreshing is having an ice maker that is clean. Your dedication to adhering to these rules not only guarantees that your appliance will last for a long time, but it also adds to your general health and allows you to take use of the benefits it offers on a regular basis.
As you progress through the process of maintaining your ice maker, we invite you to share your experiences as well as any new suggestions that you may have discovered along the way. It is possible to gain fresh ideas and contribute to the development of a community of appliance owners who are conscious and proactive by engaging with other people who share your concerns.
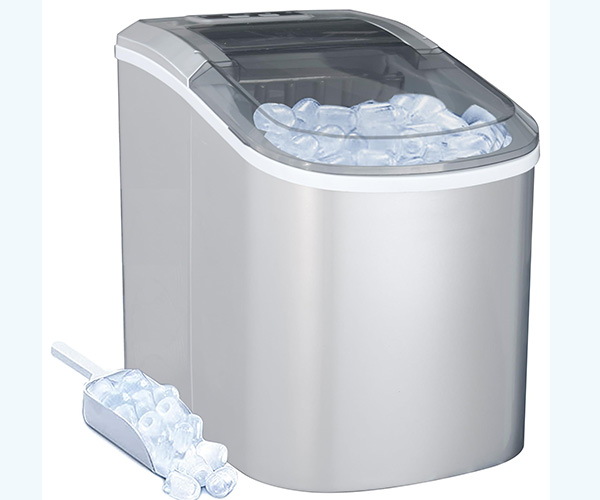
FAQs
How often should I deep clean my countertop ice maker?
- It’s recommended to deep clean your countertop ice maker every 3 to 6 months, depending on usage and water quality. Hard water may require more frequent cleaning due to mineral build-up.
2. What signs indicate that my ice maker needs deep cleaning?
- Look out for smaller or incomplete ice cubes, a drop in ice production speed, an unusual taste or smell in the ice, or visible scale or residue within the machine.
3. What materials do I need to deep clean my ice maker?
- You will need a soft cloth, a mild detergent, white vinegar or an ice maker cleaning solution, and warm water. For more thorough cleanings, consider a soft-bristled brush and a spray bottle.
4. Can I use vinegar to clean my ice maker?
- Yes, white vinegar is an effective, natural cleaning agent for descaling and sanitizing ice makers. Mix equal parts water and vinegar for best results.
5. What are the steps to deep clean my countertop ice maker?
- Unplug and empty: Always start by unplugging the unit and removing any ice.
- Internal cleaning: Clean water reservoirs, descale ice-making elements, and sanitize storage areas.
- External cleaning: Wipe down all external surfaces and clean accessible parts.
- Rinse and reassemble: Thoroughly rinse all parts and reassemble the unit.
6. How do I maintain my ice maker after cleaning?
- Regularly wipe down the exterior and remove old ice, keep the water reservoir filled with fresh water, and perform spot checks for any signs of mold or mineral deposits.
7. What should I do if my ice maker isn’t working correctly after cleaning?
- Check if it is fully reassembled and correctly plugged in. Ensure there are no kinks or blocks in the water supply line. If problems persist, consult the manufacturer’s manual or contact a professional.
8. Why is it important to deep clean my ice maker?
- Regular deep cleaning ensures efficient operation, extends the lifespan of your ice maker, and ensures that the ice produced is clean and safe to consume.

